vue2-ts-component-library
v0.1.15
Published
vue2 + ts 的常用组件库,不涉及UI框架的(gitee: https://gitee.com/moumumu/vue2-ts-component-library.git),已有的组件有 字体图标、Vconsole、签名、图片预览、高德地图-web服务(PC+移动)等。如有问题,欢迎反馈,我的邮箱:[email protected]
Downloads
4
Readme
vue2-ts-component-library
vue2 + ts 的常用组件库,不涉及UI框架的,
已有的组件有:
1. VConsole
2. 签名-Autograph
3. 图片预览-ImagePreview
Project setup
npm installCompiles and hot-reloads for development
npm run serve打包发布到 npm
1. npm run lib
2. 生成 build 文件夹
3. npm publish

4. 使用组件的文件夹:npm i vue2-ts-component-library
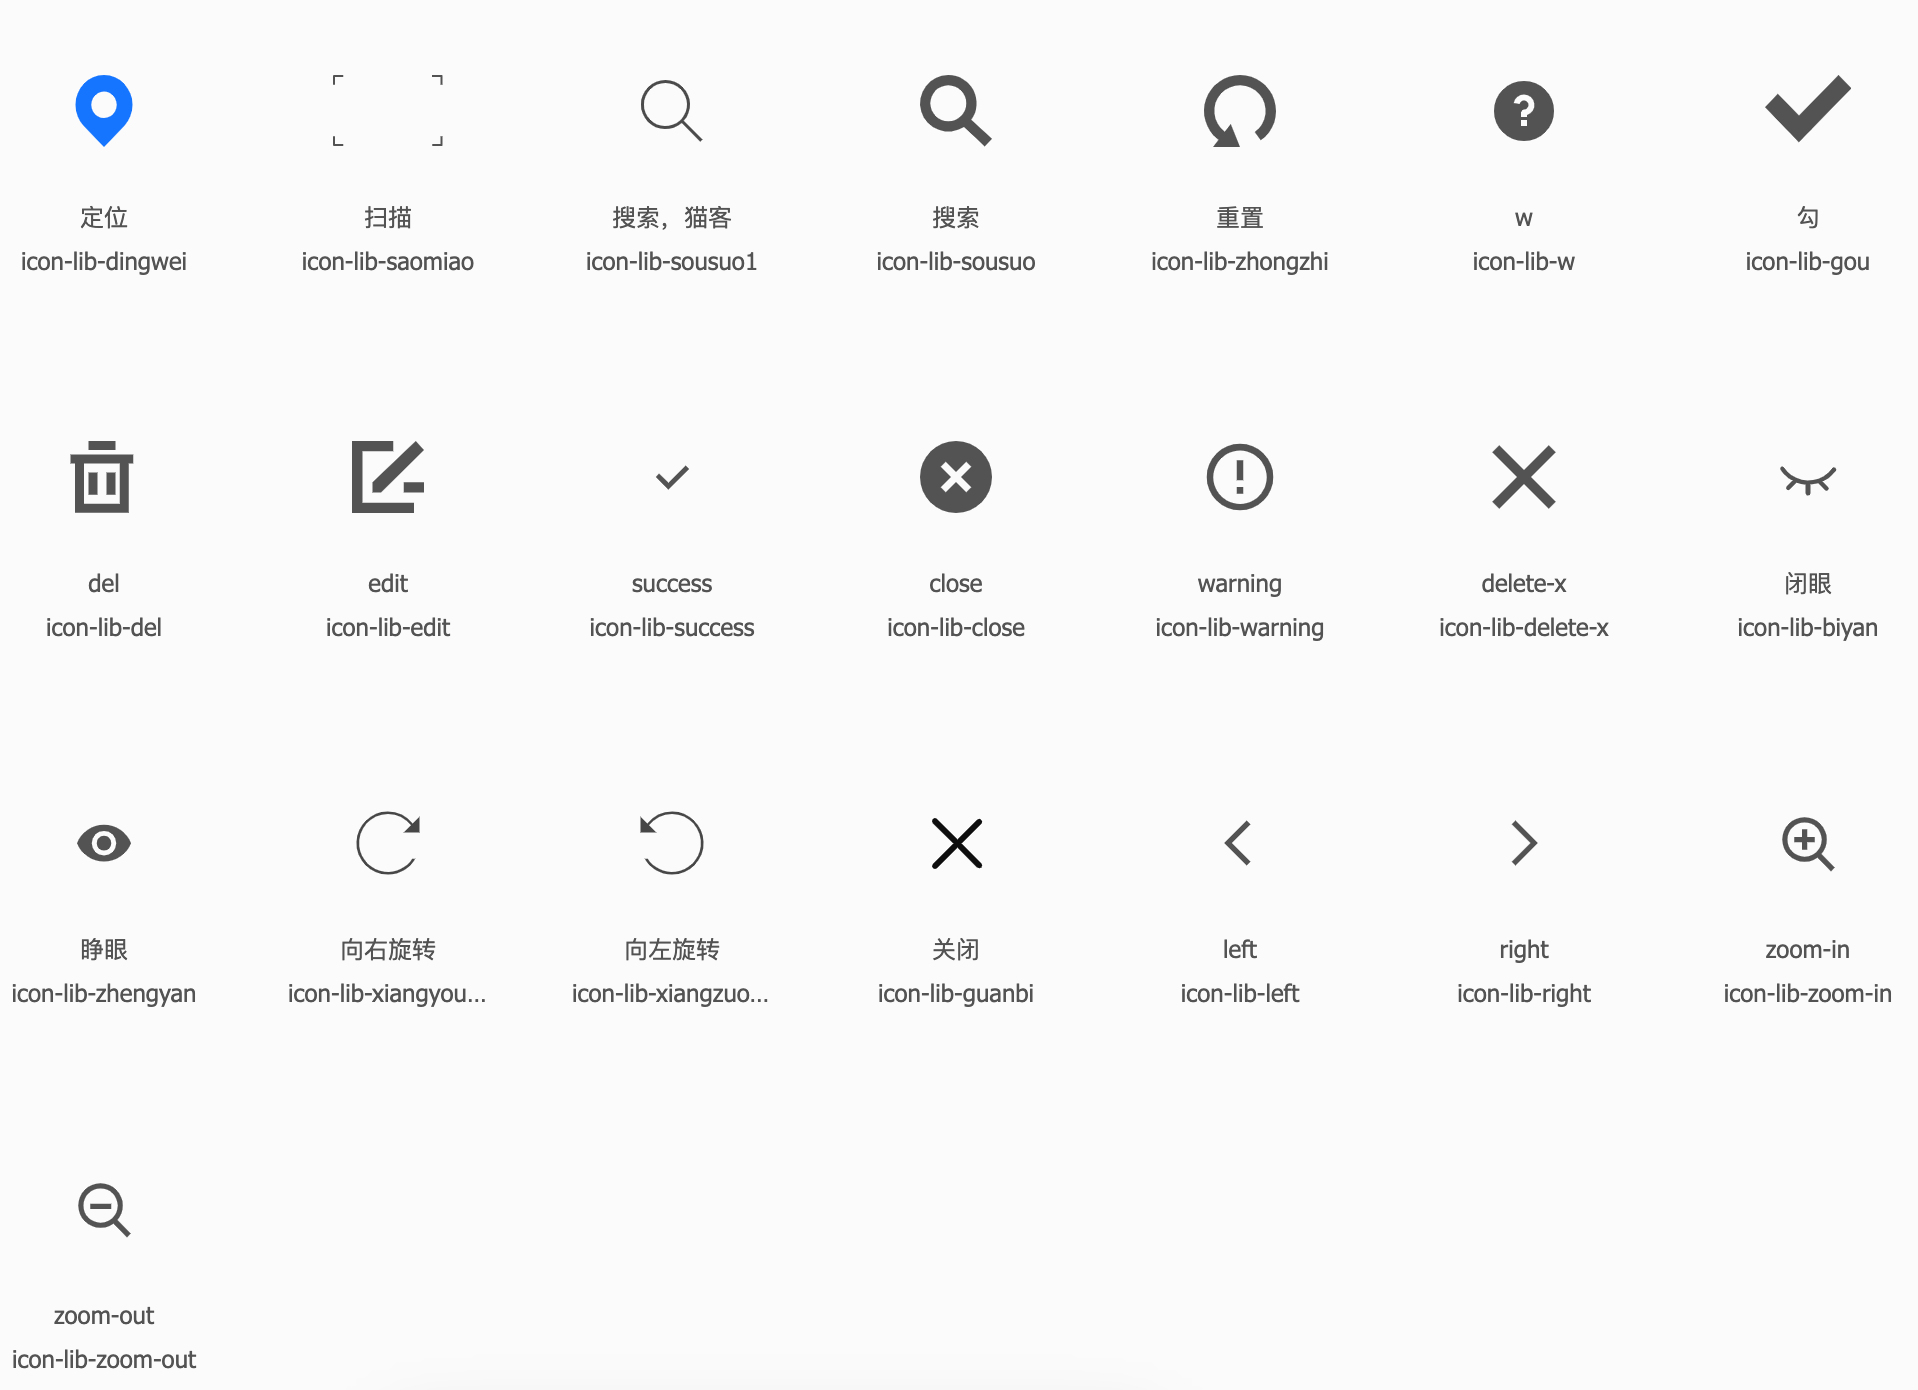
1. LibIcon 字体图标
注: 使用了 iconfont 字体图标库的图标

    index.html 中添加
    <script src="//at.alicdn.com/t/c/font_4350872_m5xygxv4ht7.js"></script>

    父级:
        <LibIcon iconName="icon-lib-sousuo1" iconClass="icon" />

    参数:
        iconName: icon 的名字
        iconClass: 自定义icon的class
2. vconsole (PC+移动, 都可用)
import myCom from '../pages/'
const { Vconsole } = myCom
Vue.use(Vconsole)

    <div id="app">
        ...
        <Vconsole :show="true" />
    </div>
    show: 默认false。是否直接显示出 vconsole
3. 签名页面
import myCom from '../pages/'
const { Autograph } = myCom
Vue.use(Autograph)

<!-- 使用:该页面可以放到 PC 端中,可以外网访问到就行 -->
<div class="about">
    <Autograph user-name="王朝马汉" @resultImg="resultImg"></Autograph>
</div>

    user-name: 当前签名人员姓名
    resultImg(data: { file: any }) {
        console.log('🚀 签名信息:', data)
        // 1. 调用上传接口,上传签名图片,比如上传到 OSS,返回OSS中签名地址
        // 2. 调用接口保存用户签名信息(和当前用户挂钩)
        // 3. 弹框信息:'签名成功,请手动更新电脑端页面'
    }
    使用了插槽,如果不满意使用默认的 icon,可以替换成自己项目的
    <template #slotIcon>
        <span>@</span>
    </template>
4. 图片预览
父级:main.ts 中:

import tenct from 'vue2-ts-component-library';
const { ImagePreview } = tenct;
Vue.use(ImagePreview);

xxx.vue 中:

<div class="img-box">
    <img v-for="(item, i) of imgLists" :key="i" :src="item" alt="图片" @click="imgShowFun(i)" />
</div>
<image-preview
    :imgLists="imgLists"
    :index="imgIndex"
    @imgRes="imgShowFun"
/>

public imgLists=[
    'https://fuss10.elemecdn.com/a/3f/3302e58f9a181d2509f3dc0fa68b0jpeg.jpeg',
    'https://fuss10.elemecdn.com/1/34/19aa98b1fcb2781c4fba33d850549jpeg.jpeg',
    'https://fuss10.elemecdn.com/0/6f/e35ff375812e6b0020b6b4e8f9583jpeg.jpeg',
]

public imgIndex = -1

imgShowFun(i: number): void {
    this.imgIndex = i;
}

// 样式自己写就行
.img-box{
  width: 100%;
  img{
    width: 100px;
    height: auto;
    cursor: pointer;
    margin-right: 20px;
  }
}
5. 高德地图-web服务
使用到了 iconfront 字体图标库,因此 index.html 中添加:
    <script src="//at.alicdn.com/t/c/font_4350872_m5xygxv4ht7.js"></script>

父级:main.ts 中:

import tenct from 'vue2-ts-component-library';
const { AmapWeb } = tenct;
Vue.use(AmapWeb);

xxx.vue 中:

<AmapWeb
    keyAmap="xxxxxxxx"
    :mapVal="{lng: 120.209902,lat: 30.246567,}"
    @mapRes="mapRes"
/>

注意:这里做了 PC 端和移动端的判断,展示不同样式。
移动端:建议打开一个地图选择的页面;
PC端:建议一个弹框

参数:
    keyAmap: web服务的Key (注意是web服务)
    version: 版本号,目前默认 1.4.15
    serchMark: 能否搜索, 默认true
    moveMark:  能否移动, 默认true
    resValMark: 是否展示选中后的地址, 默认true
    btnMark: 确定-取消 是否显示, 默认true
    mapVal: {lng: 120.209902, lat: 30.246567,} 经纬度,默认杭州市

插槽:
    搜索 的 label, 默认文字“地址”
    <template v-slot:label></template>
    搜索 的 图标, 默认 放大镜
    <template v-slot:icon></template>

    确定-取消 按钮
    <template v-slot:footer-btn></template>

事件:
    @mapRes="mapRes"
    返回值:
        如果点击“取消”:直接返回 false

        如果点击“确定“:btnMark = true
        如果是拖拽改变地点了,btnMark = false

            btnMark: true || false,
            resVal: this.resVal, // 具体地址:省市区街道楼
            lng: this.LatLng.lng,// 经度
            lat: this.LatLng.lat,// 纬度
            resCode: this.resCode,// 省市区街道code "330102014000"

