ts-mockup-generator
v0.4.0
Published
👷♂️🖼✅ A simple mockup generator based on 💪 TypeScript, 🖼 JIMP, and 👷♂️ Puppeteer.
Downloads
26
Maintainers
Readme
ts-mockup-generator
👷♂️🖼✅ A simple mockup generator based on 💪 TypeScript 3.7.2, 🖼 JIMP, and 👷♂️ Puppeteer.


Example

Idea
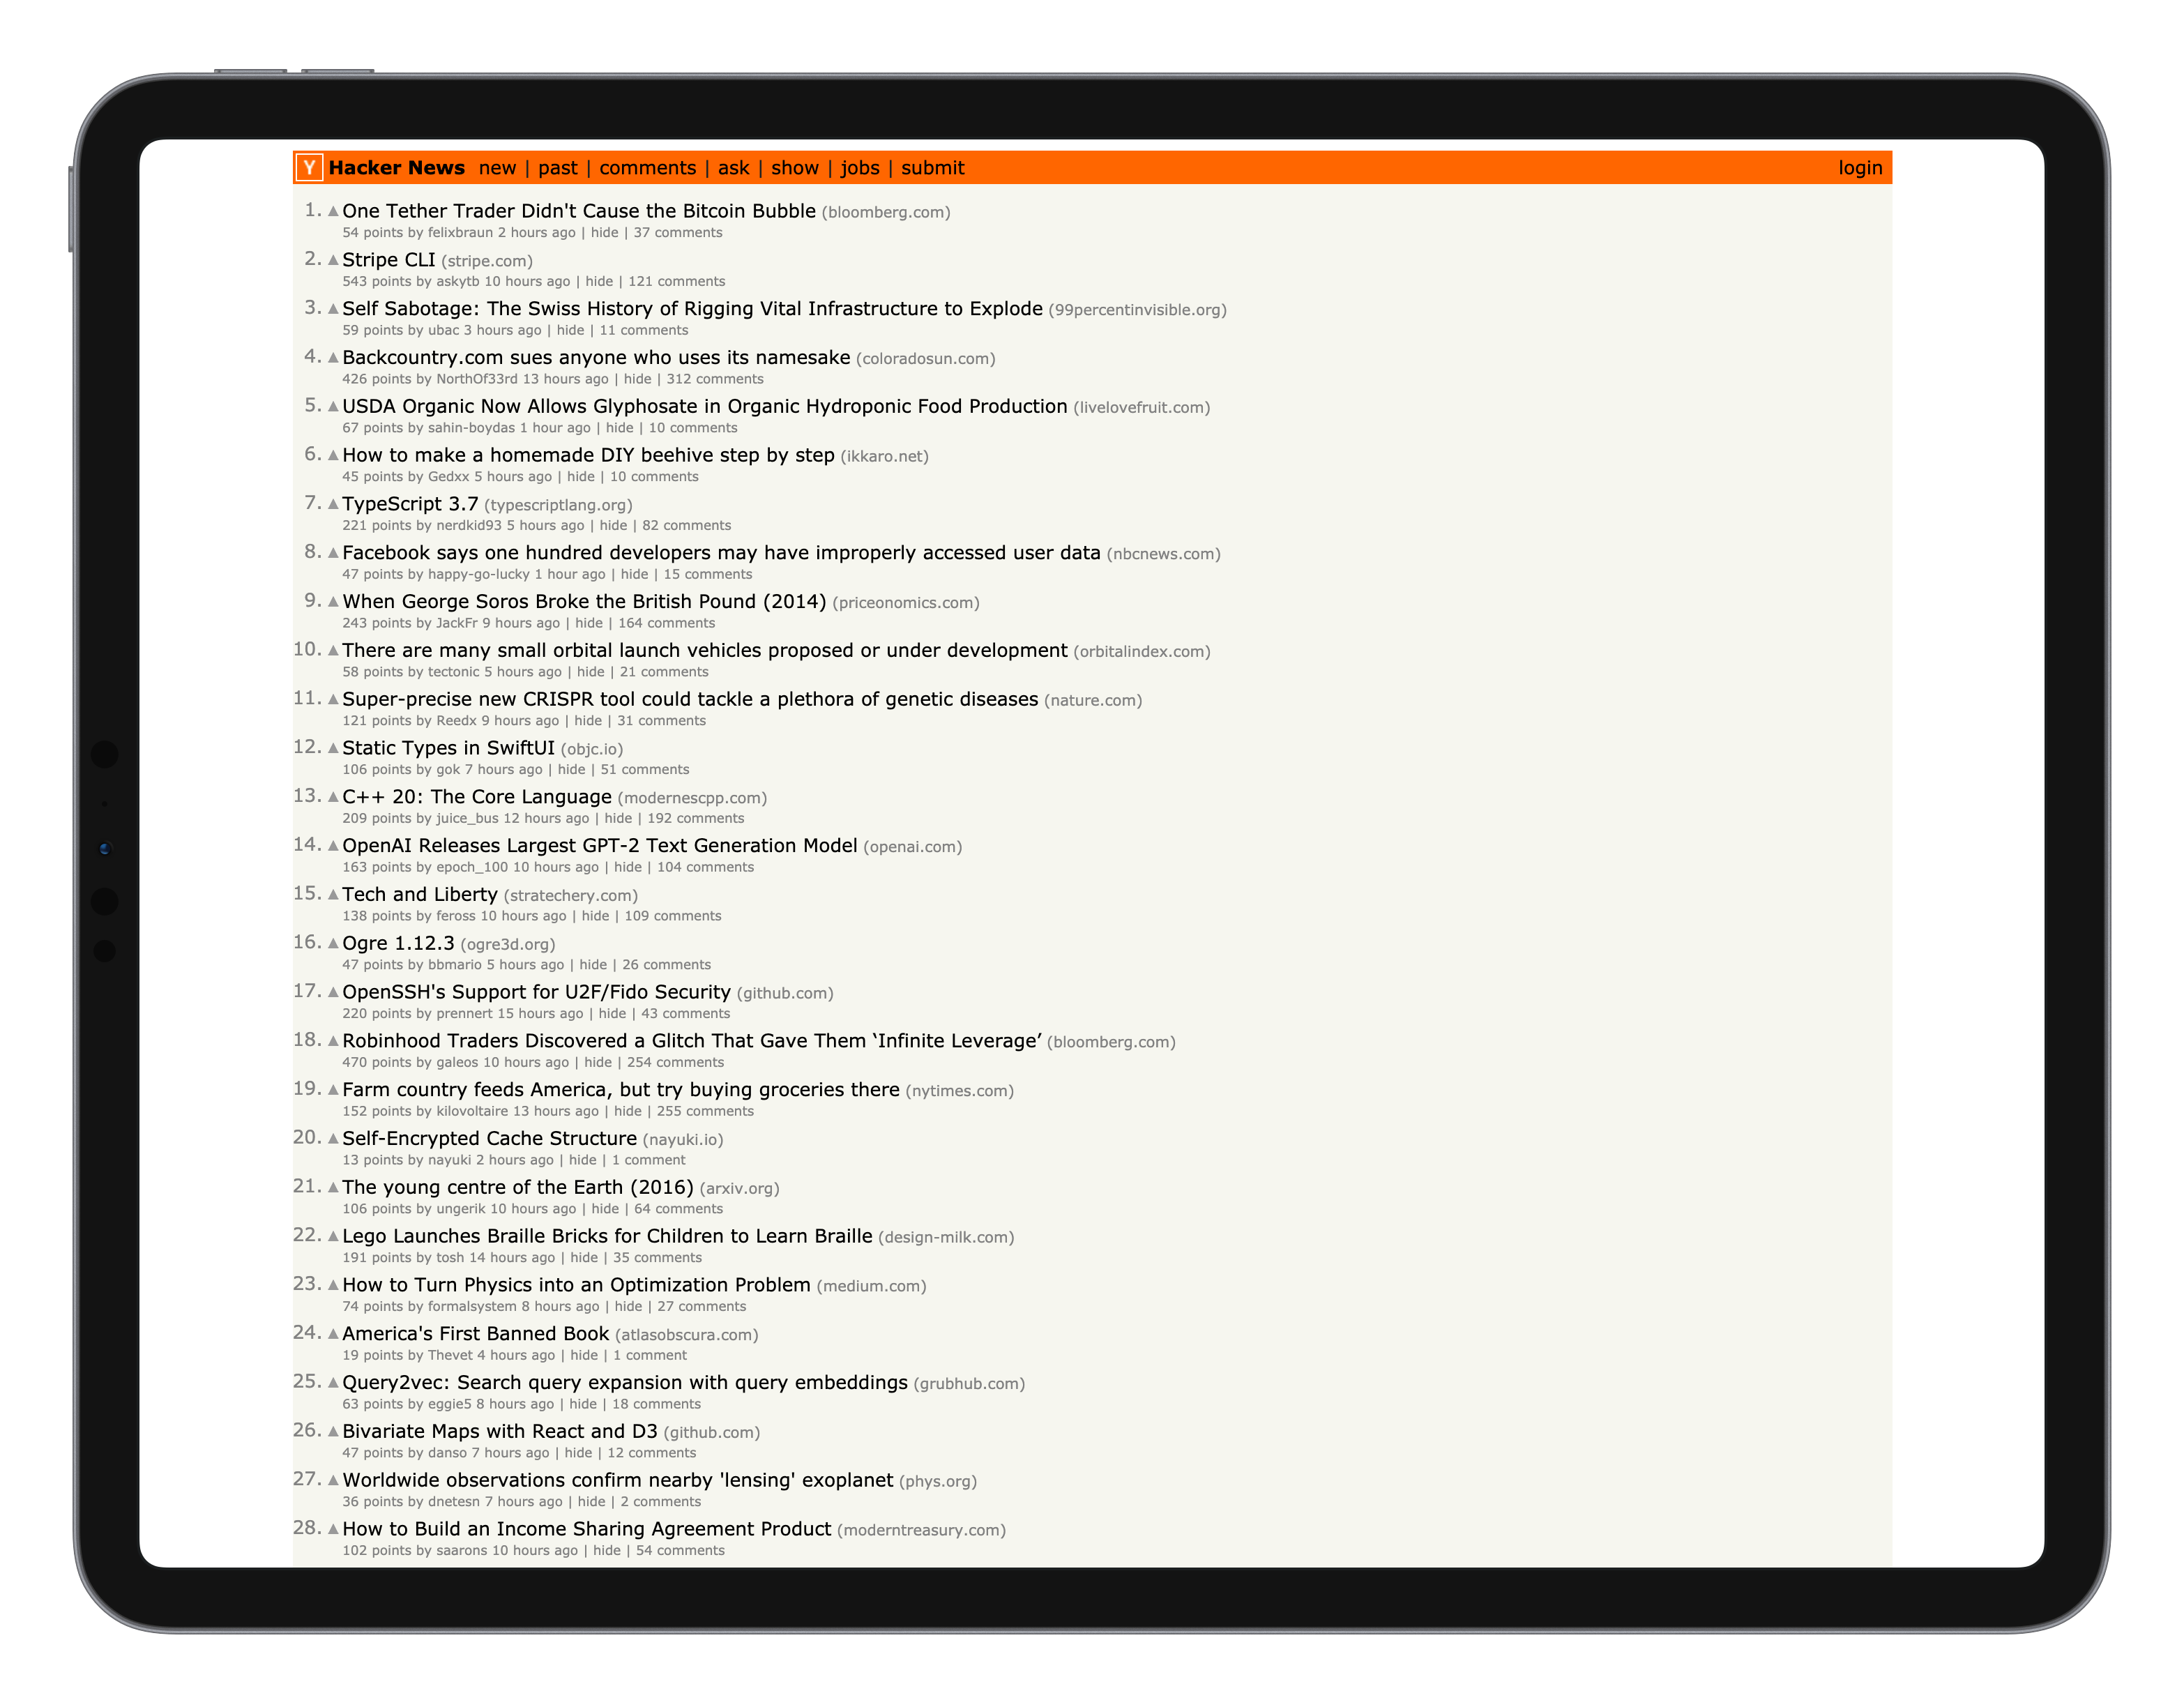
Got a website that you want to create a mockup for? Simply pass in the URL into this CLI and it will generate screenshots with a real browser and then put them into a mockup.
Roadmap
- [ ] Add more devices (MacBook, Desktop, Browser windows, ...).
- [ ] Add more CLI options.
- [ ] Add better folder structure
- [ ] Add support for crawling multiple pages
- [ ] Use a smaller version of puppeteer
- [ ] Add image optimization for size
- [x] Add support for multiple processes multiple threads via worker threads
- [x] Run multiple instances of puppeteer in parallel
Usage
Install locally:
# Install
npm i -g ts-mockup-generator

# Run with a url
ts-mockup-generator --url https://github.com/simulieren/ts-mockup-generator
npx
npx ts-mockup-generator --url https://github.com/simulieren/ts-mockup-generatorNote: This will download about 112MB of Chromium for Puppeteer.
Options
-u --url
URL of site to use for mockup generation. The hostname will be used as the folder name.
Example: https://github.com/simulieren/ts-mockup-generator will generate a folder with the name of github inside of the mockup folder.
-s --scroll (optional)
Default: 20
Increase the distance between screenshots. The browser is scrolled by using the keyboards arrow key.
-w --wait (optional)
Default: 0
Wait in between screenshots and scrolling. This is useful when the page has got animations on scroll and you want to wait for them to finish before taking a screenshot.
-S --skip-images (optional)
Default: false
Skip the screenshot generation process in Puppeteer. Use this if you already generated some images and want to skip to the mockup generation process.
-d --device (optional)
Default: ["iPad Pro landscape", "iPhone X"]
Select a device type to use for the screenshot generation process. You can get a list of available devices from the Puppeteer device list: https://github.com/GoogleChrome/puppeteer/blob/master/lib/DeviceDescriptors.js
-f --folder (optional)
Default: mockups
-D --debug (optional)
Default: false
Debug the CLI options.
Development
dev
npm run dev
Runs the CLI application.
You can pass arguments to your application by running npm run dev -- --your-argument. The extra -- is so that your arguments are passed to your CLI application, and not npm.
npm run dev -- --url https://www.google.comclean
npm run clean
Removes any built code and any built executables.
build
npm run build
Cleans, then builds the TypeScript code.
Your built code will be in the ./dist/ directory.
test
npm run test
Cleans, then builds, and tests the built code.
bundle
npm run bundle
Cleans, then builds, then bundles into native executables for Windows, Mac, and Linux.
Your shareable executables will be in the ./exec/ directory.
Credits
This is based on the typescript-cli-starter by Khalid Zoabi
Devices are by FACEBOOK Design.


