tinacms-condition-field
v1.0.6
Published
Adds a condition field to TinaCMS
Downloads
4
Readme
tinacms-condition-field 

Adds a condition field to TinaCMS
Article
If you want to read more in depth walk through to how this condition field works, checkout my article here: https://mintel.me/lets-create-a-conditional-field-for-tinacms/
Preview
Markdown

JSON

Install
npm install --save tinacms-condition-fieldor
yarn add tinacms-condition-fieldManual
import TinaCMSConditionField from 'tinacms-condition-field'

const conditionField = new TinaCMSConditionField(tinacms);

conditionField.install();
with Gatsby
add to gatsby-browser.js
import TinaCMSConditionField from 'tinacms-condition-field'

export const onClientEntry = () => {
  const conditionField = new TinaCMSConditionField(window.tinacms);
  conditionField.install();
}
Usage
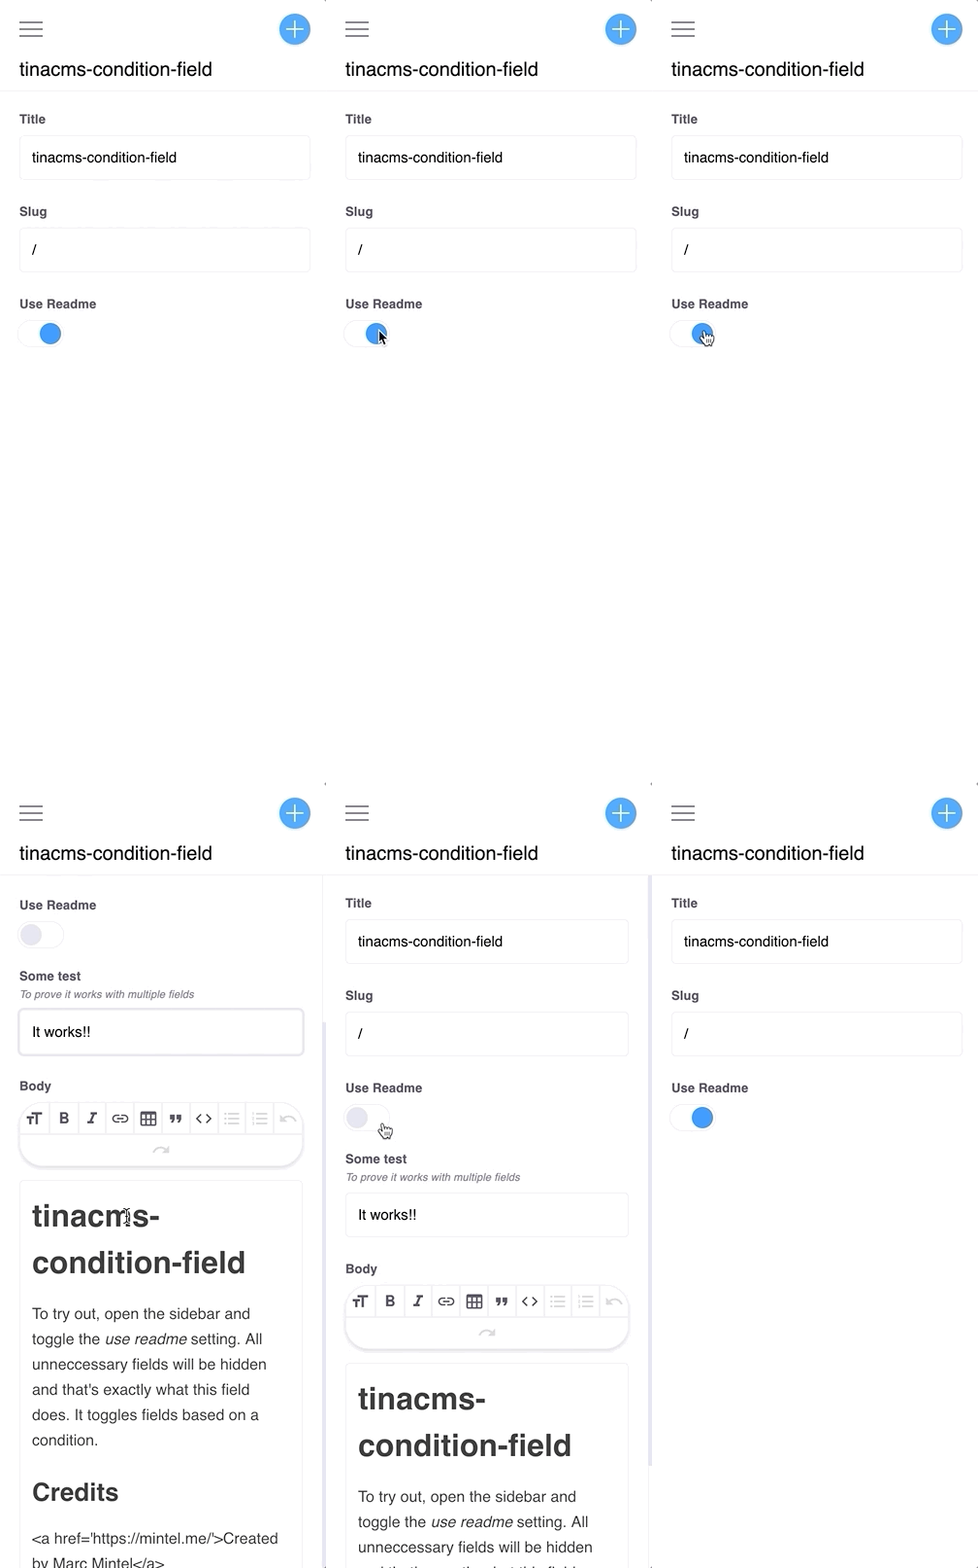
The condition component is applied when specifying component: 'condition' in your field.
It needs a trigger that will toggle your condition. This can be any component usable with TinaCMS.
The value is then passed to the fields method. Based on this value you can control which fields to return.
If you don't return anything nothing will be displayed.
Examples
{
  name: 'frontmatter.useReadme',
  component: 'condition',
  label: 'Use Readme',
  trigger: {
    component: 'toggle'
  },
  fields: useReadme => {
    if (!useReadme) {
      return [
        {
          name: 'frontmatter.test',
          component: 'text',
          label: 'Some test',
          description: 'To prove it works with multiple fields'
        },
        {
          label: 'Body',
          component: 'markdown',
          name: 'rawMarkdownBody'
        }
      ]
    }
  }
}
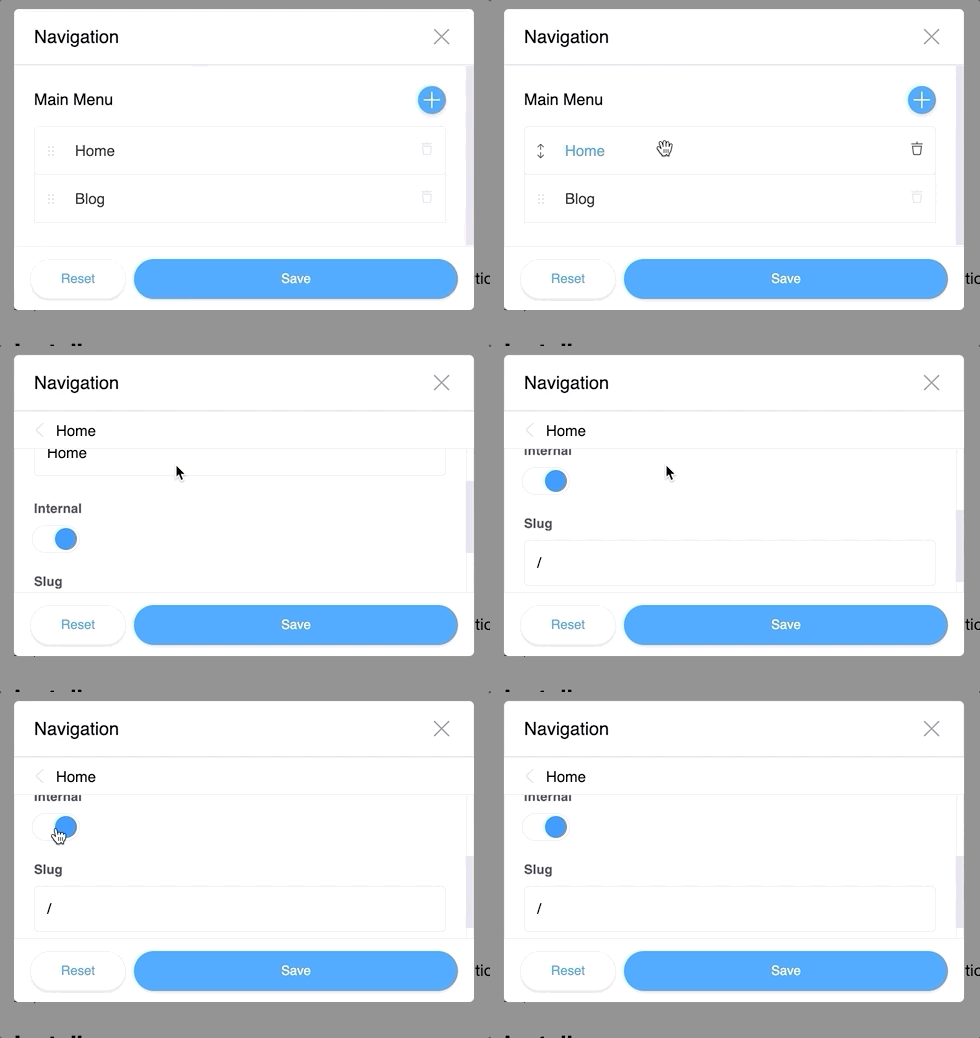
{
label: 'Internal',
name: 'internal',
description: 'Set to false if you want link to another website',
component: "condition",
trigger: {
component: "toggle"
},
fields: (internal) => {
return internal ? [
{
label: "Slug",
name: "slug",
component: "text"
}
] : [
{
label: "Link",
name: "link",
component: "text",
}
]
}
},