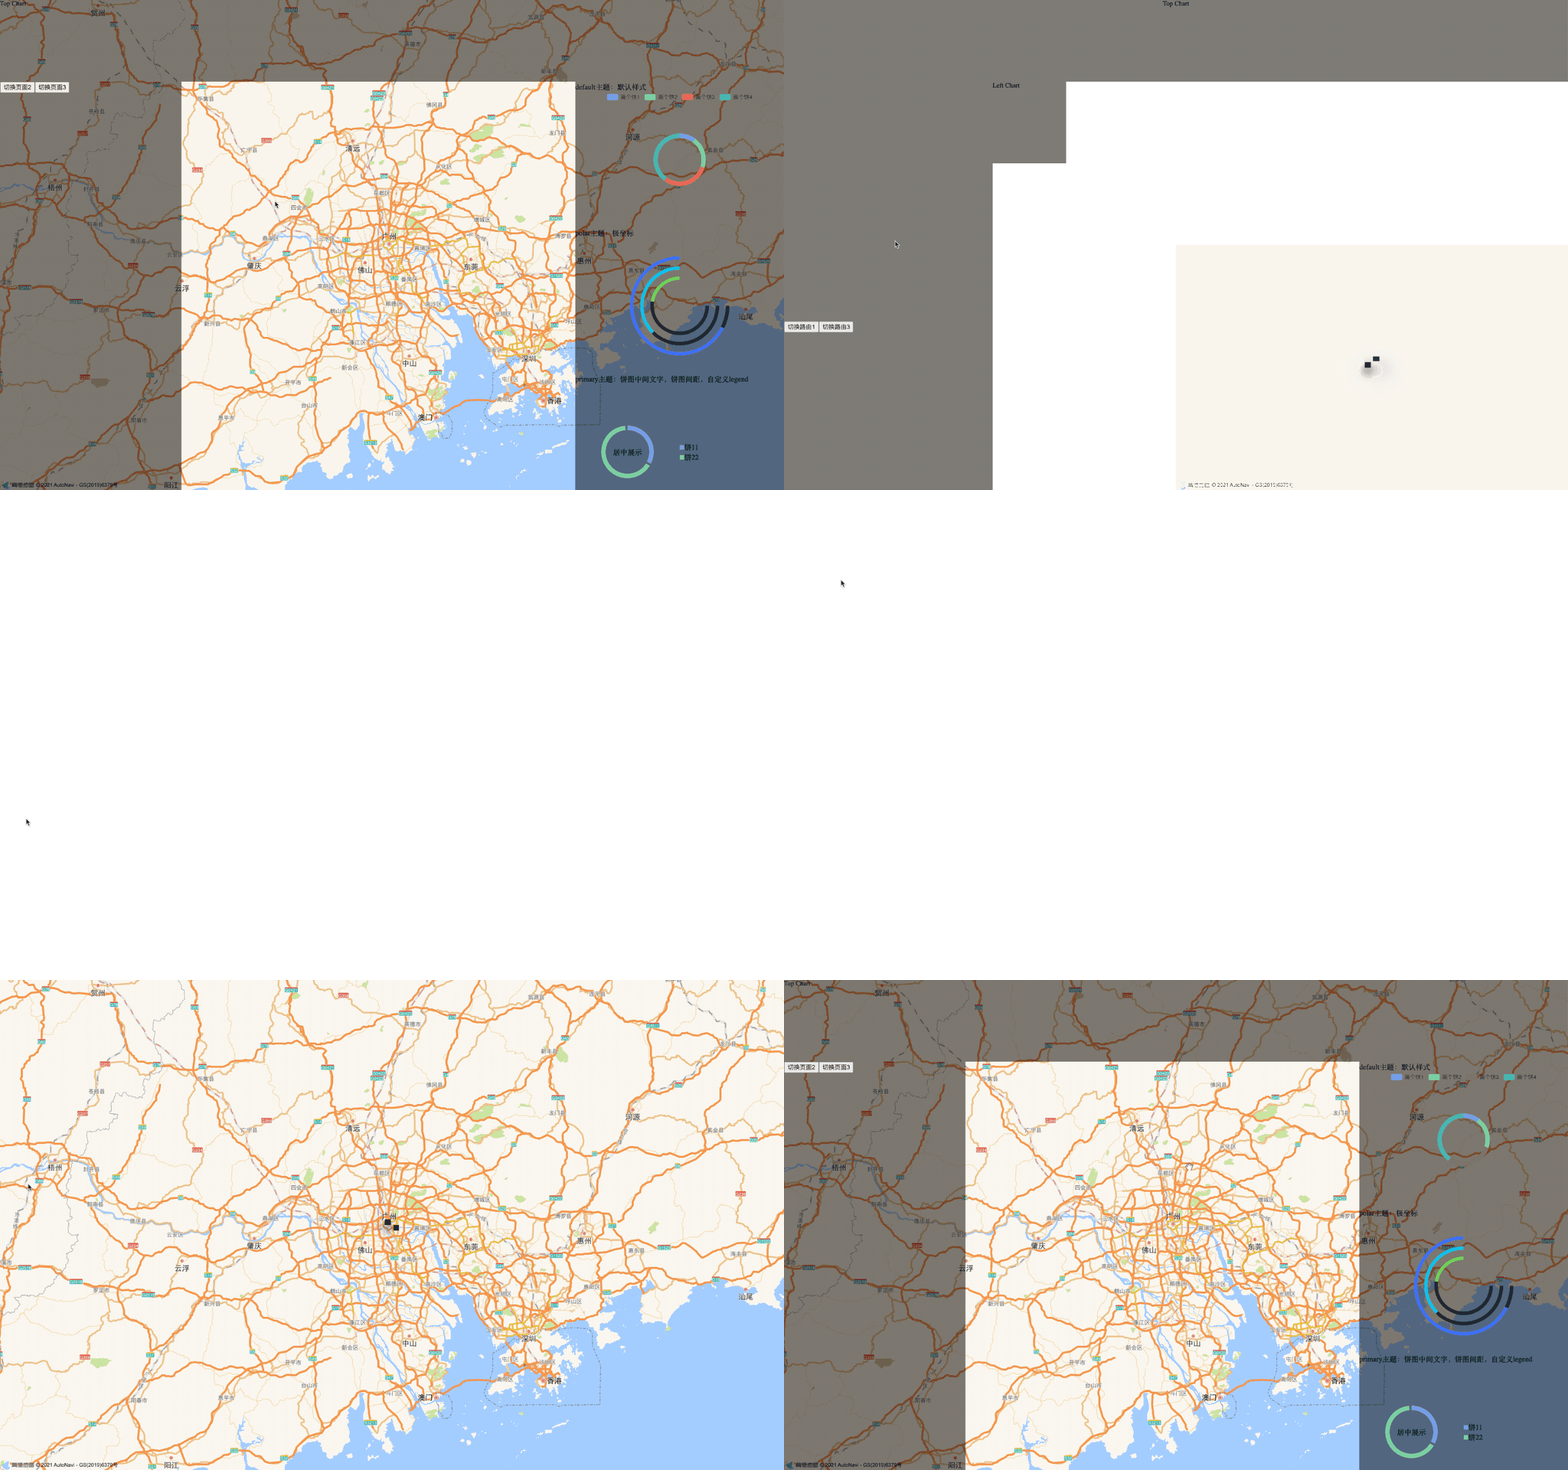
tgg-large-screen
v1.0.9
Published
大屏适配等比无压缩自适应框架-react
Downloads
20
Readme
Example
基本演示
git clone https://github.com/china78/tgg-large-screen-demo.git
实战项目
git clone https://github.com/china78/large-screen-demo-lishui.git

1. yarn install
2. yarn start
Introduction
tgg-large-screen 组件库基于 React 封装,主要用于构建大屏(全屏)数据展示页面即数据可视化 利用响应式的适配方式,不管是在 PC 端,还是投放到大屏上,不管是 1440*768,1080p,还是 2k,4k 甚至更大分辨率的屏幕,都只需要 1 次适配,多屏幕兼容。 以 UI 设计图为基准,适配好一个尺寸,理论上可以支持任意相似屏幕比例的屏幕

响应式布局
 在 1920px*1080px 的画布上,即使缩小到 1440*768,或者放大到 3840*2160,所有内容将自动缩放成相应比例值,也无需重新适配
Install
npm: npm i tgg-large-screen 或 yarn: yarn add tgg-large-screen
Use
1. 创建容器
根据 UI 的设计图,创建相应的画布大小,画布大小一般为 1920px*1080px 在父组件中引入 ScaleViewContainer,将对容器内的所有子组件进行缩放处理
例 1
import { ScaleViewContainer } from 'tgg-large-screen';

const Component = () => {
  return (
    <ScaleViewContainer
      config={{
        width: 1920, // (必选)容器宽度;如 1920,
        height: 1080, // (必选)容器高度;如 1080,
        scaleType: 'FULL_SCREEN',
      }}
    ></ScaleViewContainer>
  );
};
例 2 ScaleViewContainer 与 ScaleViewItem 不一定是父子关系,也可以是爷孙关系。 因此可以将 ScaleViewContainer 提取到最外层中,对全局组件进行适配
// 1. 新建配置文件, 如./config.js
export default {
  container: {
    width: 1920, // (必选)容器宽度;如 1920,
    height: 1080, // (必选)容器高度;如 1080,
    scaleType: 'FULL_SCREEN',
  },
};
// 2. 实例化容器组件, 如./DemoDataV.js
import { ScaleViewContainer } from 'tgg-large-screen';
import Config from './config';
const DemoDataV = props => {
return (
<ScaleViewContainer
config={Config.container}
className={styles.scaleViewContainer}
>
<Switch>
<Route
path="/demo"
exact
render={() => <Redirect to="/demo/data-v1" />}
/>
<Route path="/demo/data-v1" component={LoadableDataV1} />
<Route path="/demo/data-v2" component={LoadableDataV2} />
<Route path="/demo/data-v3" component={LoadableDataV3} />
</Switch>
</ScaleViewContainer>
);
};
export default DemoDataV;2. 创建子组件
例 1
import { ScaleViewContainer, ScaleViewItem } from 'tgg-large-screen';

const Parent = () => {
  return (
    <ScaleViewContainer
      config={{
        width: 1920, // (必选)容器宽度;如 1920,
        height: 1080, // (必选)容器高度;如 1080,
        scaleType: 'FULL_SCREEN',
      }}
    >
      <Children></Children>
    </ScaleViewContainer>
  );
};

const Children = () => {
  return (
    <ScaleViewItem
      config={{
        id: 'headerChart',
        style: { left: 0, top: 0, width: '100%', height: 200 },
        transition: {
          anim: 'slide',
          from: 'top',
          timeout: 300,
          delay: 100,
        },
        contentStyle: { background: 'rgba(0,0,0,0.5)' },
      }}
    ></ScaleViewItem>
  );
};
例 2
// 1. 为了代码简介,可以吧配置信息统一放在配置文件中
// ./config.js
export default {
  topChart: {
    id: 'topChart',
    style: {
      left: 0,
      top: 0,
      right: 0,
      width: '100%',
      height: 200,
    },
    transition: {
      anim: 'slide',
      from: 'top',
      timeout: 300,
      delay: 300,
    },
    mode: 'adaptWidth',
  },
  leftChart: {
    id: 'leftChart',
    style: {
      left: 0,
      bottom: 0,
      width: 400,
    },
    transition: {
      anim: 'slide',
      from: 'left',
      timeout: 300,
      delay: 300,
    },
    mode: 'scaleXFix',
    relations: {
      layoutBelow: 'topChart',
    },
  },
  rightChart: {
    id: 'rightChart',
    style: {
      right: 0,
      bottom: 0,
      width: 460,
    },
    transition: {
      anim: 'slide',
      from: 'right',
      timeout: 300,
      delay: 300,
    },
    mode: 'scaleXFix',
    relations: {
      layoutBelow: 'topChart',
    },
  },
  mapChart: {
    style: {
      left: 0,
      top: 0,
      width: '100%',
      height: '100%',
    },
    mode: 'fixed',
  },
};
// 2. 实例化组件,在页面中引入ScaleViewItem
import React, { useEffect } from 'react';
import { ScaleViewItem } from 'tgg-large-screen';
import { Map } from '@/components';
import Config from './config';
import styles from './DataV1.module.less';
const DataV1 = props => {
return (
<>
<ScaleViewItem config={Config.mapChart}>
<Map></Map>
</ScaleViewItem>
<ScaleViewItem config={Config.leftChart} contentClass={styles.leftChart}>
LeftChart
</ScaleViewItem>
<ScaleViewItem config={Config.topChart} contentClass={styles.topChart}>
Top Chart
</ScaleViewItem>
<ScaleViewItem
config={Config.rightChart}
contentClass={styles.rightChart}
>
Right Chart
</ScaleViewItem>
</>
);
};
export default DataV1;Document
1. ScaleViewContainer
使用 ScaleViewContainer 作为大屏的容器组件,可以根据当前浏览器的像素宽高,将容器内的组件统一按照某个计算比值进行缩放。用户只需要按照设计稿还原 UI,使用该组件,可以在任何分辨率的浏览器中按比例尽可能还原。 | 参数 | 说明 | 类型 | 默认值 | 必选 | | ------------ | ---------------------------------------- | ------ | ------ | ---- | | config | 设置容器画布(内容区域)的尺寸及缩放模式 | object | 无 | 是 | | style | 容器的样式 | object | 无 | 否 | | className | 容器的 class | class | 无 | 否 | | contentStyle | 容器画布(内容区域)的样式 | object | 无 | 否 | | contentClass | 容器画布(内容区域)的 class | class | 无 | 否 |
1.1 config
| 参数 | 说明 | 类型 | 默认值 | | --------- | ---------------------------------------------------------------------------------------------------------------------------------------------------- | ------ | ------ | | width | 容器宽度 | Number | | | height | 容器高度 | Number | | | scaleType | 容器缩放模式:FULL_SCREEN适应全屏,ADAPT_HEIGHT宽度铺满,高度按比例缩放, ADAPT_WIDTH高度铺满,宽度按比例缩放 | String | |
2. ScaleViewItem
| 参数 | 说明 | 类型 | 默认值 | 必选 | | ------------ | ------------------------------------------------------------------------------------------------------------------------------------------------------------ | ------ | -------- | ---- | | style | Item 容器的样式 | object | 无 | 否 | | mode | Item 容器的缩放模式:standard,fixed,scaleXFix,scaleYFix,adaptWidth,adaptHeight | string | standard | 否 | | transition | 进场动画 | object | 无 | 否 | | relations | Item 间相对关系 | object | 无 | 否 | | className | Item 容器的 class | class | 无 | 否 | | contentStyle | Item 内容区域的样式 | object | 无 | 否 | | contentClass | Item 内容区域的 class | class | 无 | 否 | | config | Item 统一设置(主要目的是减少组件参数数量):stylemodetransitionrelationscontentStyle | object | 无 | 否 |
2.1 mode 缩放模式
| 参数 | 说明 | 类型 | 默认值 | 必选 |
| ------------------ | ------------------------------------------------------------------------------------------------------------------------------------------------------------------------------------------------ | ------ | ------ | ---- |
| mode='standard' | 跟随容器缩放,不改变 item 的 width、height、scale(默认) | string | 无 | 否 |
| mode='fixed' | 跟随容器缩放,自动改变 item 的 width、height、scale。内容不会变形,但会被裁剪;使 item 大小不依赖 scale,而是通过改变宽高来适配;建议仅在地图上使用; | string | 无 | 否 |
| mode='scaleXFix' | 跟随容器缩放,不改变 item 的 width、height,不改变 scaleY,自动改变 scaleX。内容不会变形。保持 scaleY,通过调整 scaleX 来保持内容不变形。 | string | 无 | 否 |
| mode='scaleYFix' | 跟随容器缩放,不改变 item 的 width、height,不改变 scaleX,自动改变 scaleY。内容不会变形。保持 scaleX,通过调整 scaleY 来保持内容不变形。 | string | 无 | 否 |
| mode='adaptWidth' | 跟隨容器縮放,宽度相对固定,高度自动缩放。 当 container.scaleX / container.scaleY > 1 时,自动改变 width,scaleX;当 container.scaleX / container.scaleY < 1 时,自动改变 scaleY,内容不会变形; | string | 无 | 否 |
| mode='adaptHeight' | 跟随容器缩放,高度相对固定,宽度自动缩放。当 container.scaleX / container.scaleY > 1 时,自动改变 scaleX;当 container.scaleX / container.scaleY < 1 时,自动改变 height, scaleY,内容不会变形; | string | 无 | 否 |
注意:由于大多数地图 api 都对地图上的鼠标事件进行了监听处理,对组件进行 transform 变化时会出现偏移,使用 mode='fixed'可以解决这一问题
2.2 transition 进场动画
| 参数 | 说明 | 类型 | 默认值 | 必选 | | ------- | --------------------------------------------------------------------------------------------------------- | ------ | ------ | ---- | | anim | 进场动画方式:slideopacity | string | 无 | 是 | | from | 进场方向,仅当 anim='slide'时生效:lefttoprightbottom | string | 无 | 否 | | timeout | 执行时间 | number | 无 | 是 | | delay | 延迟时间 | number | 无 | 否 |
// 例如
const transition = {
  anim: 'slide',
  from: 'left',
  timeout: 150,
  delay: 150,
};
2.3 relations Item 间相对关系
| 参数 | 说明 | 类型 | 默认值 | 必选 | | --------------- | ---------------------------- | ------ | ------ | ---- | | layoutBelow: id | 位于 id 元素正下方 | string | 无 | 否 | | layoutAbove: id | 位于 id 元素正上方 | string | 无 | 否 | | toLeftOf: id | 位于 id 元素左边 | string | 无 | 否 | | toRightOf: id | 位于 id 元素右边 | string | 无 | 否 | | alignLeft: id | 左边界与 id 元素的左边界对齐 | string | 无 | 否 | | alignRight: id | 右边界 id 元素的右边界对齐 | string | 无 | 否 | | alignTop: id | 上边界与 id 上边界对齐 | string | 无 | 否 | | alignBottom: id | 下边界与 id 下边界对齐 | string | 无 | 否 |
// 例如
const relations = {
  layoutBelow: 'chart1',
  layoutAbove: 'chart2',
};
3. ScaleViewContext
当组件不在 ScaleViewContainer 的子组件中,而在孙子组件中,由于使用 ScaleViewItem 层级嵌套太多容易出现样式错乱问题,这时可以使用 ScaleViewContext 来获取 ScaleViewContainer 的容器参数,来对组件做适配。 注意:ScaleViewContext 与 ScaleViewContainer 必须在同一上下文
import React from 'react';
import { ScaleViewContext } from 'tgg-large-screen';

const ContextDemo = props => {
  return (
    <ScaleViewContext.Consumer>
      {({ size }) => {
        return (
          <div style={{ fontSize: 40 }}>
            <div>size.scaleX: {size.scaleX}</div>
            <div>size.scaleY: {size.scaleY}</div>
            <div>size.width: {size.width}</div>
            <div>size.height: {size.height}</div>
          </div>
        );
      }}
    </ScaleViewContext.Consumer>
  );
};

export default ContextDemo;
4. useSize
useSize 使用 hooks 方式获取容器参数
import React from 'react';
import { useSize } from 'tgg-large-screen';

const Demo = props => {
  const size = useSize();
  return (
    <div style={{ fontSize: 40 }}>
      <div>size.scaleX: {size.scaleX}</div>
      <div>size.scaleY: {size.scaleY}</div>
      <div>size.width: {size.width}</div>
      <div>size.height: {size.height}</div>
    </div>
  );
};

export default ContextDemo;
5. withSize
withSize 使用 HOC 方式注入容器参数
import React from 'react';
import { withSize } from 'tgg-large-screen';

const Demo = props => {
  const { size } = props;
  return (
    <div style={{ fontSize: 40 }}>
      <div>size.scaleX: {size.scaleX}</div>
      <div>size.scaleY: {size.scaleY}</div>
      <div>size.width: {size.width}</div>
      <div>size.height: {size.height}</div>
    </div>
  );
};

export default withSize(ContextDemo);
完整例子
import React, { Component } from 'react';
import { ScaleViewContainer, ScaleViewItem } from 'tgg-large-screen';
import './App.css';
class App extends Component {
  render() {
    return (
      <ScaleViewContainer
        config={{
          width: 1920, // (必选)容器宽度;如 1920,
          height: 1080, // (必选)容器高度;如 1080,
          scaleType: 'FULL_SCREEN',
        }}
      >
        <ScaleViewItem
          config={{
            id: 'headerChart',
            style: { left: 0, top: 0, width: '100%', height: 200 },
            transition: {
              anim: 'slide',
              from: 'top',
              timeout: 300,
              delay: 100,
            },
            contentStyle: { background: 'rgba(0,0,0,0.5)' },
          }}
        ></ScaleViewItem>
        <ScaleViewItem
          config={{
            style: { left: 0, top: 0, bottom: 0, width: 450 },
            transition: {
              anim: 'slide',
              from: 'left',
              timeout: 300,
              delay: 100,
            },
            contentStyle: { background: 'rgba(0,0,0,0.5)' },
            relations: {
              layoutBelow: 'headerChart',
            },
          }}
        ></ScaleViewItem>
        <ScaleViewItem
          config={{
            style: { right: 0, top: 0, bottom: 0, width: 450 },
            transition: {
              anim: 'slide',
              from: 'right',
              timeout: 300,
              delay: 100,
            },
            contentStyle: { background: 'rgba(0,0,0,0.5)' },
            relations: {
              layoutBelow: 'headerChart',
            },
          }}
        ></ScaleViewItem>
      </ScaleViewContainer>
    );
  }
}

export default App;
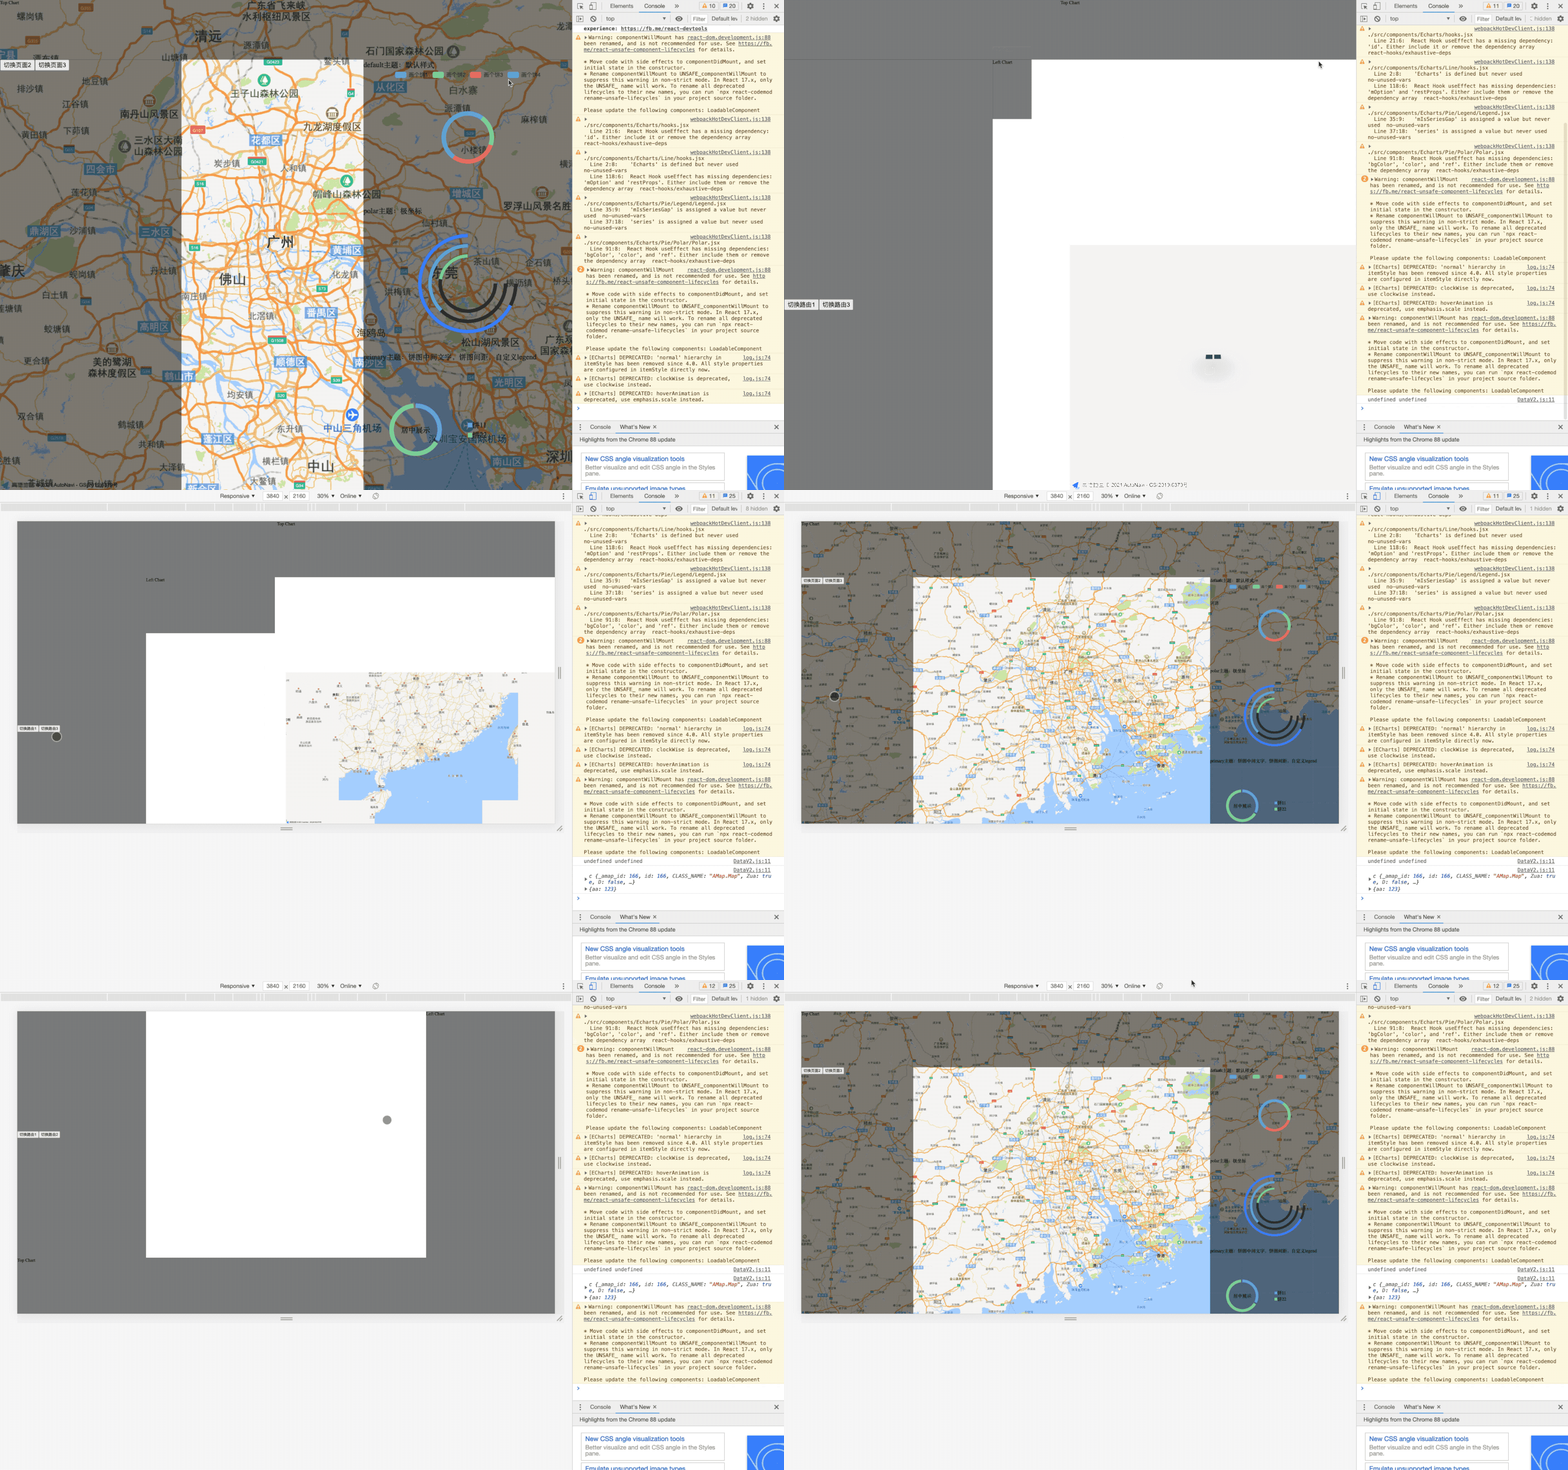
运行效果

注意:在开发中使用一些第三方的 UI 库或 API 时,往往会脱离上下文(Context),或在 ScaleViewContainer 外渲染组件 如: 1. ant-design 会选在 body 下渲染 modal,popcontainer 等 2. 如在地图上创建图标(Marker),海量图(MassMark),弹窗(InfoWindow)等 导致这些组件脱离了 ScaleViewContainer 适配范围。针对这些情况,可以使用ScaleViewContext,useSize,withSize获取 ScaleViewContainer 的缩放比例及容器大小,对第三方组件进行 transform 变化。
