simple-chat-websocket-reactjs
v1.0.6
Published
### Props: In this article we will create a simple chat using websocket, nodeJs and ReactJs. From there you can play around and explore and add your own ideas and features.
Downloads
21
Maintainers
Readme
Simple chat (realtime) with reactjs and websocket


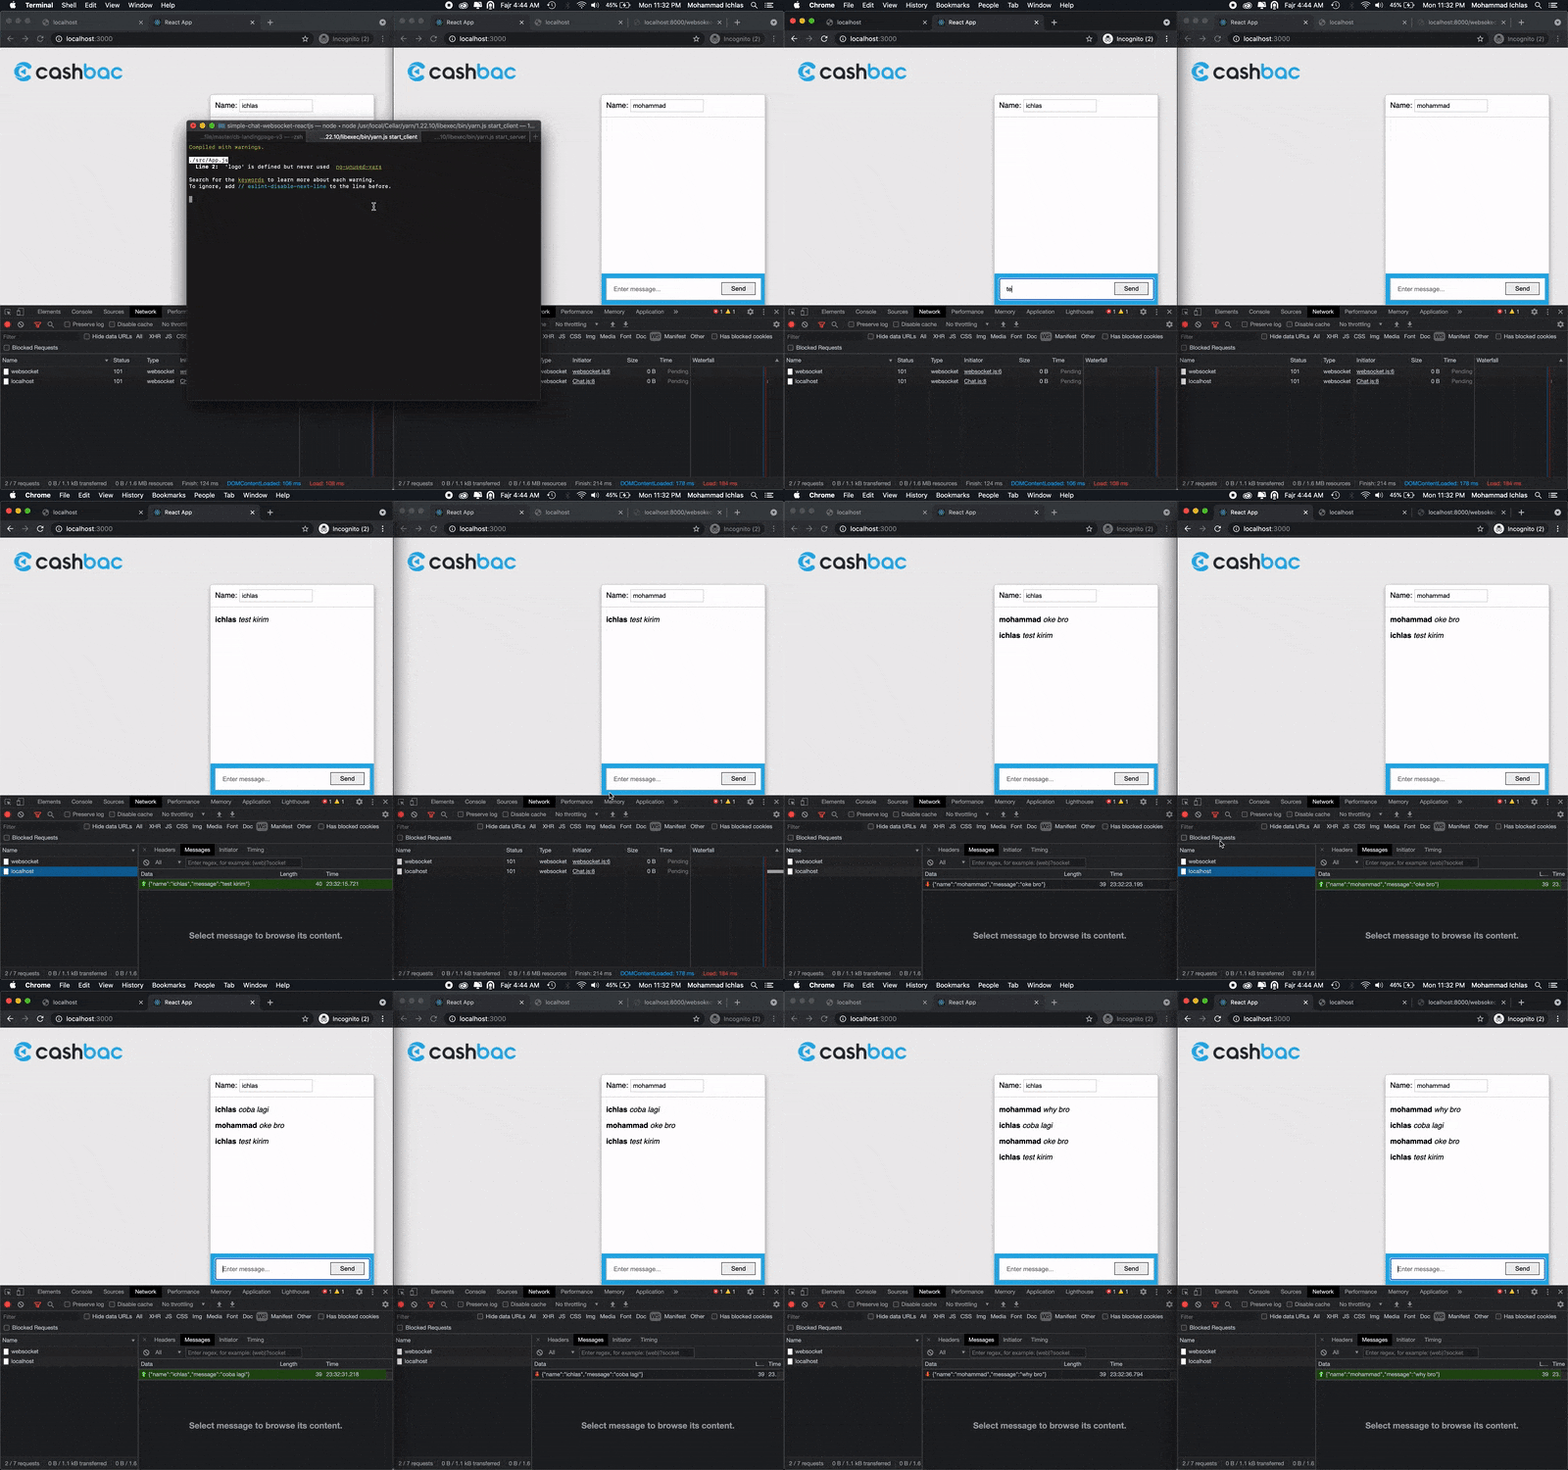
In this article we will create a simple chat using websocket, nodeJs and ReactJs. From there you can play around and explore and add your own ideas and features.
Demo
See demo here

Backend (Nodejs):
Create a simple WebSocket server that broadcasts all incoming messages to everyone that’s connected. Then we will also need the actual server.js file. Which is merely the following:
const WebSocket = require('ws');
const wss = new WebSocket.Server({ port: 3030 });
wss.on('connection', function connection(ws) {
  ws.on('message', function incoming(data) {
    wss.clients.forEach(function each(client) {
      if (client !== ws && client.readyState === WebSocket.OPEN) {
        client.send(data);
      }
    });
  });
});
Frondend (ReactJs):
Create ChatMessage.js component in the directory. This determines how each single chat message will look like:
import React from 'react'
export default ({ name, message }) =>
  <p>
    <strong>{name}</strong> <em>{message}</em>
  </p>
Create a ChatInput.js component. We will display it on top of the chat to enter new messages:
import React, { Component } from 'react'
import PropTypes from 'prop-types'

class ChatInput extends Component {
  static propTypes = {
    onSubmitMessage: PropTypes.func.isRequired,
  }
  state = {
    message: '',
  }

  render() {
    return (
      <form
        action="."
        onSubmit={e => {
          e.preventDefault()
          this.props.onSubmitMessage(this.state.message)
          this.setState({ message: '' })
        }}
      >
        <input
          type="text"
          placeholder={'Enter message...'}
          value={this.state.message}
          onChange={e => this.setState({ message: e.target.value })}
        />
        <input type="submit" value={'Send'} />
      </form>
    )
  }
}

export default ChatInput
Now create the Chat.js component, which will be the center of our chat logic. It holds our state, manage the connection and also send and receive the messages:
import React, { Component } from 'react'
import ChatInput from './ChatInput'
import ChatMessage from './ChatMessage'
const URL = 'ws://localhost:3030'
class Chat extends Component {
state = {
name: 'Ichlas',
messages: [],
}
ws = new WebSocket(URL)
componentDidMount() {
this.ws.onopen = () => {
console.log('connected')
}
this.ws.onmessage = evt => {
const message = JSON.parse(evt.data)
this.addMessage(message)
}
this.ws.onclose = () => {
console.log('disconnected')
this.setState({
ws: new WebSocket(URL),
})
}
}
addMessage = message =>
this.setState(state => ({ messages: [message, ...state.messages] }))
submitMessage = messageString => {
const message = { name: this.state.name, message: messageString }
this.ws.send(JSON.stringify(message))
this.addMessage(message)
}
render() {
return (
<div>
<div class="fixed-chat">
<div class="panel-chat">
<div class="header-chat">
<label htmlFor="name">
Name:
<input
type="text"
id={'name'}
placeholder={'Enter your name...'}
value={this.state.name}
onChange={e => this.setState({ name: e.target.value })}
/>
</label>
</div>
<div class="body-chat">
{this.state.messages.map((message, index) =>
<ChatMessage
key={index}
message={message.message}
name={message.name}
/>,
)}
</div>
<div class="message-chat">
<ChatInput
ws={this.ws}
onSubmitMessage={messageString => this.submitMessage(messageString)}
/>
</div>
</div>
</div>
</div>
)
}
}
export default ChatUpdate your App.js to include the Chat component, so it actually renders on screen.
import React, { Component } from 'react'
import logo from './logo.svg'
import Chat from './Chat'

class App extends Component {
  render() {
    return (
      <div className="App">
        <Chat />
      </div>
    )
  }
}

export default App
Development
# clone project
$ git clone https://github.com/ichlas/simple-chat-websocket-reactjs.git

# install yarn (in directory)
$ yarn install

# serve with hot reload at localhost:3000
$ yarn start_client

# build for production and launch server
$ yarn start_server

# generate static project
$ yarn generate
