
mocha-jshint-stylish
v1.0.4
Published
Run JSHint as mocha tests with the stylish reporter
Downloads
13
Maintainers
 johnkimdev
Readme
mocha-jshint-stylish
This project is based mocha-jshint and jshint-stylish projects. I also added few more options to make more flexible to use.
Run jshint as Mocha tests with the jshint-stylish reporter.
To install in your node.js project as devDependency, run this command, in the root of your project
npm install mocha-jshint-stylish --save-devusage
Mocha defaults to looking for your test specs in the test folder of your project.
Add this file as test/jshint.spec.js in your project, with the following content:
require('mocha-jshint-stylish')();That is it you are done.
To grep only the jshint test, just do
mocha --grep jshintusing with git
If you are using git as version control you can do the following in your test:
require('mocha-jshint-stylish')({
	git: {
		modified: true,
		commits: 2
	}
});
This means that jshint will only lint the files that are modified on disk according to git, and the files modified in the last two git commits.
There is also the masterDiff option:
require('mocha-jshint-stylish')({
	git: {
		modified: true,
		commits: 2,
		masterDiff:true
	}
});
This means that if we are on any other branch than master, only the files changed compared to the master branch
will be linted.
If we are on the master branch, only the files that are modified on disk according to git, and the files modified in the last
two git commits will be linted.
specifying paths
Normally I would recommend configuring what to lint with .jshintignore described in
configuring jshint.
And just lint the working directory.
But if you want to specify specific paths to lint, you can do the following in your test:
require('mocha-jshint-stylish')({
	paths: [
		'/some/path/',
		'/some/other/path'
	]
});
Each path may be either a file path or a directory path, and should yield a valid file or directory when passed
through path.resolve(). Each path listed in the array will be linted on a separate test.
changing test suite name (default: jshint)
The default name for the test suite generated by mocha-jshint is jshint, but it may be overridden in the following manner:
require('mocha-jshint-stylish')({
	title: 'My custom test suite name'
});
verbose output (default: false)
Output the error code at the end of the each message
require('mocha-jshint-stylish')({
	verbose: true
	});
timeout output (default: 90000)
Set timeout for running the code
require('mocha-jshint-stylish')({
	timeout: 90000
	});
Output Reporter (default: stylish)
choose one of the build-in reporters. Either stylish or simple
require('mocha-jshint-stylish')({
reporter: 'stylish'
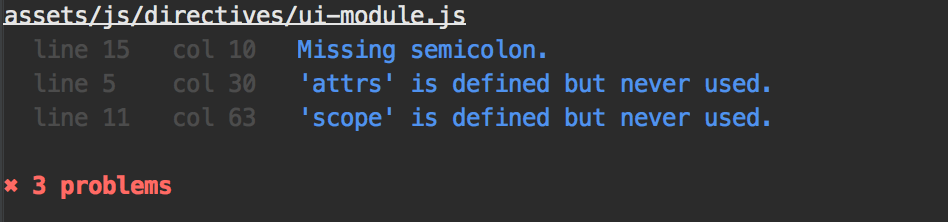
});stylish
or use a custom NPM module or create your own, you can pass the NPM module name or path to a custom reporter file.
require('mocha-jshint-stylish')({
	reporter: 'some-NPM-module-name'
	});
or
require('mocha-jshint-stylish')({
	reporter: '/path/to/custom/reporter.js'
	});
configuring jshint
In the root of your project you can add a .jshintignore file, where each line is a file or directory for jshint to ignore
and not check for errors. (see this project for an example)
At the root of your project you can add a .jshintrc file, that specifies what options you want jshint to run with
(see this project for an example)
You can also add a .jshintrc file to any subdirectory of your project, to override the .jshintrc settings in the root.
For example in this project I allow some global variables in the test folder. Global variables that are set when I
run mocha tests. Global variables that are only allowed to be used, in the .js files in the test folder
License
MIT