idevotion-ionic-components
v1.1.5
Published
Ionic custom components
Downloads
9
Maintainers
Readme
idevotion-ionic-components
Some custom ionic 4 components. I will add new components on regular intervals. If you use it and like it, please feel free to:
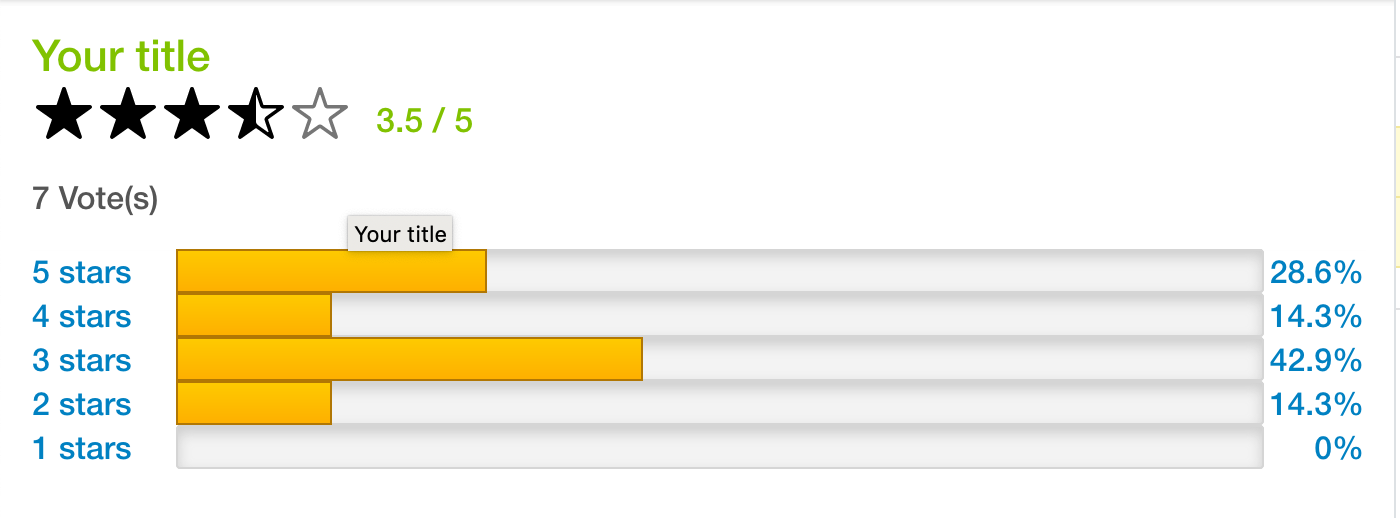
rating-display component
- A component to display rating similar to Amazon display

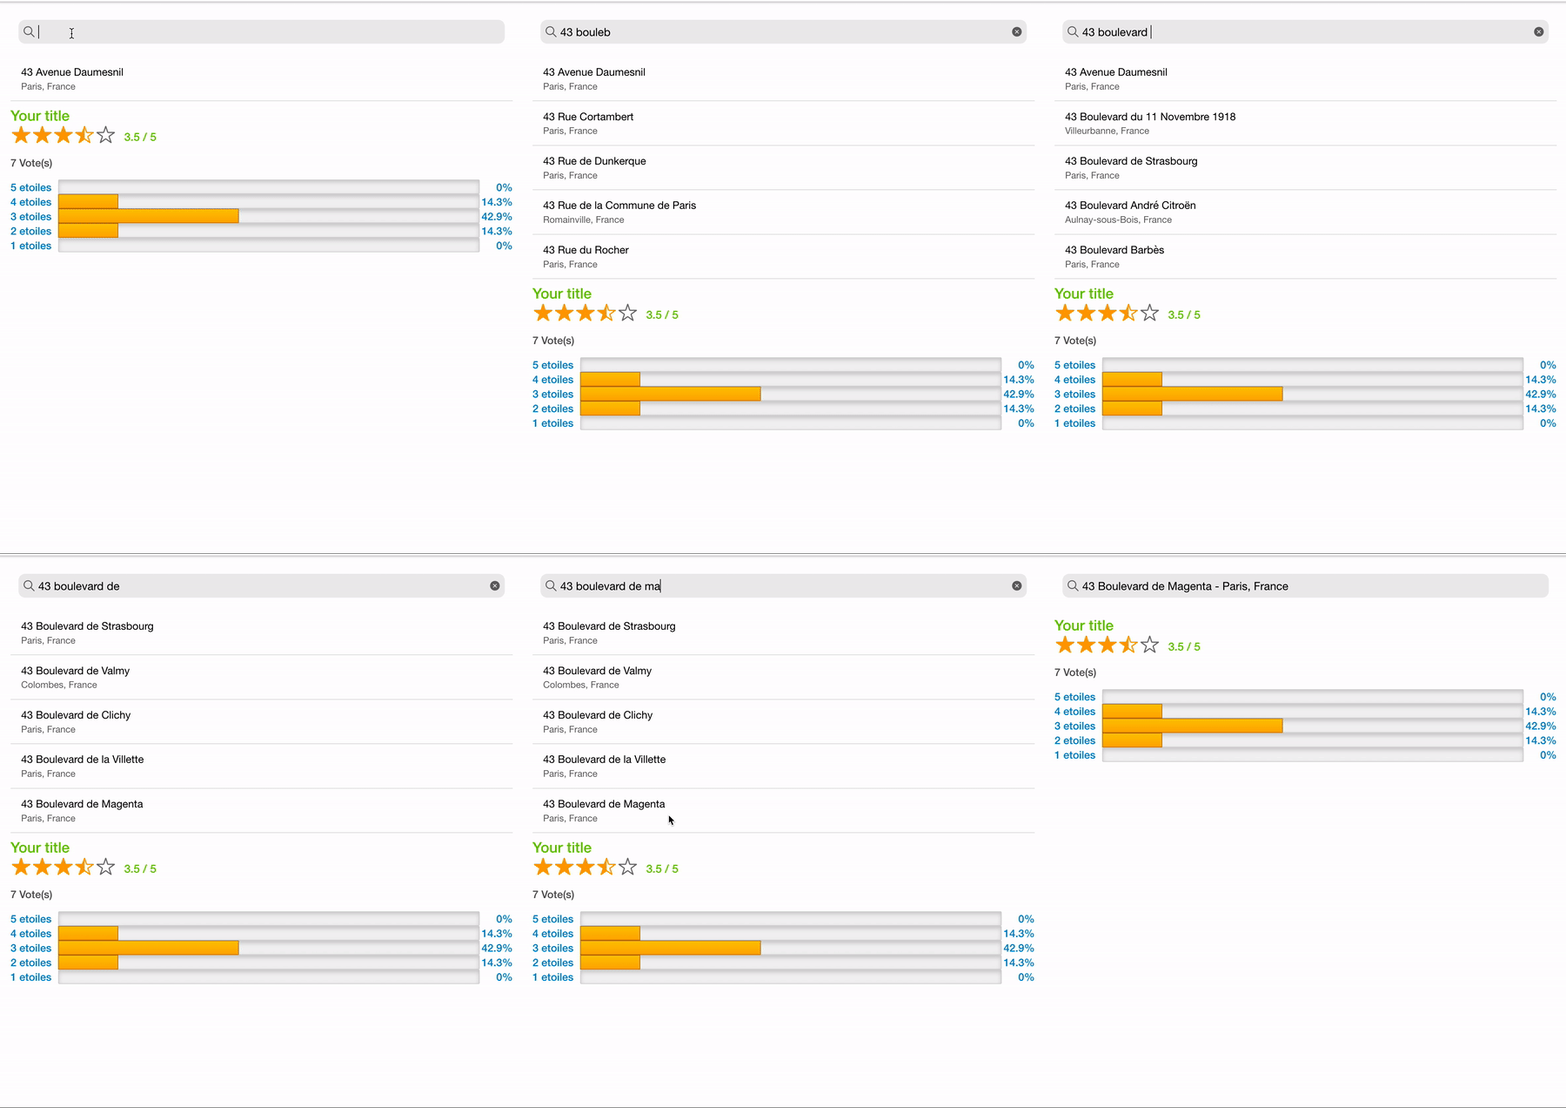
search-places component
- A component to search google places

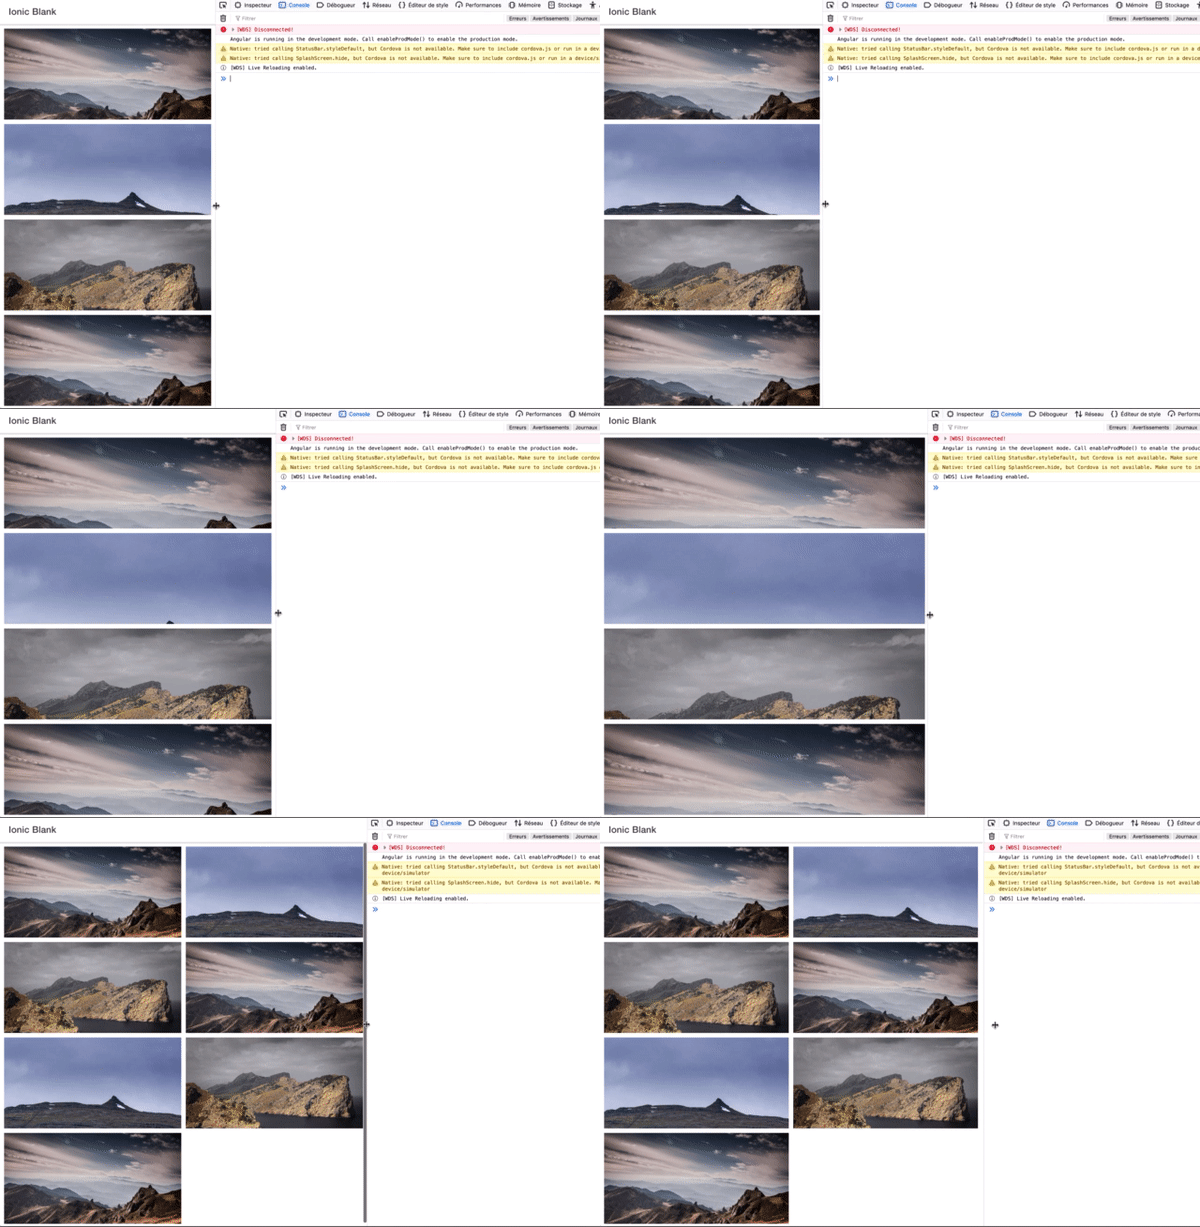
imageGallery component
- A component to display a gallery of images. Two layout supported : standard and pinterest

Installation
To install the components.
$ npm install idevotion-ionic-componentsHow to use:
If you are using Lazy Loading in your application, add the IDevotionIonicComponentModule to the imports section of the page module where you want to display the rating component otherwise import it to your global app.module.ts
import { NgModule } from '@angular/core';
import { CommonModule } from '@angular/common';
import { IonicModule } from '@ionic/angular';
import { FormsModule } from '@angular/forms';
import { RouterModule } from '@angular/router';

import { HomePage } from './home.page';
import {IDevotionIonicComponentModule} from 'idevotion-ionic-component'

@NgModule({
  imports: [
    CommonModule,
    FormsModule,
    IonicModule,
    IDevotionIonicComponentModule,
    RouterModule.forChild([
      {
        path: '',
        component: HomePage
      }
    ])
  ],
  declarations: [HomePage],
  entryComponents:[]
})
export class HomePageModule {}
How to use rating-display:
On your html page you can use :
<rating-display title="YourTitle" totalNote="7" note=3.5 nbNoteOne=0 nbNoteTwo=1 nbNoteThree=3 nbNoteFour=1 nbNote5=2></rating-display>You can customize the following parameters:
| Parameters | Definition | | ------ | ------ | | title | The label you want to display | | labelStars | The label for stars | | note | The note to display | | totalNote | Total number of vote received | | nbNoteOne | Total number received for one star | | nbNoteTwo | Total number received for two star | | nbNotethree | Total number received for three star | | nbNoteFour | Total number received for four star | | nbNoteFive | Total number received for five star | | activeColor | Color for active star (default is #ffa500) | | defaultColor | Default color for inactive star (default is #767676) |
How to use search-places:
To be able to use the component, you need to include the Google Map library to your index.html of your app with a valid API KEY for using places api.
<script src="https://maps.googleapis.com/maps/api/js?v=3&key=<yourapikey>&libraries=places"></script>Please notice that this component use Storage (https://ionicframework.com/docs/building/storage) so we need to include it in your page or app module.
On your html page you can use :
<search-places withHistory=true (itemSelected)="itemSelected($event)"></search-places>You can customize the following parameters:
| Parameters | Definition | | ------ | ------ | | withHistory | Set true if you want the component to save your selected places and display them for futur use | | restrictCountry | true or false (default is true). Use to indicate if your want Google Places to restrict the country in the search | | countryRestricted | List of country iso code you want to restrict. (default is "FR") |
use (itemSelected) event to know when a place is selected.
  itemSelected(item){
    console.log(item)
  }
How to use imageGallery:
Just include the imageGallery tag in your html
  <imageGallery galleryType="standard"
  imagesToDisplay="{{images}}"
  (imagesSelected)="imagesSelected($event)">

    </imageGallery>
You can customize the following parameters:
| Parameters | Definition | | ------ | ------ | | galleryType | standard or pinterest | | imagesToDisplay | a list of images url to display |
Exemple:
let image1 = 'https://images.unsplash.com/photo-1422004707501-e8dad229e17a?fm=jpg';
let image2 = 'https://images.unsplash.com/photo-1439931444800-9bcc83f804a6?fm=jpg';
let image3 = 'https://images.unsplash.com/photo-1417128281290-30a42da46277?fm=jpg';

    this.images=[]
    this.images.push(image1)
    this.images.push(image2)
    this.images.push(image3)
    this.images.push(image1)
    this.images.push(image2)
    this.images.push(image3)
    this.images.push(image1)
use (imagesSelected) event to know when an image is selected.
  imagesSelected(url){
    console.log("Image selected "+url)
  }
ⒸChristophe Surbier 2019
