hyper-postprocessing
v4.0.1
Published
Add fragment shaders to the Hyper terminal.
Downloads
100
Maintainers
Readme
hyper-postprocessing
A Hyper plugin that makes it easy to attach fragment shaders to the terminal window.
Inspired by cool-retro-term.
Examples
|  |
|:---:|
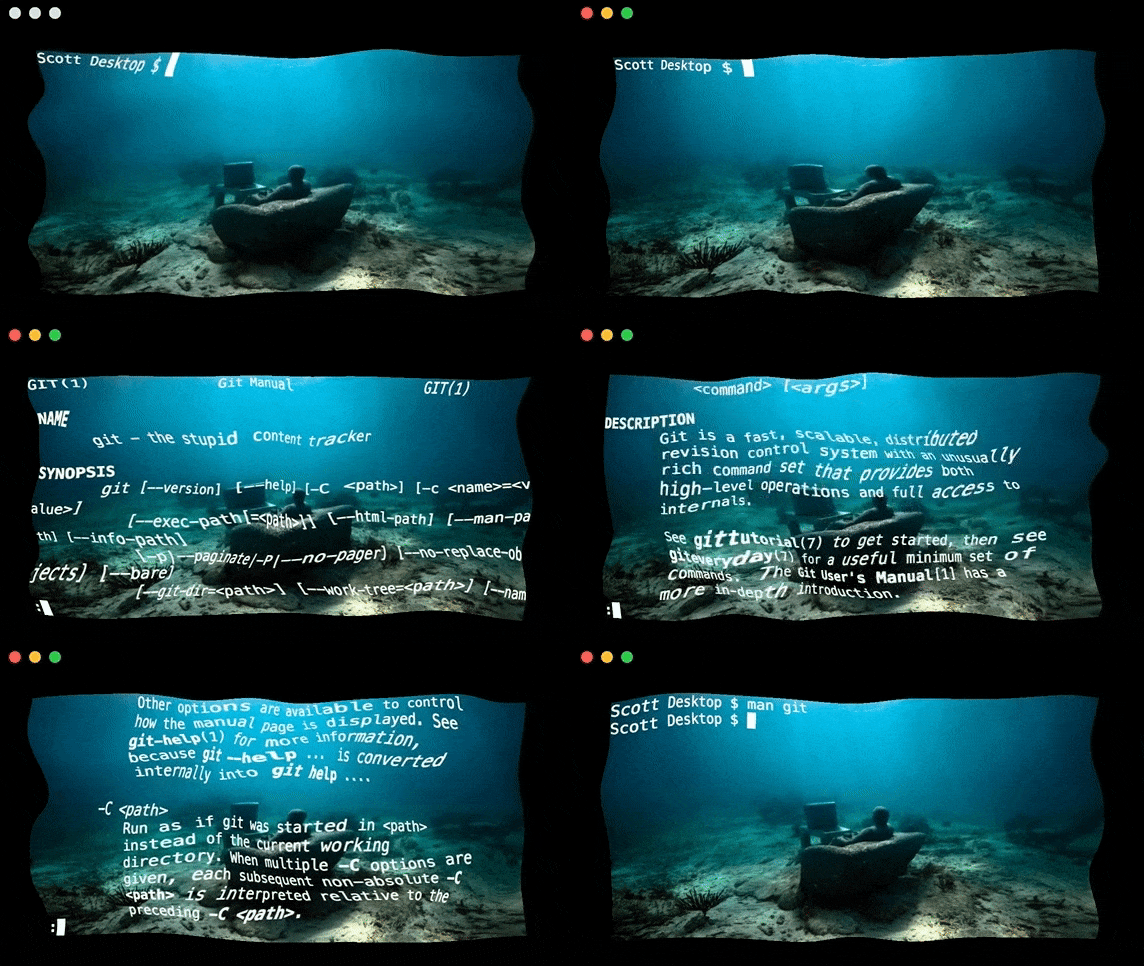
| Some of the effects used in Cool Retro Term ported over by norill. Example
|
|:---:|
| Some of the effects used in Cool Retro Term ported over by norill. Example
|  |
|:---:|
| A killer space shader made by Kali. Example
|
|:---:|
| A killer space shader made by Kali. Example
|  |
|:---:|
| Ripply effect, using a shader made by bitek. Example
|
|:---:|
| Ripply effect, using a shader made by bitek. Example
|  |
|:---:|
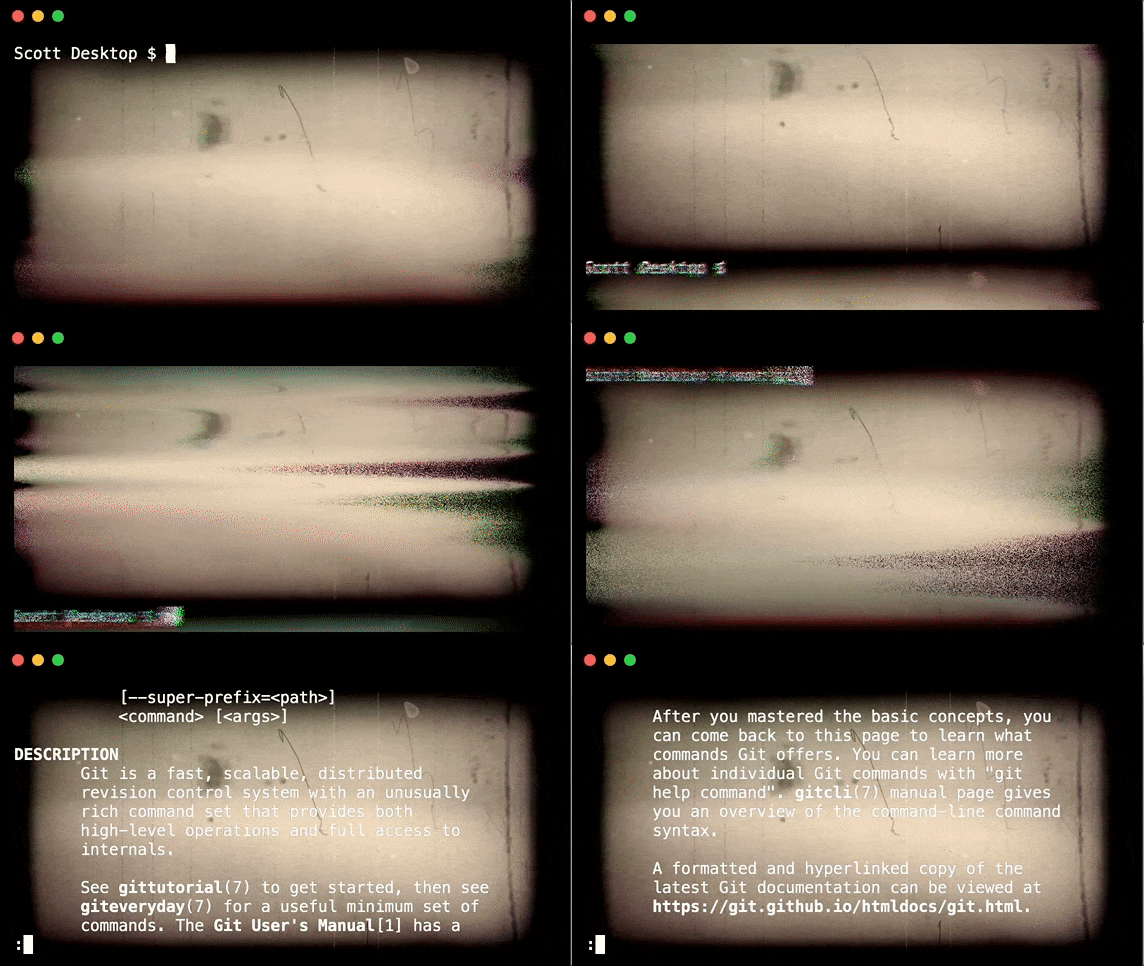
| Retro filmy effect, using a shader made by manoloide. Example
|
|:---:|
| Retro filmy effect, using a shader made by manoloide. Example
|  |
|:---:|
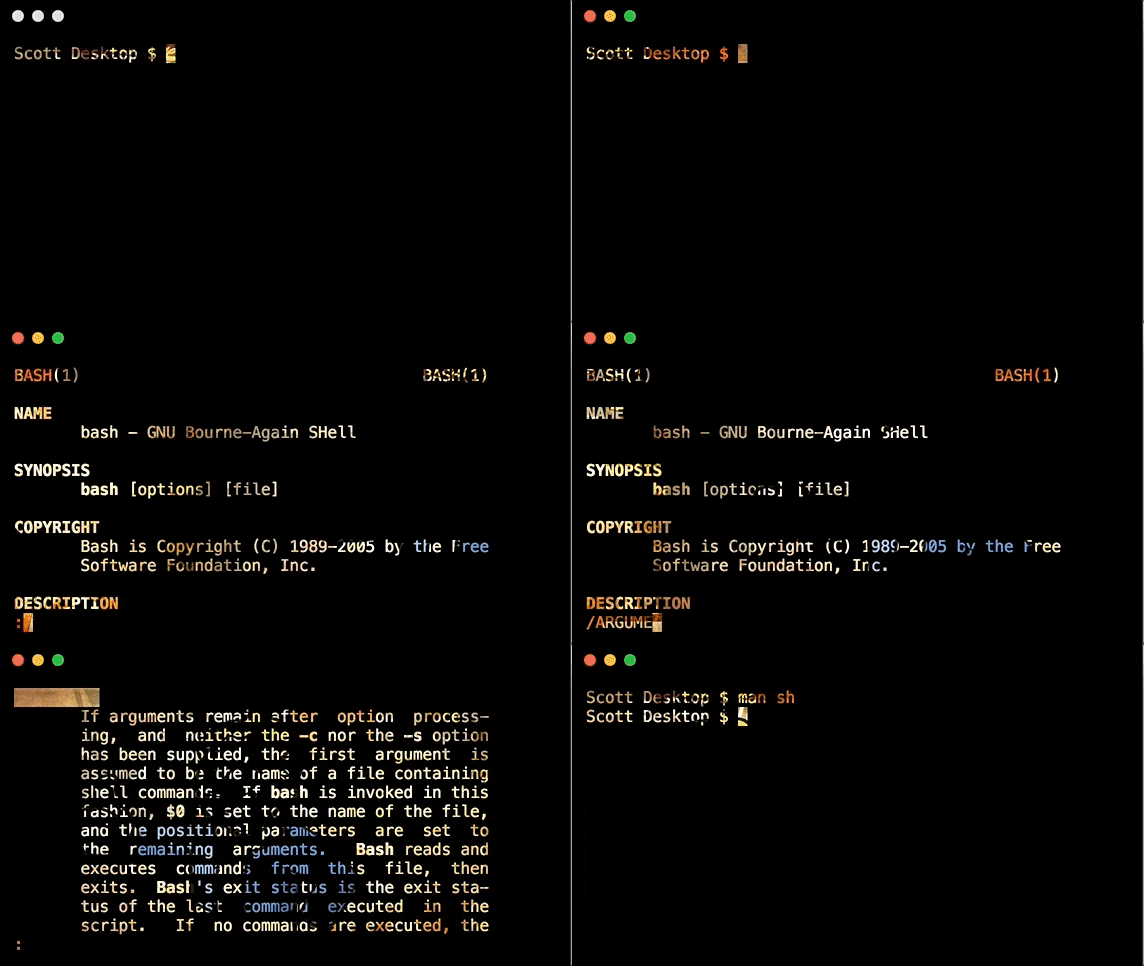
| An image blended through only where text is printed. Example
|
|:---:|
| An image blended through only where text is printed. Example
|  |
|:---:|
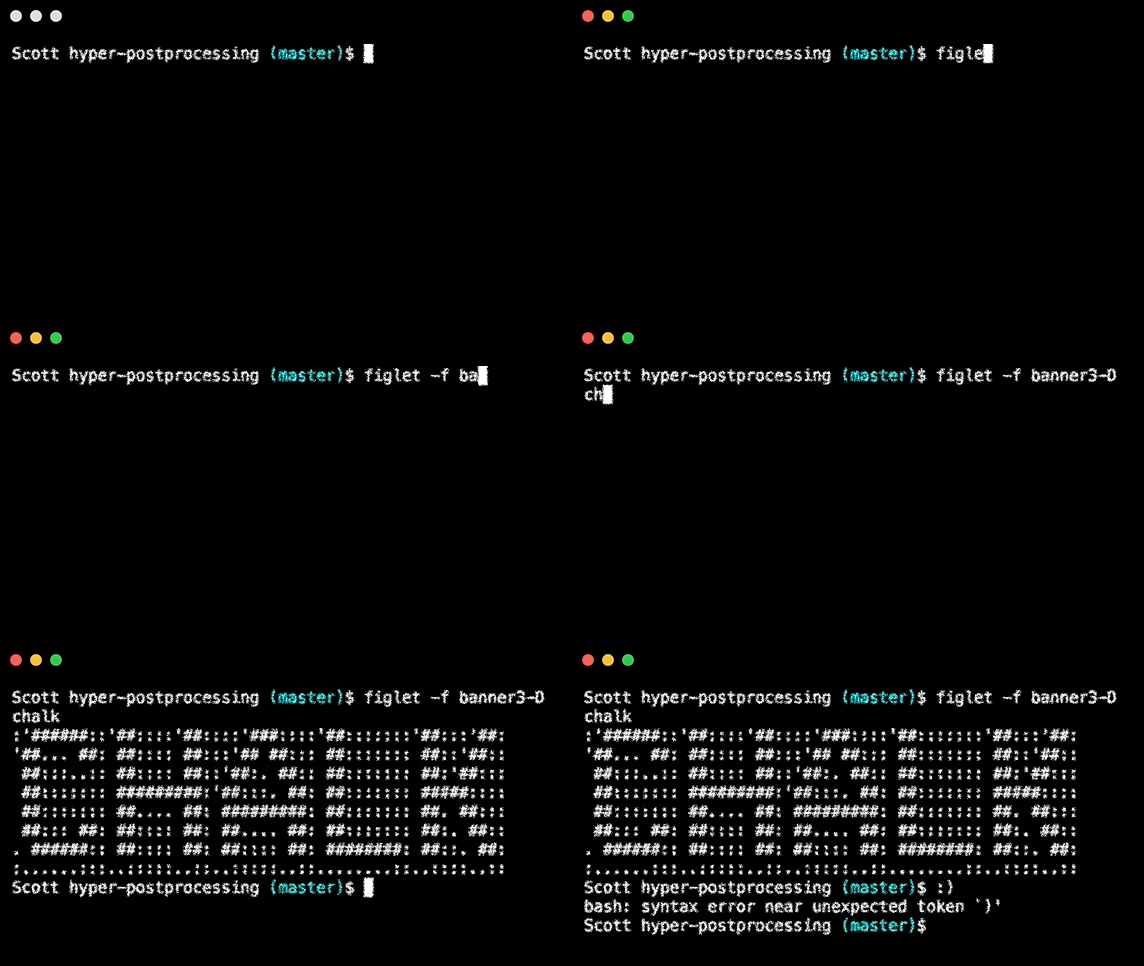
| A sketchy/chalky shader made by Ruofei Du. Example
|
|:---:|
| A sketchy/chalky shader made by Ruofei Du. Example
Note:
For the latest Hyper version (3.1.0 and above), use hyper-postprocessing v4.
For previous Hyper versions <= 3.0.2, use hyper-postprocessing 3.0.2.
How to setup
In your .hyper.js config file, add hyper-postprocessing to the list of plugins. Then to specify options for this plugin, add a key hyperPostprocessing inside the config entry:
module.exports = {
	config: {
		hyperPostprocessing: {
			// defaults to `${HOME}/.hyper-postprocessing.js`
			entry: 'path-to-entry-file.js'
		}
	},
	plugins: [
		'hyper-postprocessing'
	]
}
Entry file
The entry file will be imported at Hyper startup, and must export a function that returns an object. Every time a new tab or pane is opened, the function will be called and the object will be parsed and passed to postprocessing, which handles all effect rendering. Reading the postprocessing wiki is highly recommended to understand how the EffectComposer works.
The returned object can have the following options:
passes(required): array of fragment shader strings (adjacent strings will be incorporated into oneEffectPass) or valid instances of a postprocessingPassthat will be used inEffectComposer.fps(default: 60): the frame rate per secondcoordinateTransform(optional): a function that transforms mouse event coordinates (see note about mouse events below)three+postprocessing(optional): the dependencies to use (see note about peer dependencies below)
Do not include the initial RenderPass that EffectComposer requires. This is done automatically.
Careful of shared instances
Make sure that each pass instance is created every time the exported function is called, so that each tab/pane's effects are self-contained. Otherwise a single pass could be used in multiple contexts, and its properties could become overwritten and inaccurate.
Bad -- one pass will be used for all tabs/panes.
/* path-to-entry-file.js */
const pass = new MyPass();

module.exports = () => {
  return {
    passes: [pass]
  };
}
Good -- no shared passes.
/* path-to-entry-file.js */
module.exports = () => {
  const pass = new MyPass();

  return {
    passes: [pass]
  };
}
Mouse events
If your effects reposition any content inside the terminal, then mouse events will not be in sync with terminal visuals. You can optionally provide a coordinateTransform function to change the coordinates of mouse events.
/* path-to-entry-file.js */
module.exports = () => {
  return {
    passes: [
      `void mainUv(inout vec2 uv) {
        uv.x = 1.0 - uv.x;
      }`
    ],
    coordinateTransform: function(x, y) {
      return [1 - x, y];
    }
  };
}
coordinateTransform will take in the x and y values of the mouse event, and return a tuple containing the modified values for each. The original mouse event will be prevented and stopped, and a new event will be fired at the new location.
The x and y values are similar to uv.x and uv.y used in shaders, in that they both range from 0 to 1 and represent the location of the mouse event by percentage of the terminal screen. So a click at [x=0, y=0] would represent the bottom left corner of the screen and a click at [x=1, y=1] would represent the top right corner. Theoretically you can duplicate any uv transformations made in shaders and use them in this callback to fix any mouse-visual problems.
Quick start
postprocessing already provides a number of effects out of the box (demo). You can use examples/quick-start.js as a starting point to build your own effect, or see one of the example effects for a more custom approach.
Uniforms
sampler2D inputBuffer-- the xterm terminal imagefloat aspect-- the aspect ratio of the screenvec2 resolution-- the image width and height in pixelsfloat time-- the amount of time that has passed since the initial render
EffectPasses also gain additional uniforms, courtesy of postprocessing. These will not be available to passes that are not EffectPasses.
uniform vec2 texelSizeuniform float cameraNearuniform float cameraFar
A note about dependencies
This plugin comes bundled with three and postprocessing as dependencies in order to work upon installation, however those should be viewed more as peer dependencies -- if your entry file makes use of either of them you should install them yourself.
By default this plugin uses postprocessing v6.22.5 and its compatible version of three (v0.132.2), but can use other versions of those if needed. To do this you can add the versions of three/postprocessing to the returned object from the entry file:
/* path-to-entry-file.js */
const three = require('three'); // vX.X.X
const pp = require('postprocessing'); // vY.Y.Y

module.exports = () => {
  return {
    passes: [new pp.EffectPass(null, new pp.VignetteEffect())],
    three: three,
    postprocessing: pp
  };
};