generator-marionette-drupal
v0.1.8-alpha
Published
Yeoman generator
Downloads
21
Maintainers
Readme
Yeoman MarionetteJS + Drupal generator
This generator create a HTML 5 application using a MVC pattern implemented with MarionetteJS and Backbone.Drupal for data model.
Also the HTML 5 application includes Grunt support to automate tasks and Jasmine for Unit Tests.
All Models, Collections, Views, Regions, Actions (Route + Controller) and Forms as generated as RequireJS modules encapsulated enabling the option to reuse each concepts in different areas of your application.
Compass is used to generate CSS using bootstrap-sass.

##Application Structure##
├── Gruntfile.js
├── bower.json
├── node_modules
├── package.json
└── web ( Configurable: web is recommended)
    ├── 404.html
    ├── actions
    ├── collections
    ├── favicon.ico
    ├── form ( Configurable: Model edit Form with Backform)
    ├── images
    ├── index.html
    ├── js
    ├── models
    ├── robots.txt
    ├── scripts (application scripts)
    ├── styles
    ├── test (Configurable: Jasmine Unit Test folder)
    ├── templates
    ├── vendor ( Configurable: vendor is recommended)
    └── views
##Getting Started##
Install Dependencies
In order to use the Marionette Drupal generator is required install Yeoman, Bower and Grunt running the following command:
$ npm install -g yo grunt-cli bowerInstall Marionette Drupal generator
$ npm install -g generator-marionette-drupalCreate a Marionette Drupal project
Finally, initiate the generator in a empty folder
$ yo marionette-drupal
You have to define where do you want the app installed web is recommended, also you have to define where do you want the Bower components installed vendor is recommended.
Execute sample application
The generator create a simple sample application using an empty model, simple view and render inside a content region.
Your new project has integration with Grunt and more specifically with connect and livereload and watch. So to open your new project just execute grunt using one of the following commands.
$ grunt

$ grunt watch
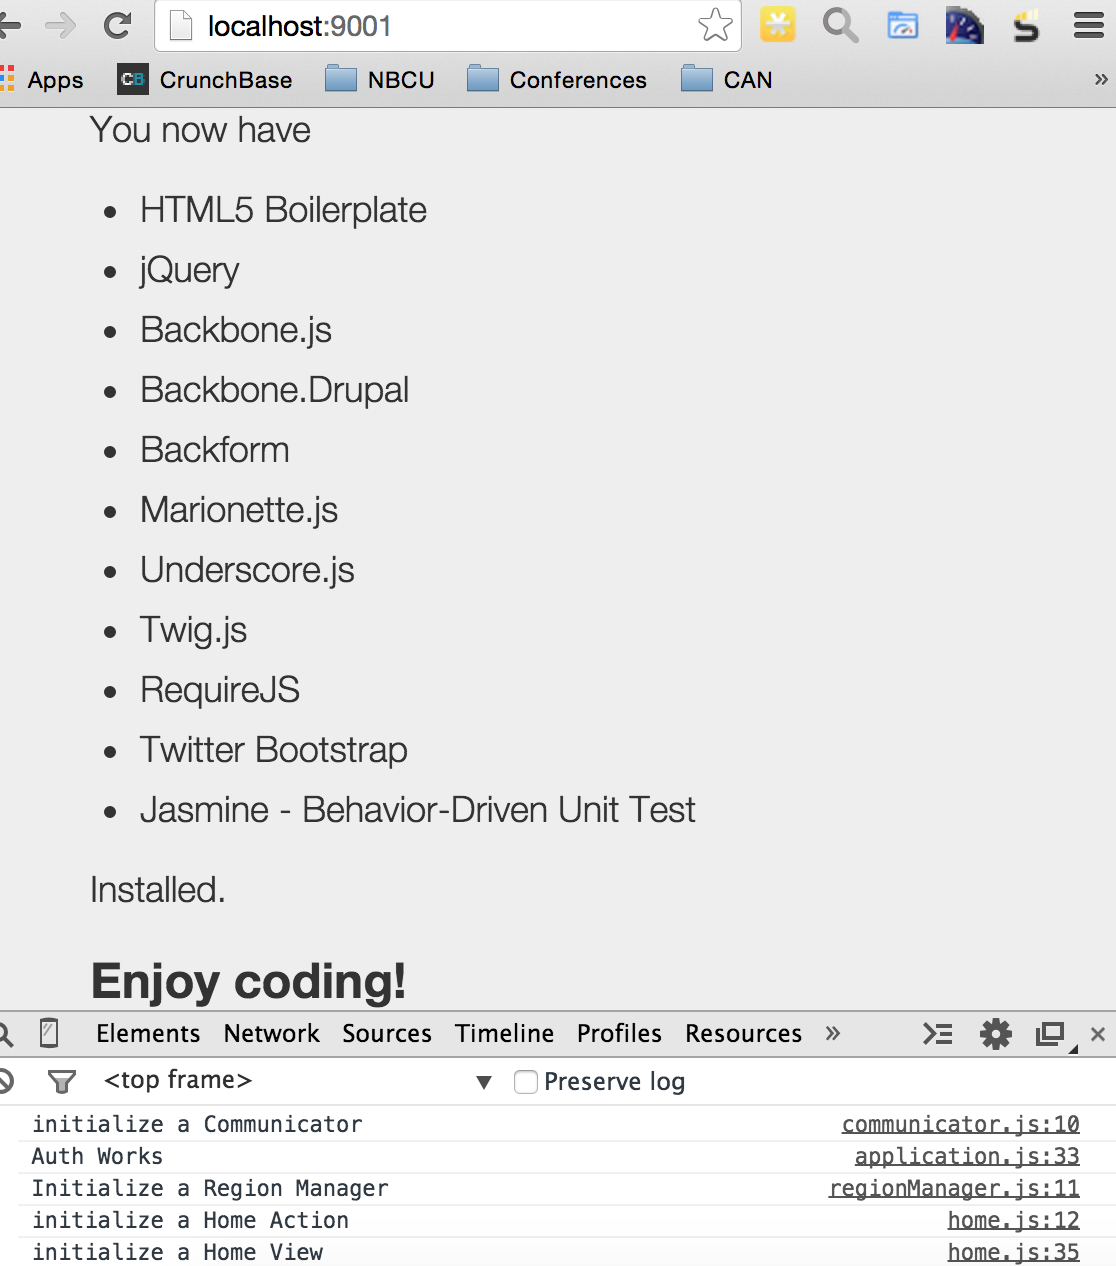
This command above will open your application in the following URL http://localhost:9001 and you will see a similar result as shown in following image.

No webserver is requiered.
The objetive of this sample application is just demostrate the environment is ready to work and you can use the Scaffolding commands to build your application.
##Scaffolding##
Generate a template
$ yo marionette-drupal:templateThe command above will create an empty template inside application folder app_folder/templates_folder using Twig.js
This command is interactive as you can see in the follwing image

Generate a Model
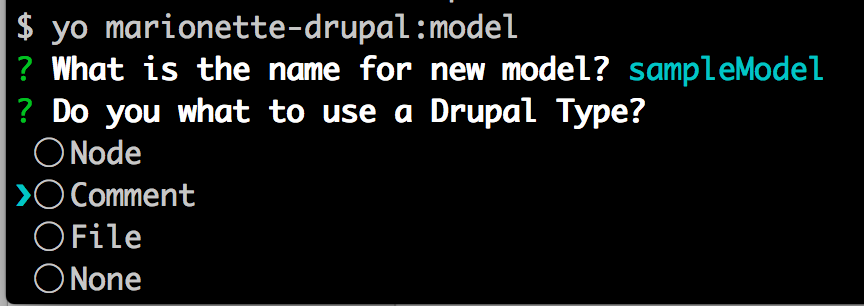
$ yo marionette-drupal:modelThe command above start an interactive interface to provide a Model Name and if a Jasmime Test unit must be created for new Model.
In the following image you see how the command looks

If you choose None you can define a custom end point for your model
Generate a Collection
$ yo marionette-drupal:collectionThe command above start an interactive interface to provide a Collection Name, select Model to be used in collection items and if a Jasmime Test unit must be created for new Model.
Right now you must to set the end point URL relative to Drupal Backend Server.
In the following image you see how the command looks like.

Also in this sub generator is possible create a collection extending from other collection like students extending from people.
Generate a View
$ yo marionette-drupal:viewThe command above start an interactive interface to provide a View Name to create a Marionette ItemViewand defining what Model or Collection will be integrate with the new view, also a what Template will be associated with view ( a new template could be generated or choose one from templates available)
Optionally Jasmime Test unit could be created for new Model.
In the following image you see how the command looks

Internally the generator store the MVC relation between view and model/collection to be used in Action Subgenerator.
Add a Region
$ yo marionette-drupal:regionRegions are HTML containers where views are render, an you can create as many regions your design require.
Each region match with and HTML element where the view is render inside.

After add a region you must to add inside your HTML app file to match with ID, let me show an example.
<div id="sidebar"></div>In our App example is located in web/index.html, remember web could change if you choose a different location for App.
Generate an Action
This generator took some terms from Symfony Application where they have the concepts of Routing, Class Controller and Actions methods. These terms match with Backnone routing and controller and actions are functions in controller associated to routes.
Instead of create three commands, I decided to combine in a single command named Action
This command enable you to add dynamically a new Route to your application and associate to a Controller function to response to the routing.
Also the system avoid to create an inline function in controller, a new RequireJS module Action is generated and is invoked inside the controller.
The saparation in Controller enable a complete isolate logic between actions.
Besides the route and controller, the action require a view to be render inside the region specified.
In the following image you see how the command looks

The action will provide code to fetch the information for model/collection, is your reposability to chage the proper ID as you can see in following example.
var best_exchange  = new BestExchangeCollection({});

// Load Collection
best_exchange.fetch({
success: function (Collection) {
  var best_exchanges = new BestExchangesView({collection: Collection});
  region.show();
}
});
Generate a Form
$ yo marionette-drupal:formOnly available for Drupal 8
This command generate forms implementing library Backform.
This generator enable integration with Drupal to fetch information about entities to create an HTML 5 Form to enable end users push information to Drupal Server.
This generator fetch entity information and create form matching entity fields and linked with proper REST Post to save information.
In the following image you see how the command looks

This subgenerator is still in progress, and the process to push back info to Drupal 8 is in progress, we will use the REST Method PATCH becuase PUT won't be implemented in Drupal 8.
Drupal 8 Setup to Enable Form Generator
In order to use this command the Drupal 8 Module Entity REST extra must be installed and enabled in your Drupal 8 Backed Server.
Right now there is an issue in Drupal 8 to enable Config Entities via REST, but we did a patch here to fix that problem so just apply the patch.
Drupal 8 will not support CORS until 8.1 release, for that reason if you are need your Marionette JS App runs in a different domain apply the patch https://www.drupal.org/node/1869548#comment-9120317 recommended by Backbone.Drupal
Remember enable mod_headers if you are using Apache.
In addition you must enable the REST Resource Entity form display and add permission Access GET on Entity form display resource to your backend user role.
Be sure the user you provide to connect to server have permissions to fetch extra information.
Update settings
This generator store some information in a hidden file .yo-rc.json about where must be located templates, models, views etc and Drupal conection.
If you need change one of this information there is a sub generator to allow you to that to avoid edit that sensitive file, just use the following command.
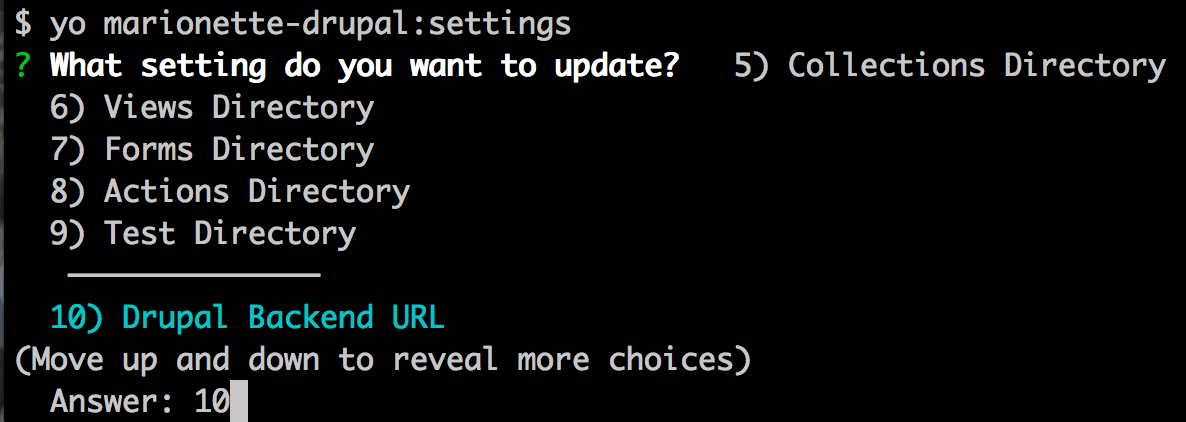
$ yo marionette-drupal:settingsIn the following image you see how the command looks

I use Inquirer to create the interactive menu, but even the documentation say you can navigate with keyword arrows doen't work, I have a reported issue. So use the numbers to navigate
Integration with Jasmine
This generator enable the option to create simple unit test against model and views, this generation is optional in sub generators model and view.
The idea is you can continue improving the unit test generated to meet the requirements of your application.
To access the unit tesst access the URL http://localhost:9001/test/ remember the Unit Test test folder is configurable via initial generator, but could updated via sub generator settings
Check how Unit Test page looks

You must select what entity you want create a form between Nodes and Comments, after that the generator create a list of Bundles available and after select the bundle the view modes for the bundle selected.
The form is generated using the fields present in bundle view mode.
If you update your content type bundle in Drupal 8 maybe you wanna re run the form generator.
Integration with Grunt
This generator provide a initial Grunt file to execute minimal tasks, you can run all tasks available with following command.
$ gruntIf you prefer you can execute any specific command among listed below.
Concat
$ grunt contactEnable concat all JS files.
Todo: Configure the proper JS files and enable CSS files
Uglify
$ grunt uglifyMinify JS file combined in Contact tasks.
Todo: Configure minify for CSS files.
Imagemin
$ grunt imageminOptimize images in your project.
Compass
$ grunt compassEnable process SASS files to generate CSS files in your project. This project include bootstrap-sass
Watch
$ grunt watchMonitor when SASS files are modified to generate new CSS files.
##ToDo
- [ ] Implemente PATCH method in forms submit against Drupal 8
- [ ] Update form sub generator to review image fields
- [ ] Update documentation about list of commands implemented in grunt
- [ ] Create RoadMap
- [ ] Update Forms project to enable image fields
- [ ] Create Layout Scaffolding command
