custom-admin-components
v1.1.1
Published
custom-admin-components
Downloads
8
Readme
custom-admin-components
前言
- 日常工作总会有公共的组件,比如,table、form 、或者上传组件扽等,每次项目开始都要重新复制粘贴赶过去,觉得麻烦,然后 封装成npm 包,上传到 npm 上,后期 小伙伴需要的,直接拿去,需要源码的也可以说
安装
npm i custom-admin-components
使用
该插件目前仅适用 Vue3 项目
引入 main 文件
import { createApp } from "vue";
import App from "./App.vue";
import ElementPlus from "element-plus";
import "element-plus/dist/index.css";
import customAdminComponents from "custom-admin-components";
import zhCn from "element-plus/es/locale/lang/zh-cn";

const app = createApp(App);

app
  .use(ElementPlus, {
    locale: zhCn,
  })
  .use(customAdminComponents);
app.mount("#app");
在页面中进行使用
<template>
  <div>
    <ProTable
      ref="ProTableRef"
      :request-api="tableData"
      :column="column"
      stripe
    >
      <template #expand="scope"> {{ scope.row }} </template>
      <template #date="scope"> {{ scope.row.date }} </template>
      <template #operation="scope">
        <el-button @click.stop="() => edit(scope.row)"> 编辑 </el-button>
        <el-button type="danger"> 删除 </el-button>
      </template>
    </ProTable>
  </div>
</template>
<script setup>
import { ref, watch } from "vue";
import { columnData } from "./app.jsx";
const columnData = [
 {
   label: "展开",
   width: 100,
   // type: "radio",  单选
   type: "expand", // 展开
   // type: "selection", // 多选
   // type: "index",默认展示下标
 },
  {
    prop: "date",
    label: "日期",
    search: {
      label: "输入元素",
      order: 2,
      key: "date",
      el: "input",
      otherOption: {
        placeholder: "请输入",
      },
        // 可以使用内置的input 或者 自己写 render 也是可以的
      render: (scope) => {
        return <el-input v-model={scope.search.value} />;
      },
    },
  },
  {
    prop: "name",
    label: "名称",
    type: "link",
    render({ row }) {
      return <div style={{ color: "red" }}>测试代码</div>;
    },
    search: {
      label: "用户名称",
      order: 1,
      key: "user_name",
      el: "input",
      otherOption: {
        placeholder: "请输入",
      },
    },
  },
  {
    prop: "address",
    label: "地址",
    search: {
      label: "地址",
      order: 3,
      el: "input",
    },
  },
  {
    prop: "operation",
    label: "操作",
    fixed: "right",
    width: 200,
  },
];


const ProTableRef = ref(null);
const column = ref(columnData);

const tableData = () => {
  return {
    code: "0",
    pageNo: 1,
    pageSize: 20,
    total: 20,
    data: [
      {
        id: 1,
        date: "2016-05-03",
        name: "Tom",
        address: "No. 189, Grove St, Los Angeles",
      },
      {
        id: 2,
        date: "2016-05-02",
        name: "Tom",
        address: "No. 189, Grove St, Los Angeles",
      },
      {
        id: 3,
        date: "2016-05-04",
        name: "Tom",
        address: "No. 189, Grove St, Los Angeles",
      },
      {
        id: 4,
        date: "2016-05-01",
        name: "Tom",
        address: "No. 189, Grove St, Los Angeles",
      },
    ],
  };
};

function edit(data) {
  console.log(data);
}
</script>
<style scoped></style>
ProTable 的属性:已兼容大部分的 table 属性,能满足日期业务的
const propConfig = {
  // 列配置
  column: {
    type: Array,
    default: () => {
      return [];
    },
  },
  // 唯一标识
  rowKey: {
    default: "id",
  },
  // 接口方法
  requestApi: {
    type: Function,
    default: undefined,
  },
  // 边框
  border: {
    type: Boolean,
    default: true,
  },
  // 双击复制
  openCopy: {
    type: Boolean,
    default: true,
  },
  // 是否展示分页组件
  showPagination: {
    type: Boolean,
    default: true,
  },
  // 分页的配置
  pageConfig: {
    type: Object,
    default: () => {
      return {
        // 当前页绑定的key, 默认是 page,对用的 pageParams 的 page
        pageKey: "page_no",
        // 分页显示数量的key, 默认是 pageSize,对用的 pageParams的pageSize
        pageSizeKey: "page_size",
        // 显示的总数
        totalKey: "total",
        // 默认展示的数量
        page_no: 1,
        page_size: 10,
      };
    },
  },
    // ..... 后面的属性 自己参照 table 的属性自己加给 ProTable 标签,这样就用能过上个了
};
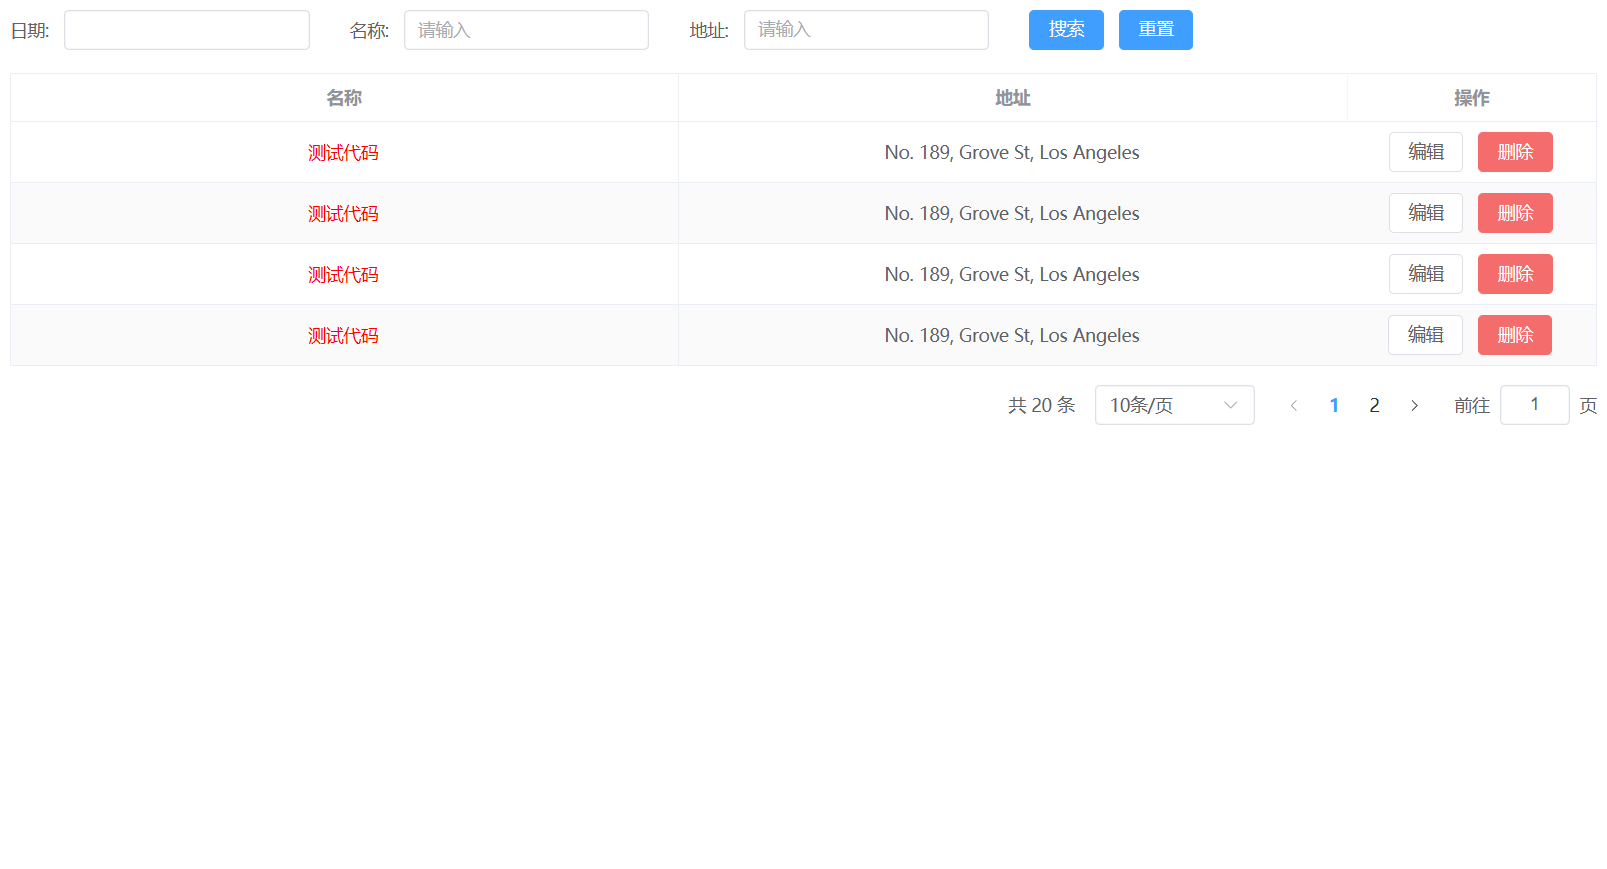
效果

