atomizify
v1.1.2
Published
A JavaScript library generating atomic CSS classes and variables
Downloads
18
Maintainers
Readme
atomizify
atomizify is a small JavaScript library that generates a bunch of atomic CSS classes.
How to get it ?
Install the module in your folder:
npm i atomizifyImport it in your file:
import { atomizify } from 'atomizify'How to use it ?
atomizify can fit all types of developers, from lazy to geekiest ones!
It provides a few options to play with it: set some filters, choose your typecase system, or add your own custom classes.
Choose the profile that suits you the best:
You're a ready-made lover: by default,
atomizifyoffers thousands of predefined classes. Just call the function, and a whole galaxy of CSS classes appears.atomizify()You're a less-is-more expert:
atomizifylets you select / unselect the classes of your choice among the predefined sets & generate only the substancial ones.// you can pass the 'filters' object, which accepts 3 sub-objects: 'sets', 'subsets', 'properties' // each sub-object accepts 2 key-value pairs: 'names' and 'to_remove' atomizify({ filters: { sets: { names: ['layout'], // 'names' is an array containing the names of the targetted items (to keep, or to remove if the prop 'to_remove' is passed to 'true') }, subsets: { names: ['dimensions'], }, properties: { names: ['min-height', 'min-width'], to_remove: true, // set to 'true' if you want to remove the targetted items listed in 'names' }, }, })You're a custom-all freak:
atomizifygives you complete freedom to create and add your own custom classes. You can also personalize the typecase system for your classes' names.// you can pass the 'custom_classes' object, in which each entry is a key-value pair: // the key as the desired class name, and the string value as the desired CSS rule // you can also set the 'typecase' string value to choose the formatting of your classes' names atomizify({ typecase: 'dash', // choose among 'snake', 'dash' or 'camel' case ; default is 'snake' custom_classes: { myclass1: 'background: black; color: turquoise', myclass2: 'border-color: pink', myclass3: 'font-size: 200px', }, })
atomizify also works with React: it allows you to convert all the generated atomic classes in elegant-as-hell flags, that you can comfortably use & combine to build modular components ; and all of this thanks to kigiri.
To achieve that, you'll have to install his invaluable dallas module as well:
npm i dallasAll set? Now, you can import the flagify function in your React app, and make an unwise use of the Component magic:
import { flagify } from 'atomizify'

const { Component } = flagify()

// chain the 'Component' object to every CSS classes you want to apply to your element,
// and finish by calling the type of HTML element you aim to render (div, span, section, input, etc.)
const Title = Component.fs55.sapphire3.mb40.div()

const App = () => <Title>atomizify</Title> // then use it as any React component
How to document it ?
atomizify also provides some ready-to-use generated documentation, so you can see at a glance all the magnificent CSS classes that have been generated.
Import & call the desired function(s) in your file:
- If you'd like to display the CSS code generated, be my guest:
import { display_classes } from 'atomizify/doc'

// the 'display_classes' function can be called without argument
// it also accepts the following options, passed in an object: 'node', 'open', 'flattened'

display_classes({
  node: my_html_node, // you can pass a HTML node that will contain the chart ; default is 'document.body'
  open: false, // you can set the initial state of the component displaying the content ; default is 'true'
  flattened: false, // you can display the CSS classes all flattened, without the parents sections (sets, subsets and properties) ; default is 'false'
})
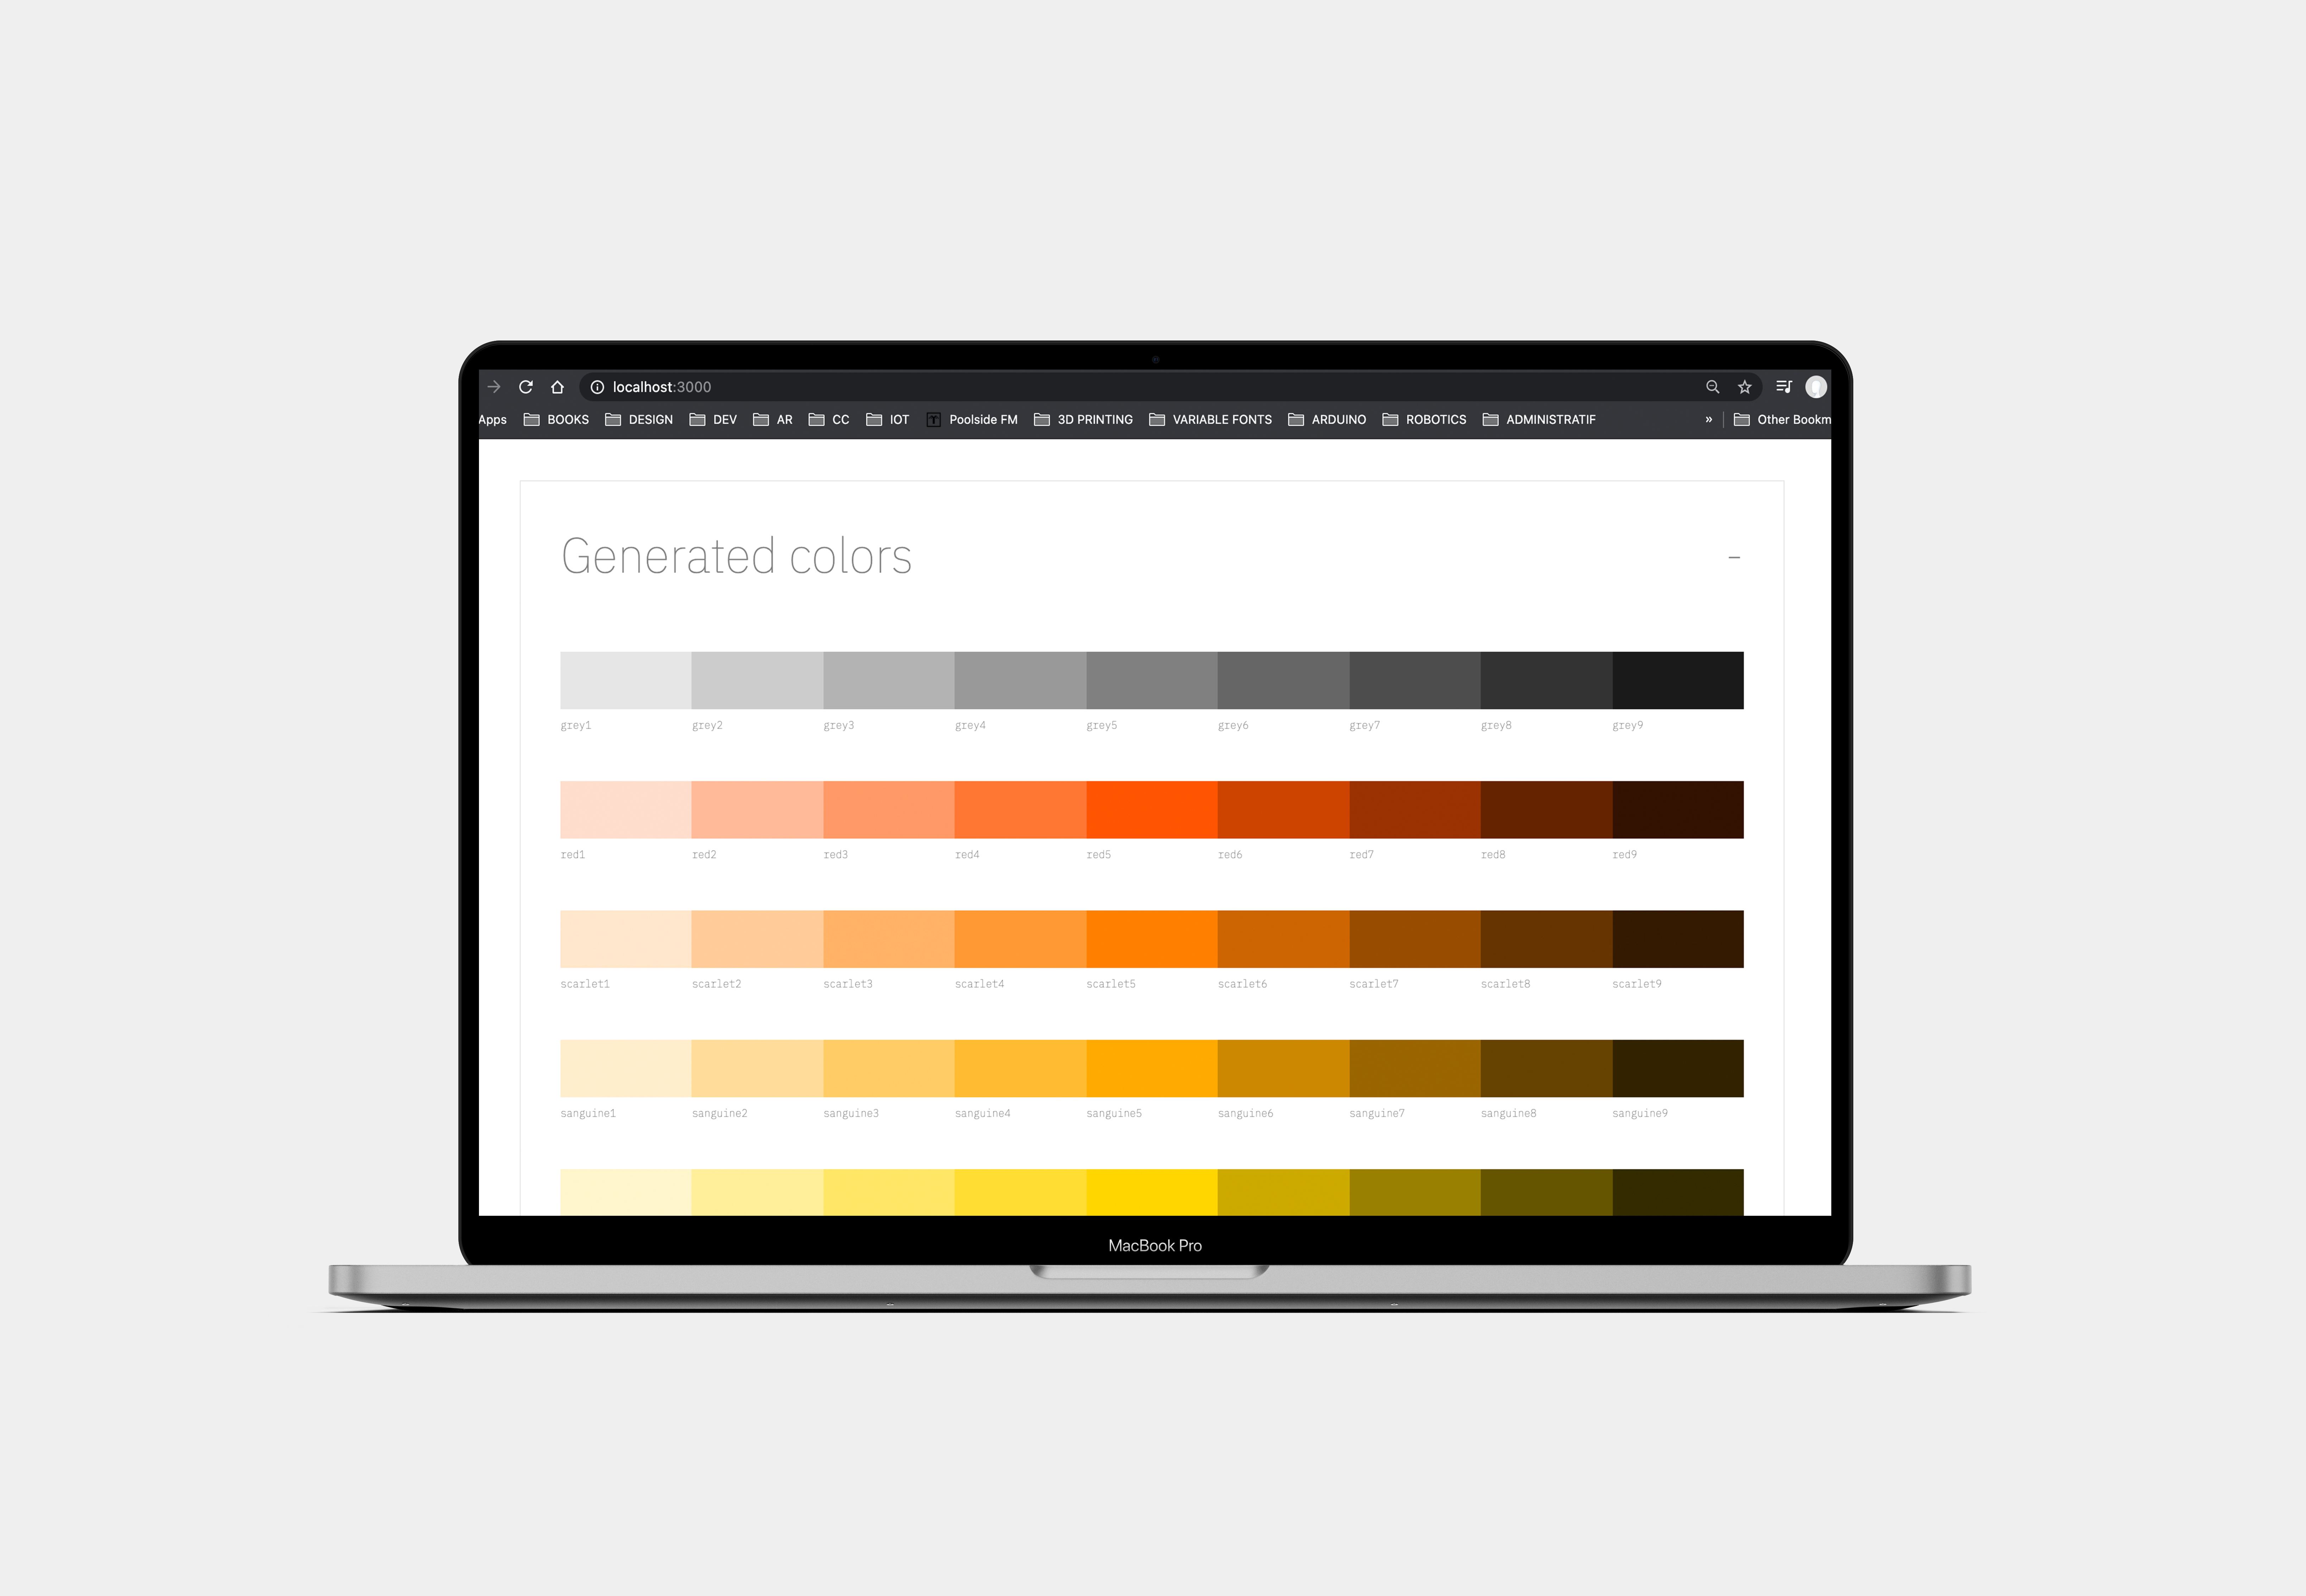
- If you'd like to display a chart of the generated colors, suit yourself:
import { display_colors } from 'atomizify/doc'

// the 'display_colors' function can be called without argument
// it also accepts the following options, passed in an object: 'node', 'open', 'circles'

display_colors({
  node: my_html_node, // you can pass a HTML node that will contain the chart ; default is 'document.body'
  open: false, // you can set the initial state of the component displaying the content ; default is 'true'
  circles: false, // you can set the visual shape of the colors as circles ; default is 'false'
})
And voilà!
