asrtd
v1.3.7
Published
asserted.io client
Downloads
99
Readme
asrtd


asserted.io command line interface
Test in prod. Continously integration test your app with tests written in Mocha.
Installation
Install the command line client and log in.
npm i -g asrtd
asrtd login
Move to your project directory and initialize.
cd my-project
asrtd init
This will create an .asserted/ directory containing the following:
routine.json    ## Routine configuration with interval and mocha config
package.json    ## NPM package defining the (currently) fixed set of dependencies available during testing
examples/       ## Directory containing examples, can be modified or removed
Developing Locally
Create some tests inside .asserted/ (or modify the tests in examples/), then run them using the command below:
asrtd run
By default, test files should be suffixed with .asrtd.js to be picked up by Mocha, but that can be configured in routine.json.
Push to asserted.io
When you're ready to run them continuously, use:
asrtd pushThey'll immediately start running on asserted.io with the interval that you specified.
Go to app.asserted.io to configure the notification preferences for test failures to get pinged by email, SMS, or Slack webhook.
Status, Timeline, and Records
To see the current status of the routine associated with the current directory, run:
asrtd status
To get a timeline of the how the status has changed recently, run:
asrtd timeline
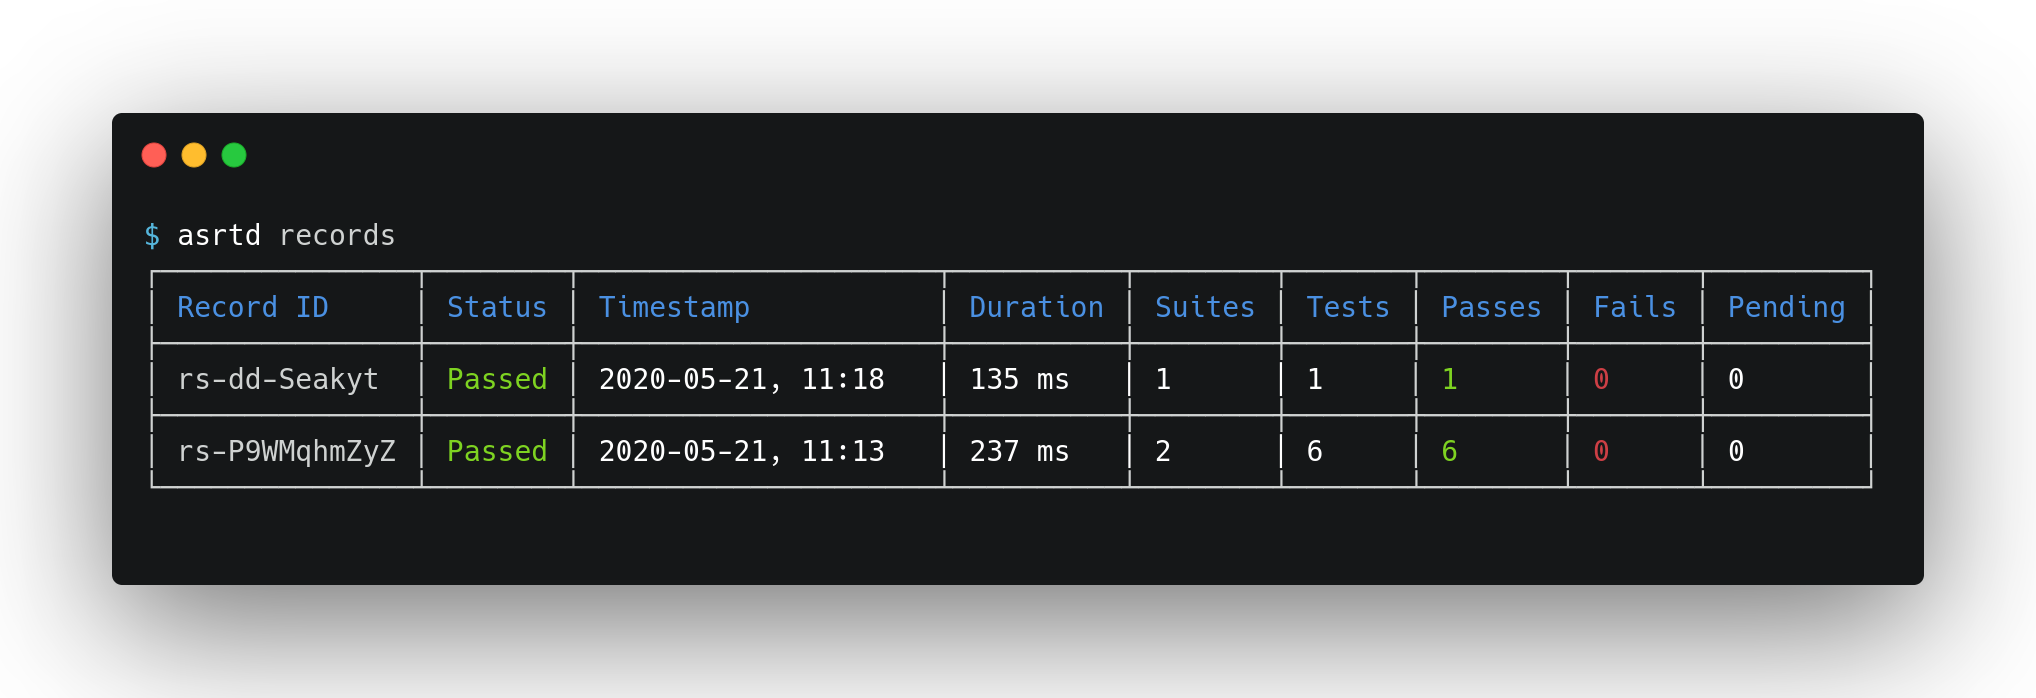
To get a list of recent records, run:
asrtd records
Commands
At any time you can run asrtd --help to get a list of available commands.

Dependencies
Fixed Dependencies
The dependencies available on the free plan are fixed, but they should cover most major use cases.
For cases where custom dependencies are required, upgrade to a paid plan.
Major libraries
All Available Dependencies
{
    "ajv": "^6.12.2",
    "async": "^3.2.0",
    "axios": "^0.19.2",
    "bcrypt": "^4.0.1",
    "bluebird": "^3.7.2",
    "chai": "^4.2.0",
    "cookie": "^0.4.1",
    "crypto-js": "^4.0.0",
    "dotenv": "^8.2.0",
    "faker": "^4.1.0",
    "fs-extra": "^9.0.0",
    "getenv": "^1.0.0",
    "got": "^11.1.3",
    "http-status": "^1.4.2",
    "ip": "^1.1.5",
    "jsdom": "^16.2.2",
    "jsonwebtoken": "^8.5.1",
    "lodash": "^4.17.15",
    "luxon": "^1.24.1",
    "mocha": "^7.1.2",
    "moment": "^2.25.3",
    "ms": "^2.1.2",
    "node-fetch": "^2.6.0",
    "qs": "^6.9.4",
    "ramda": "^0.27.0",
    "request": "^2.88.2",
    "request-promise": "^4.2.5",
    "sinon": "^9.0.2",
    "tar": "^6.0.2",
    "underscore": "^1.10.2",
    "uuid": "^8.0.0",
    "validator": "^13.0.0"
}
Custom Dependencies
For paid plans, custom dependencies are an option.
To use custom dependencies, just change the "dependencies" entry in your routine.json to "custom", as shown below.
{
  "id": "rt-GKgRG",
  "projectId": "p-1HLbs9Z",
  "name": "custom-dep-tests",
  "description": "Tests with Custom Dependencies",
  "interval": {
    "unit": "min",
    "value": 10
  },
  "dependencies": "custom", // The "custom" option is available on paid plans
  "mocha": {
    "files": [
      "**/*.asrtd.js"
    ],
    "ignore": [],
    "bail": false,
    "ui": "bdd"
  },
  "timeoutSec": 10
}
Once that change is made, any subsequent pushes will include all of the dependencies listed in the "dependencies" entry of your package.json. "devDependencies" and "peerDependencies" are ignored.
A modified version of npm-shrinkwrap is used to capture the exact versions of the dependencies in your current node_modules folder during the push.

