angular-validation-summary
v1.0.3
Published
A fast, customizable validation summary module for Angular 6/7. I wrote a [blog post](https://www.deanpdx.com/2018/02/04/angular-5-forms-dynamic-validation-summary.html) about dynamic validation in Angular and it helped a few people, so I expanded on the
Downloads
68
Maintainers
Readme
Angular Validation Summary
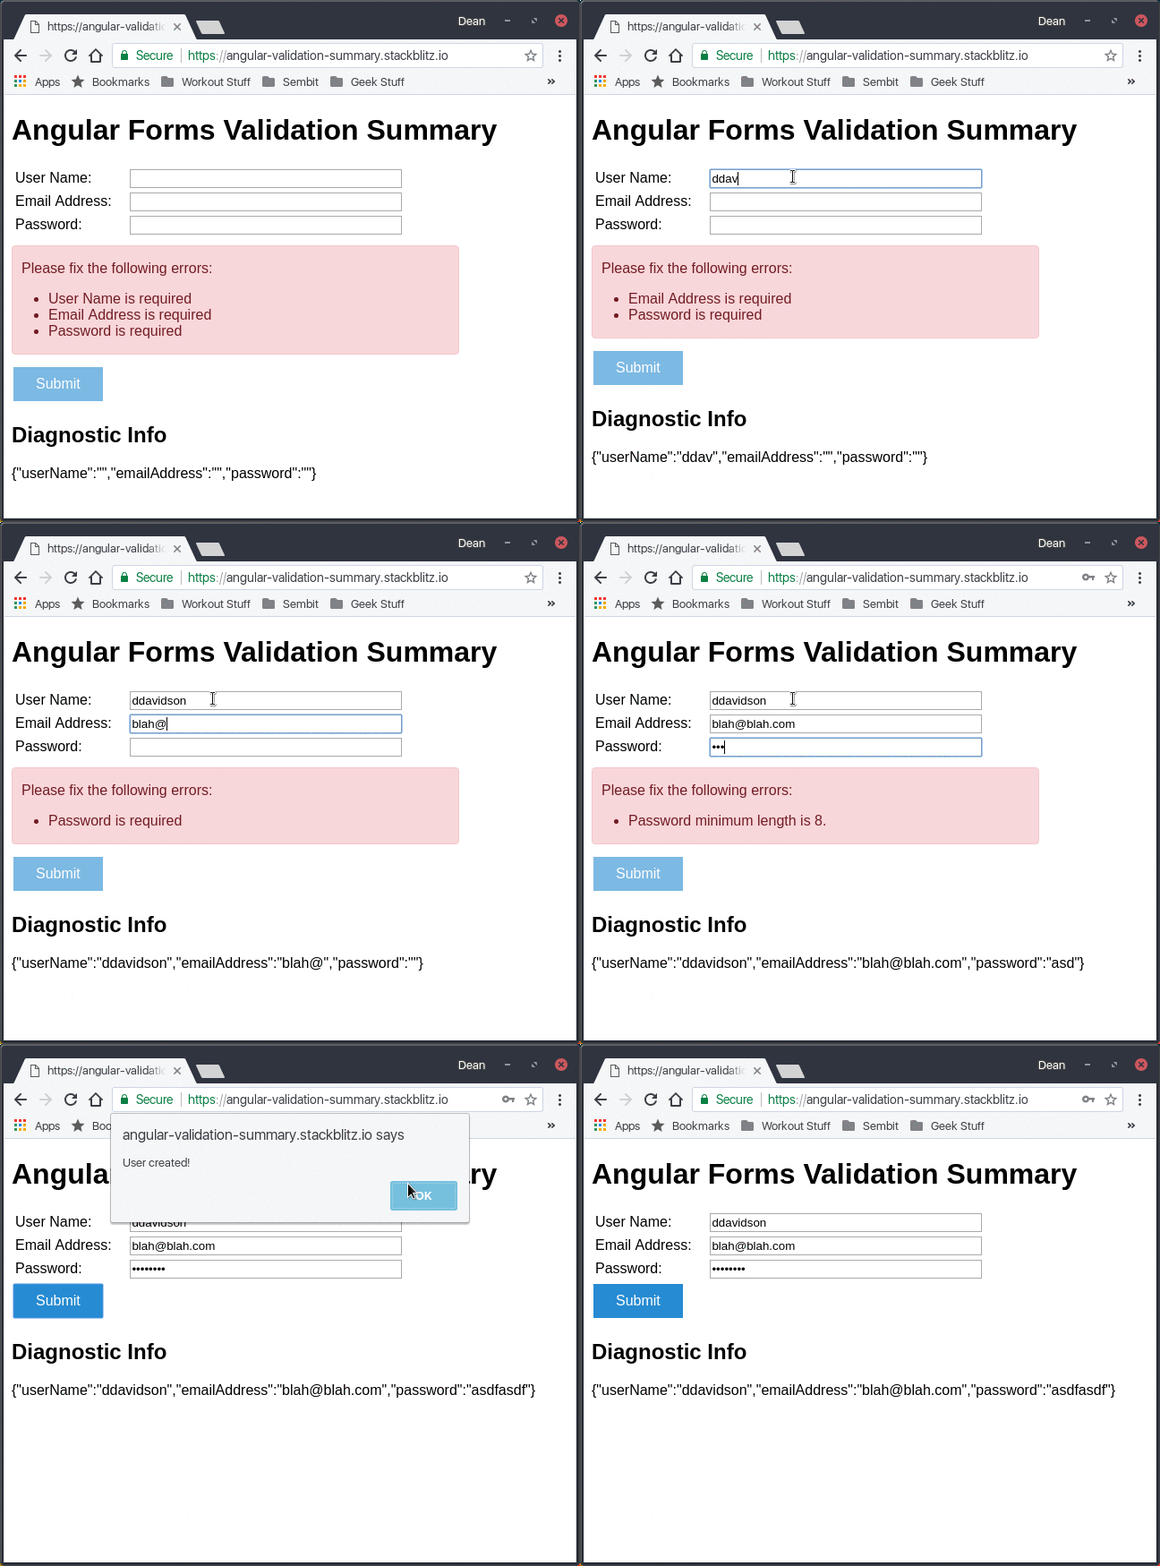
A fast, customizable validation summary module for Angular 6/7. I wrote a blog post about dynamic validation in Angular and it helped a few people, so I expanded on the concept and created a more robust control that you can easily install and use. Here's an example validation summary:

Want to try it yourself with various options? Run the interactive test form on StackBlitz.
Getting Started
Install the package via NPM. Navigate to your Angular app folder and run the following command:
npm install --save angular-validation-summaryNext, import the validation summary module in your App module:
import { AngularValidationSummaryModule } from 'angular-validation-summary';

imports: [
  AngularValidationSummaryModule
],
Make sure you are also importing FormsModule from @angular/forms (since you need it to make forms work in general). That's it; you're ready to go. To test, we will add the summary to a form. To do so, get a reference to your form using ngForm. Here's an example of how to do that:
<form #newUserForm="ngForm" formSubmit()">Then we will add an angular-validation-summary to our view using our named form reference (newUserForm in this example):
<angular-validation-summary [form]="newUserForm"></angular-validation-summary>Imporant Note: If you are using template-driven forms and have an input object that does not have an [(ngModel)] binding, it will not be validated since it won't be added to your form's FormGroup.
Adding Validations to a Form
We support the following standard HTML5 and Angular validators:
You will most likely want to build your own validators at some point. For an example of how to do this, take a look at this demo validation and this async validation. The important part here is: make sure your ValidationErrors object includes a string with an error message.
Validation Summary Options
validationMessage: The validation message to display. Defaults to Please fix the following errors:.
hideUntilSubmit: If true, validation summary won't show until the form is submitted. Defaults to false.
Styling Your Validation Summary
The HTML for the validation summary has no style applied by default and looks like this:
<div class="validation-summary">
    <p class="validation-message">Please fix the following errors:</p>
    <ul class="validation-error-list">
        <li class="validation-error">Name is required</li>
    </ul>
</div>
So, if you wanted to have a red bootstrap alert style validation summary, you could achieve that with something like the following:
.validation-summary {
    color: #721c24;
    background-color: #f8d7da;
    position: relative;
    padding: .1rem 1rem;
    margin-bottom: 1rem;
    border: 1px solid #f5c6cb;
    border-radius: .25rem;
}
Which results in this:

Or for the "warning" style:
.validation-summary {
    color: #856404;
    background-color: #fff3cd;
    position: relative;
    padding: .1rem 1rem;
    margin-bottom: 1rem;
    border: 1px solid #ffeeba;
    border-radius: .25rem;
}
Development
The main app (angular-validation-summary-srcs) is for building and testing the angular-validation-summary library in the projects folder. I used this story on creating a library as a starting point, and tried to take project structure cues from the Angular Material 2 Project where applicable.
Before serving the main app, run ng build angular-validation-summary --watch to build and watch the library for changes. Then you can run ng serve as you normally would to build and serve the test app.
To publish a new version of the library to NPM, run npm run publish-lib. This will do the following:
- Run
npm version patchto create a new patch. - Build the library.
- Copy readme/license from the main project to the library.
- Publish the patch on NPM.
Design Goals
- It should be performant.
- It should work easily out of the box.
- It should be easy to customize.
- It should be well-documented and easy to modify.
