@yc-w-cn/yapi-to-typescript
v0.0.1
Published
Yapi 生成 Typescript`请求方法`及`声明文件`工具,支持 LDAP 登录
Downloads
1
Readme
Y2T with LDAP
Note: 这个 Fork 增加了 LDAP 登录的支持。 Origin Repo: https://github.com/SewerKing/y2t
isLDAP
在 config 新增了 isLDAP 配置。
{
  isLDAP: true
}
以下内容来自于 Origin README
Origin README
Yapi 生成 Typescript
请求方法及声明文件工具
插件安装
Y2T提供了2种使用形式:
全局包:使用npm install -g y2t全局安装即可vscode插件:在插件市场搜索y2t,安装即可这里更推荐使用
vscode插件,因为可以跟着插件版本号升级自动升级,而不需要每次更新后重新安装全局包
插件使用
概念说明
根据 yapi 的层级划分,可以分为以下三个概念:
分组:可以理解为业务线,例如公司下的部门A,部门B,部门C等等…
项目:可以理解为后端的微服务,例如 部门A下的营销 下面会分为 market_api、admin_api、wechat_api等…
模块:可以理解为某个服务中的业务模块,例如 营销下面market_api服务的周年庆活动
层级关系:分组 → 项目 → 模块
y2t支持的细粒度在模块这一层,只能针对模块进行生成
全局包使用方式
使用说明:
// 生成默认配置
$ y2t -i
// 根据项目修改配置后
$ y2t -g
完整功能列表:
$ y2t --help
Options:
  -v, --version   获取当前版本
  -i, --init      初始化配置文件
  -g, --generate  生成接口文档
  -r, --remove    移除缓存
  -d, --diff      当前项目Diff
-v, --version:获取包的版本号-i, --init:初始化配置文件,会放在项目当前执行目录下的ygt.config.js-g, --generate:根据配置生成接口文件,当没有配置时会初始化默认配置-r, --remove:根据移除本地缓存,主要用于当本地文件变更时,diff失败时重置-d, --diff:根据本地缓存进行接口对比,获取更新的模块
vscode插件使用方式
功能入口
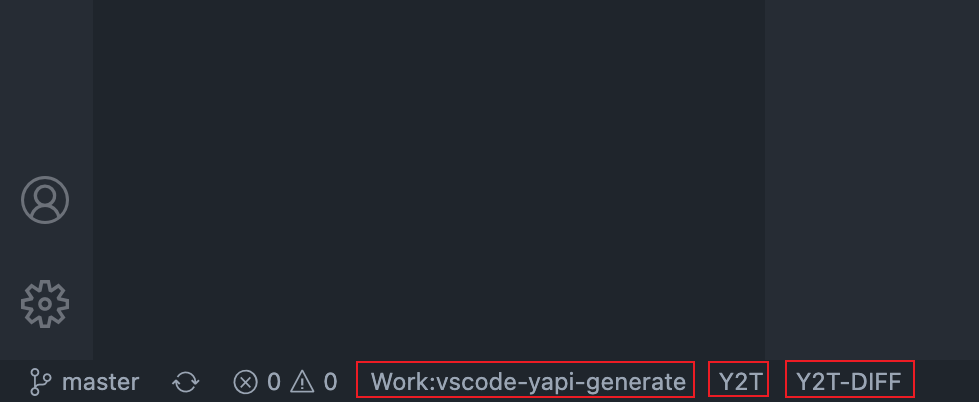
插件安装完成后,会在 Vs Code 底部工具栏新增Work、Y2T、Y2T-DIFF按钮

工作区划分 Work
考虑到各人开发习惯不同,当使用多工作区开发时可以通过Work选择你需要生成的工作区
生成配置文件
首次打开工具栏中的Y2T按钮会提示没有配置文件,可以选择默认生成,会在项目中生成ygt.config.js文件
接口生成 Y2T
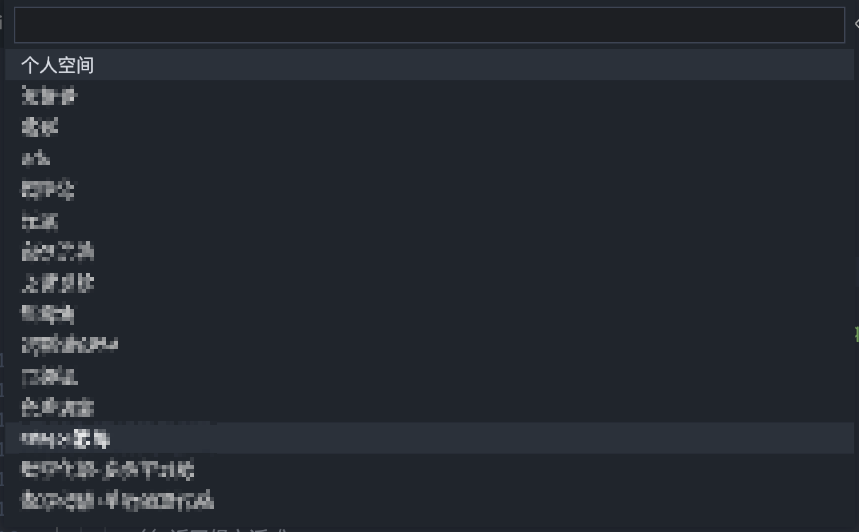
配置好ygt.config.js后,再次点击Y2T按钮。顶部会出现弹窗以此选择需要生成的分组,项目,模块既可。

接口对比 Y2T-DIFF
生成 api 完毕后y2t会在vscode中基于workspace储存缓存, 点击Y2T-DIFF按钮,弹出检测API是否更新与清除API工作区缓存
``检测API是否更新`:可以进行检测 api 接口是否有更新, 如果有的话会进行询问,按照个人需求选择更新与否
清除API工作区缓存:则可以进行清除缓存,主要用于本地缓存紊乱时的状态恢复

配置文件
工具默认会去寻找当前工作区的ygt.config.js文件,该文件默认导出一个对象
配置示例
module.exports = {
  // 账号
  account: '[email protected]',
  // 密码
  password: 'xxxxxx',
  // Yapi网址链接
  originUrl: 'https://yapi.xxxx.cn',
  // 请求声明模块
  fetchModule: 'import { AxiosPromise as RequestPromise , AxiosRequestConfig as RequestConfig } from "axios";',
  // 输出目录
  outDir: './src/apis',
  // 项目跟请求方法映射
  projectMapping: {
  	// 项目跟请求方法映射(projectId为生成目录id)
  	// 参考url https://yapi.xxxx.cn/project/216/interface/api
  	// 其中216就是projectId,当未配置时y2t也会有相应的projectId提示
    216: {
      exportName: 'API',
      // 返回报文泛式
      // wrapper: '{ code: string, message: string, data: T }',
    },
  },
  // 请求体实例文件路径
  requestFilePath: 'src/apis/',
  // 忽略ts校验
  tsIgnore: true,
  // 忽略eslint
  esLintIgnore: true,
};
配置具体说明
account:账号,这里不使用yapi的token主要有两个原因:- 为了能够根据账号进行yapi的权限区分
- token只能获取到
项目级别,无法进行分组级别的筛选
password:密码originUrl:Yapi 网址地址outDir:输出目录,相对于当前工作区的根目录fetchModule:请求方法声明模块,这里主要是防止对axios进行了二次封装的场景下可以正确定义projectMapping:项目映射。在微服务盛行的现在一个工程中可能会有多个 api 地址,所以这里按照项目id进行了请求方法映射。projectId:项目 ID,例如url:https://xxx.xxx.com/project/216/interface/api,其中216即为项目IDexportName:请求方法名称,为了兼容不同的请求库,所以生成的代码中不会直接生成 ajax 请求方法,需要外部传入,这里的exportName一般就是你配置好了的axios实例wrapper:默认的返回体,如果接口有默认的返回包体时,可以通过wrapper定义 response,其中T代表返回的具体 data
requestFilePath:请求方法的文件路径,也就是封装axios请求方法的文件路径,这里最好使用@别名或者src等相对路径tsIgnore:是否开启tslint忽略esLintIgnore:是否开启esLintIgnore忽略
