@operationnation/sanity-plugin-seo-tools-extended
v1.3.4
Published
> This is an extended version from `sanity-plugin-seo-tools` plugin.
Downloads
37
Readme
SEO Tools Extended for Sanity
This is an extended version from
sanity-plugin-seo-toolsplugin.
You can find the original here -> https://github.com/LiamMartens/sanity-plugin-seo-tools
Benefits of our extended version
The extended version of this plugin gives the developer more control and flexibility in what content and elements you want to analyze on a page for SEO. Rather than be limited to one block of content (which could include elments you don't want analyzed by the SEO plugin), this allows you to specifically target which blocks of content you want the Yoast plugin to analyze. Here's what it does:
- Select Multiple Elements: The plugin lets developers choose and anazlye various parts of a webpage. They can select these elements using the [data-content="seo"] tag.
- Combine Content: Instead of taking content from just one container, the plugin puts together content from all elements marked with [data-content="seo"] into one main container.
- Backup Plan: If there are no [data-content="seo"] elements, the plugin intelligently goes back to using the original method for selecting content.
By doing this, the plugin becomes more powerful and flexible for SEO content collection. It can handle different situations where you need to check multiple content sections for SEO purposes. Plus, it still works with pages that don't use the [data-content="seo"] tag.
Background
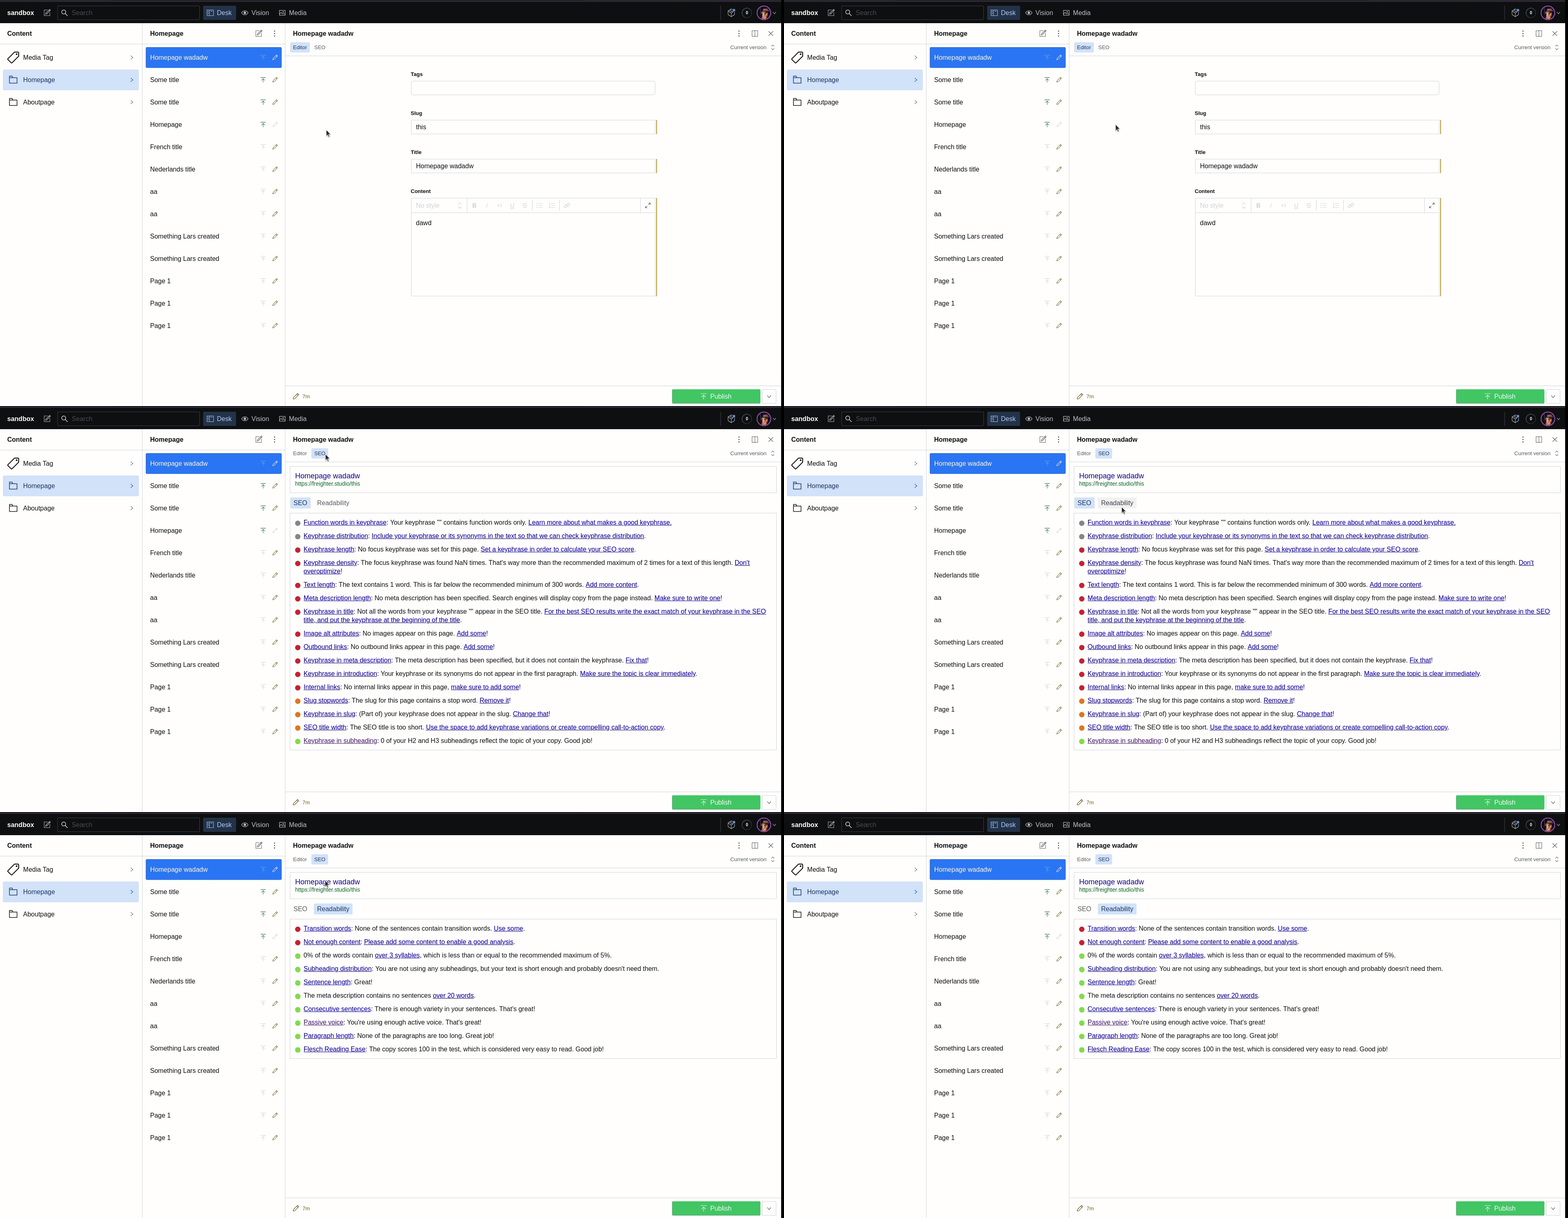
When proposing backend solutions for a client website many will request something like WordPress as this is a system they are familiar with. One of the tools that is available for WordPress is Yoast to give the user feedback on the SEO of the current page. This plugin can bring those insights into Sanity for your clients so you can finally start developing those projects with Sanity. (it is powered by YoastSEO.js)

How to use
This is the documentation for v3
1. Install the plugin
This is simply done by running npm install @operationnation/sanity-plugin-seo-tools-extended.
2. Add the pane
This plugin makes use of a custom studio pane. If you are unsure about how to add custom panes, please refer to the official Sanity documentation.
Your desk structure will look something like this:
import React from 'react';

import S from '@sanity/desk-tool/structure-builder';

import { SeoToolsPane } from '@operationnation/sanity-plugin-seo-tools-extended';

export const getDefaultDocumentNode = () => {
  return S.document().views([
    S.view.form(),

    S.view
      .component(SeoToolsPane)
      .options({
        fetch: true,

        resolveProductionUrl: doc => new URL(`https://sanity.io/${doc?.slug?.current}`),

        select: doc => ({
          focus_keyword: doc.focus_keyword ?? '',

          seo_title: doc.seo_title ?? '',

          meta_description: doc.meta_description ?? '',

          focus_synonyms: doc.focus_synonyms ?? []
        })
      })
      .title('SEO')
  ]);
};

export default S.defaults();
3. Configure the plugin as necessary
In the default config, as seen above, you will see fetch, resolveProductionUrl and select. This is the most basic configuration you can utilize.
Using this config, the plugin will try to fetch the page and run the Yoast analysis on the resulting HTML using the SEO input parameters defined in the select property.
However, keep in mind this requires setting up CORS rules and a server side rendered preview mode which pulls in draft content.
It is often easier to add additional configuration to make the analysis work regardless of the live website. This can be achieved as follows:
S.view
  .component(SeoToolsPane)
  .options({
    fetch: false,

    resolveProductionUrl: doc => new URL(`https://sanity.io/${doc?.slug?.current}`),

    select: doc => ({
      focus_keyword: doc.focus_keyword ?? '',

      seo_title: doc.seo_title ?? '',

      meta_description: doc.meta_description ?? '',

      focus_synonyms: doc.focus_synonyms ?? []
    }),

    prepare: doc => ({
      title: doc.seo_title ?? '', // when using `fetch` this is extracted from the <title> tag

      description: doc.meta_description ?? '', // when using `fetch` this is extracted from the <meta name="description" /> tag

      locale: doc.__i18n_lang ?? 'en-US', // when using `fetch` this is extracted from the `lang` attribute of the root tag

      content: ReactDOMServer.renderToStaticMarkup(<PortableText document={doc.content} />) // when using `fetch` this is extracted from `body`. This does not need to be an exact copy of your live website, but should match the semantic structure for proper analysis
    })
  })
  .title('SEO');
(OPTIONAL) 4. Customize the preview
It is also possible to customize the SERP preview by providing the render option:
S.view
  .component(SeoToolsPane)
  .options({
    fetch: true,

    resolveProductionUrl: doc => new URL(`https://sanity.io/${doc?.slug?.current}`),

    select: doc => ({
      focus_keyword: doc.focus_keyword ?? '',

      seo_title: doc.seo_title ?? '',

      meta_description: doc.meta_description ?? '',

      focus_synonyms: doc.focus_synonyms ?? []
    }),

    render: (resultFromSelect, resultFromPrepare, defaultSerpPreviewChildren) => (
      <div>{defaultSerpPreviewChildren}</div>
    )
  })
  .title('SEO');
(OPTIONAL) 5. Select multiple elements
Lastly, you can select multiple elements from different sections of a webpage.
<div>
	<h2 className=’blog-subtitle’ data-content="seo">
    {post?.excerpt}
	</h2>
	<!--Start of the element we want to avoid -->
	<ArticleSideBarSticky />
	<!--End of the element we want to avoid -->
  <Richtext postBody={post?.body} data-content="seo" />
</div>