@jlab-enhanced/cell-toolbar
v3.5.1
Published
A cell toolbar for JupyterLab.
Downloads
37
Readme
jlab-enhanced-cell-toolbar
A cell toolbar for JupyterLab.

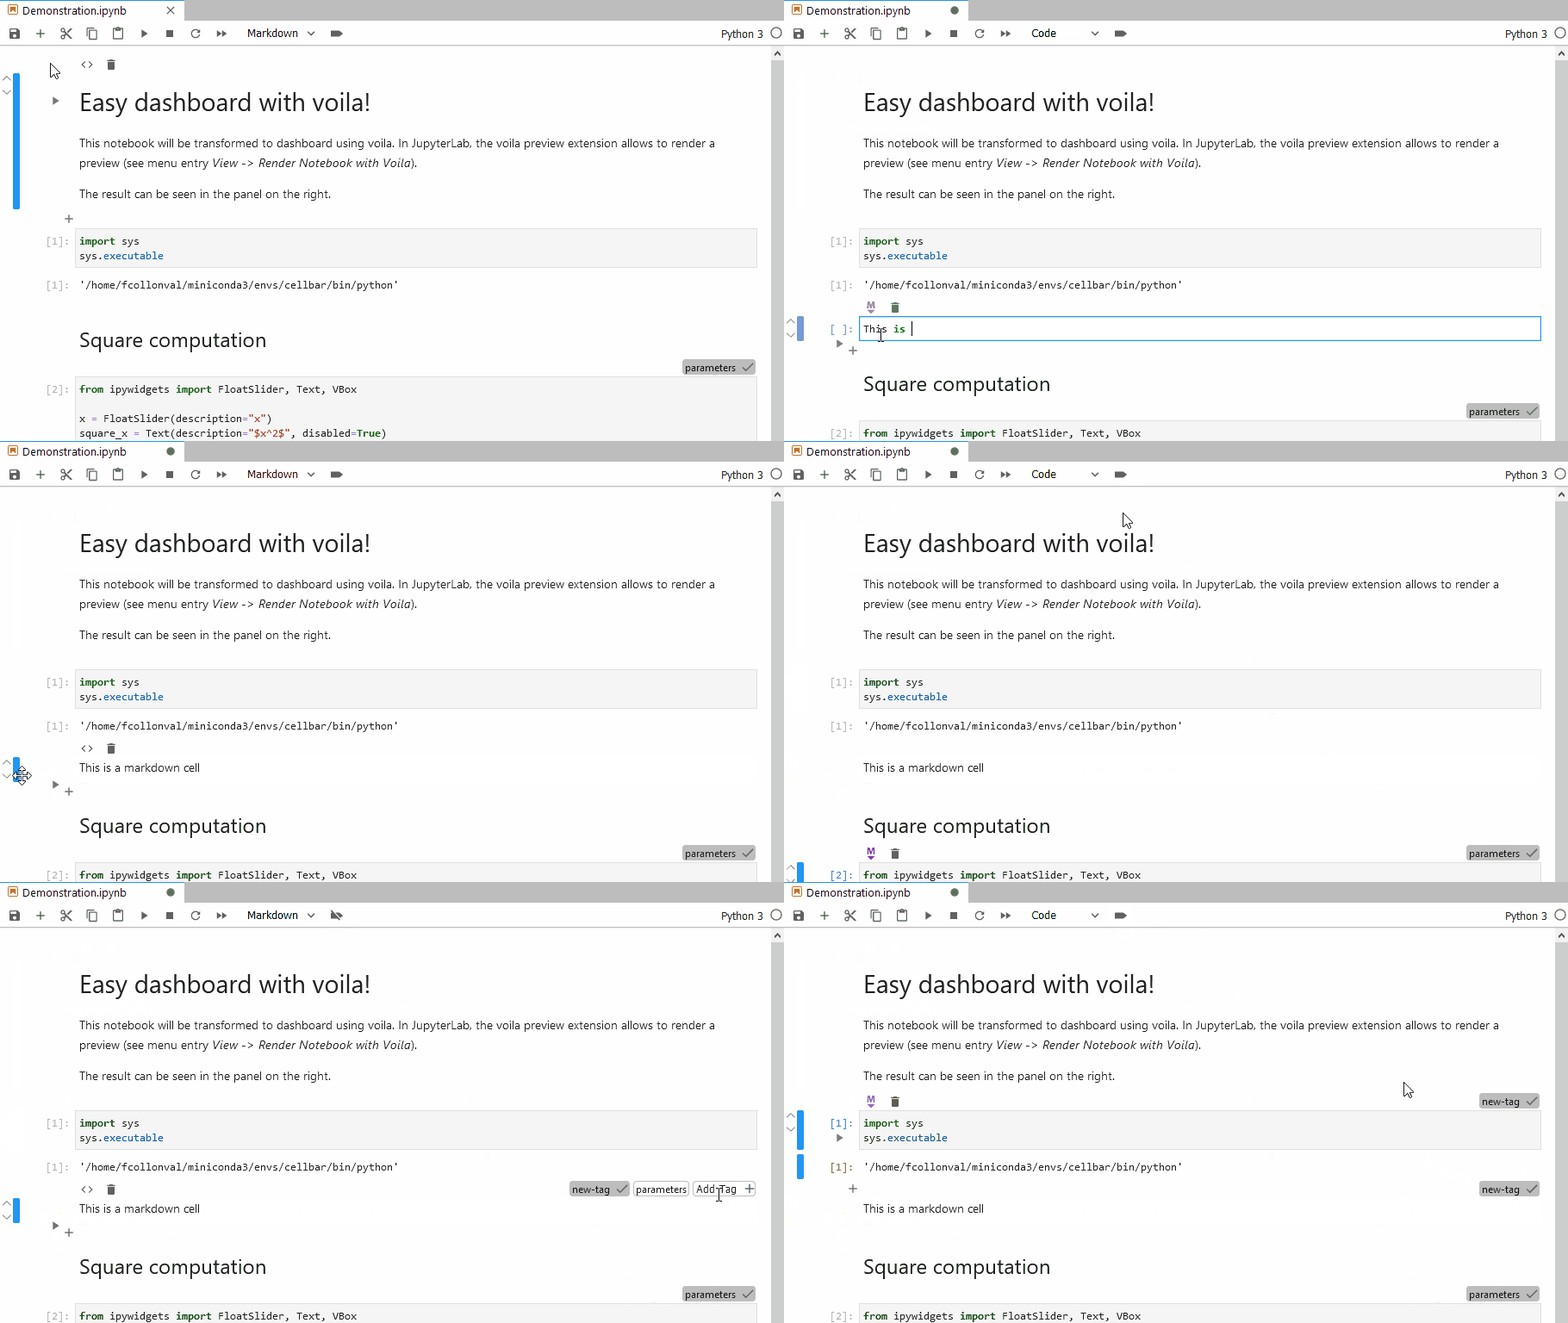
Tags are displayed as read-only by default. You can click on the notebook toolbar button to start editing the tags on the cell toolbars (as shown in the animation above).
There are some Settings to tune the available buttons and the look of this extension. For example, to show only the tags, you can set the following settings:
{
    "helperButtons": null,
    "leftMenu": null,
    "rightMenu": null
}
Requirements
- JupyterLab >= 3.0
For JupyterLab 2.x, have look there.
Install
pip install jlab-enhanced-cell-toolbaror
conda install -c conda-forge jlab-enhanced-cell-toolbarUninstall
pip uninstall jlab-enhanced-cell-toolbaror
conda remove -c conda-forge jlab-enhanced-cell-toolbarSettings
- defaultTags: The list of default available tags. For example, using the following settings:
{
    "defaultTags": ["hide", "slide"]
}
- floatPosition: Floating cell toolbar position in pixel.
For example, to obtain a cell toolbar partially overlapping the cell:
{
    "floatPosition": {
        "right": 20,
        "top": 10
    }
}
Another example, to put the toolbar inside the cell:
{
    "floatPosition": {
        "right": 20,
        "top": 24
    }
}
The
leftSpacesetting is ignored if this one is defined.
- helperButtons: The list of helper buttons to display. For example, using the following settings:
{
    "helperButtons": ["insert-cell-below", "run-cell-and-select-next"]
}
- leftMenu and rightMenu: The action buttons to be displayed on the left and right of the cell toolbar. For example, using the following settings:
{
    "leftMenu": [
        {
            "command": "notebook:run-cell",
            "icon": "ui-components:run",
            // Will only display the item on code cells.
            "cellType": "code"
        }
    ],
    "rightMenu": [
        {
            "command": "notebook:delete-cell",
            "icon": "@jlab-enhanced/cell-toolbar:delete"
        }
    ]
}
The default JupyterLab icon names can be found in the ui-components package.
- leftSpace: The left empty white space width in pixel. For example, using the following settings:
{
    "leftSpace": 48
}
This setting is ignored if
floatPositionis defined.
- showTags: Whether to show (default) or not the tags widget. For example, using the following settings will hide the tags:
{
    "showTags": false
}
Alternatives
Don't like what you see here? Try these other approaches:
Contributing
Development install
Note: You will need NodeJS to build the extension package.
The jlpm command is JupyterLab's pinned version of
yarn that is installed with JupyterLab. You may use
yarn or npm in lieu of jlpm below.
# Clone the repo to your local environment
# Change directory to the jlab_enhanced_cell_toolbar directory
# Install package in development mode
pip install -e .
# Link your development version of the extension with JupyterLab
jupyter labextension develop . --overwrite
# Rebuild extension Typescript source after making changes
jlpm run build
You can watch the source directory and run JupyterLab at the same time in different terminals to watch for changes in the extension's source and automatically rebuild the extension.
# Watch the source directory in one terminal, automatically rebuilding when needed
jlpm run watch
# Run JupyterLab in another terminal
jupyter lab
With the watch command running, every saved change will immediately be built locally and available in your running JupyterLab. Refresh JupyterLab to load the change in your browser (you may need to wait several seconds for the extension to be rebuilt).
By default, the jlpm run build command generates the source maps for this extension to make it easier to debug using the browser dev tools. To also generate source maps for the JupyterLab core extensions, you can run the following command:
jupyter lab build --minimize=False


