@fireact.dev/core
v1.1.1
Published
A comprehensive React component library and utility collection for building Firebase-powered applications. Features authentication components, Firebase integration utilities, and TailwindCSS-styled UI elements.
Downloads
293
Maintainers
Readme
@fireact.dev/core
Core components and utilities for fireact.dev applications.
Table of Contents
- Setup Firebase
- Installation
- Project Setup
- Testing with Firebase Emulators
- Firebase Deployment
- Components Reference
- License
Setup Firebase
Create a Firebase project:
- Go to the Firebase Console.
- Click on "Add project" and follow the prompts to create a new project.
Set up a web app:
- In your Firebase project, click on the web icon (</>) to add a web app.
- Follow the instructions to register your app. The web app settings will be used for the
config.json
file later.
Enable email/password authentication:
- In the Firebase Console, navigate to "Authentication" > "Sign-in method".
- Enable "Email/Password" as a sign-in provider.
Enable other social authentication methods (optional):
- In the same "Sign-in method" section, you can enable other providers like Google, Facebook, etc., if needed.
Enable Firestore and copy the Firestore rules:
- Navigate to "Firestore Database" in the Firebase Console.
- Click on "Create database" and follow the prompts to set up Firestore.
- Copy the Firestore rules from the example below.
Example Firestore rules:
rules_version = '2'; service cloud.firestore { match /databases/{database}/documents { // Allow authenticated users to read and write their own user document match /users/{userId} { allow read, write: if request.auth != null && request.auth.uid == userId; } } }
Enable hosting:
- In the Firebase Console, navigate to "Hosting".
- Click on "Get Started" and follow the prompts to set up Firebase Hosting for your project.
Installation
- Create a new Vite app with TypeScript:
npm create vite@latest my-app -- --template react-ts
- Navigate into your project directory:
cd my-app
- Install necessary dependencies:
npm install @fireact.dev/core firebase react-router-dom i18next react-i18next @headlessui/react @heroicons/react tailwindcss i18next-browser-languagedetector
Note: Make sure to use @headlessui/react version ^1.7.15 as it's a required peer dependency.
Set up Tailwind CSS:
- Initialize Tailwind:
npx tailwindcss init
- Update your
tailwind.config.js
:
/** @type {import('tailwindcss').Config} */ module.exports = { content: [ "./src/**/*.{js,jsx,ts,tsx}", "./node_modules/@fireact.dev/core/dist/**/*.{js,mjs}" ], theme: { extend: {}, }, plugins: [], }
- Add Tailwind directives to your
src/index.css
:
@tailwind base; @tailwind components; @tailwind utilities;
- Create
postcss.config.js
in your project root:
export default { plugins: { tailwindcss: {}, autoprefixer: {}, }, }
- Install PostCSS dependencies:
npm install -D autoprefixer postcss
Create your main application file
src/main.tsx
and set up your app as shown in the Application Setup section below.Follow the remaining setup instructions in the Project Setup section to configure Firebase, social login, and internationalization.
Project Setup
Firebase Configuration
Create src/config.json
with your Firebase configuration:
{
"firebase": {
"apiKey": "your-api-key",
"authDomain": "your-auth-domain",
"projectId": "your-project-id",
"storageBucket": "your-storage-bucket",
"messagingSenderId": "your-messaging-sender-id",
"appId": "your-app-id"
},
"pages": {
"home": "/",
"dashboard": "/dashboard",
"profile": "/profile",
"editName": "/edit-name",
"editEmail": "/edit-email",
"changePassword": "/change-password",
"deleteAccount": "/delete-account",
"signIn": "/signin",
"signUp": "/signup",
"resetPassword": "/reset-password"
},
"socialLogin": {
"google": false,
"microsoft": false,
"facebook": false,
"apple": false,
"github": false,
"twitter": false,
"yahoo": false
},
"emulators": {
"enabled": false,
"host": "localhost",
"ports": {
"auth": 9099,
"firestore": 8080,
"functions": 5555,
"hosting": 5002
}
}
}
Note: The ConfigProvider will automatically initialize Firebase using this configuration.
Social Login Configuration
To enable social login providers:
- Set the desired providers to
true
in thesocialLogin
section of your config.json - Configure each enabled provider in your Firebase Console:
- Navigate to Authentication > Sign-in method
- Enable the desired providers
- Configure OAuth settings
- Add authorized domains
Internationalization Setup
- Create the i18n directory structure:
src/
i18n/
locales/
en.ts
zh.ts
Download the base language files from: https://github.com/fireact-dev/core/tree/main/src/i18n/locales
Adding or modifying labels: Each language file (e.g., en.ts) follows this structure:
export default {
email: "Email",
password: "Password",
// Add more labels as needed
}
- Adding a new language:
- Create a new file in the locales directory (e.g.,
fr.ts
for French) - Copy the structure from en.ts
- Translate all labels to the new language
- Add the language to i18n initialization in App.tsx:
- Create a new file in the locales directory (e.g.,
i18n
.use(LanguageDetector)
.use(initReactI18next)
.init({
resources: {
en: {
translation: en
},
zh: {
translation: zh
},
fr: {
translation: fr // Add your new language here
}
},
fallbackLng: 'en',
interpolation: {
escapeValue: false
}
});
- Using translations in your components:
import { useTranslation } from 'react-i18next';
function YourComponent() {
const { t } = useTranslation();
return (
<div>
<h1>{t('common.title')}</h1>
<p>{t('common.description')}</p>
</div>
);
}
Application Setup
- Create
src/main.tsx
:
import React from 'react';
import ReactDOM from 'react-dom/client';
import App from './App';
import './index.css';
ReactDOM.createRoot(document.getElementById('root')!).render(
<React.StrictMode>
<App />
</React.StrictMode>
);
- Create
src/App.tsx
:
import { BrowserRouter as Router, Routes, Route, Navigate } from 'react-router-dom';
import {
AuthProvider,
ConfigProvider,
LoadingProvider,
PublicLayout,
AuthenticatedLayout,
SignIn,
SignUp,
ResetPassword,
Dashboard,
Profile,
EditName,
EditEmail,
ChangePassword,
DeleteAccount,
DesktopMenuItems,
MobileMenuItems,
Logo
} from '@fireact.dev/core';
import config from './config.json';
import i18n from 'i18next';
import { initReactI18next } from 'react-i18next';
import LanguageDetector from 'i18next-browser-languagedetector';
import en from './i18n/locales/en';
import zh from './i18n/locales/zh';
// Initialize i18next
i18n
.use(LanguageDetector)
.use(initReactI18next)
.init({
resources: {
en: {
translation: en
},
zh: {
translation: zh
}
},
fallbackLng: 'en',
interpolation: {
escapeValue: false
}
});
function App() {
return (
<Router>
<ConfigProvider config={config}>
<AuthProvider>
<LoadingProvider>
<Routes>
<Route element={
<AuthenticatedLayout
desktopMenuItems={<DesktopMenuItems />}
mobileMenuItems={<MobileMenuItems />}
logo={<Logo className="w-10 h-10" />}
/>
}>
<Route path={config.pages.home} element={<Navigate to={config.pages.dashboard} />} />
<Route path={config.pages.dashboard} element={<Dashboard />} />
<Route path={config.pages.profile} element={<Profile />} />
<Route path={config.pages.editName} element={<EditName />} />
<Route path={config.pages.editEmail} element={<EditEmail />} />
<Route path={config.pages.changePassword} element={<ChangePassword />} />
<Route path={config.pages.deleteAccount} element={<DeleteAccount />} />
</Route>
<Route element={<PublicLayout logo={<Logo className="w-20 h-20" />} />}>
<Route path={config.pages.signIn} element={<SignIn />} />
<Route path={config.pages.signUp} element={<SignUp />} />
<Route path={config.pages.resetPassword} element={<ResetPassword />} />
</Route>
</Routes>
</LoadingProvider>
</AuthProvider>
</ConfigProvider>
</Router>
);
}
export default App;
Testing with Firebase Emulators
To use Firebase Emulators for local development and testing:
- Add emulator settings to your
src/config.json
:
{
"emulators": {
"enabled": true,
"host": "localhost",
"ports": {
"auth": 9099,
"firestore": 8080,
"functions": 5555,
"hosting": 5002
}
}
}
- Configure emulators in
firebase.json
:
{
"emulators": {
"auth": {
"port": 9099,
"host": "127.0.0.1"
},
"firestore": {
"port": 8080,
"host": "127.0.0.1"
},
"functions": {
"port": 5555,
"host": "127.0.0.1"
},
"hosting": {
"port": 5002,
"host": "127.0.0.1"
},
"ui": {
"enabled": true,
"port": 4000,
"host": "127.0.0.1"
}
}
}
- Start the emulators:
firebase emulators:start
The Emulator UI will be available at http://127.0.0.1:4000
Before deploying to production, disable the emulators by setting enabled
to false in your config:
{
"emulators": {
"enabled": false
}
}
Firebase Deployment
- Install Firebase CLI:
npm install -g firebase-tools
- Login to Firebase:
firebase login
- Initialize Firebase in your project:
firebase init
Select the following options:
- Choose "Hosting" when prompted for features
- Select your Firebase project or create a new one
- Set build directory to 'dist' (for Vite projects)
- Configure as a single-page application: Yes
- Don't overwrite index.html
- Build and deploy:
npm run build
firebase deploy
Your app will be available at:
- https://your-project-id.web.app
- https://your-project-id.firebaseapp.com
Components Reference
Authentication Components
- SignIn - Sign in form
- SignUp - Sign up form
- ResetPassword - Password reset form
- PrivateRoute - Protected route component
User Management Components
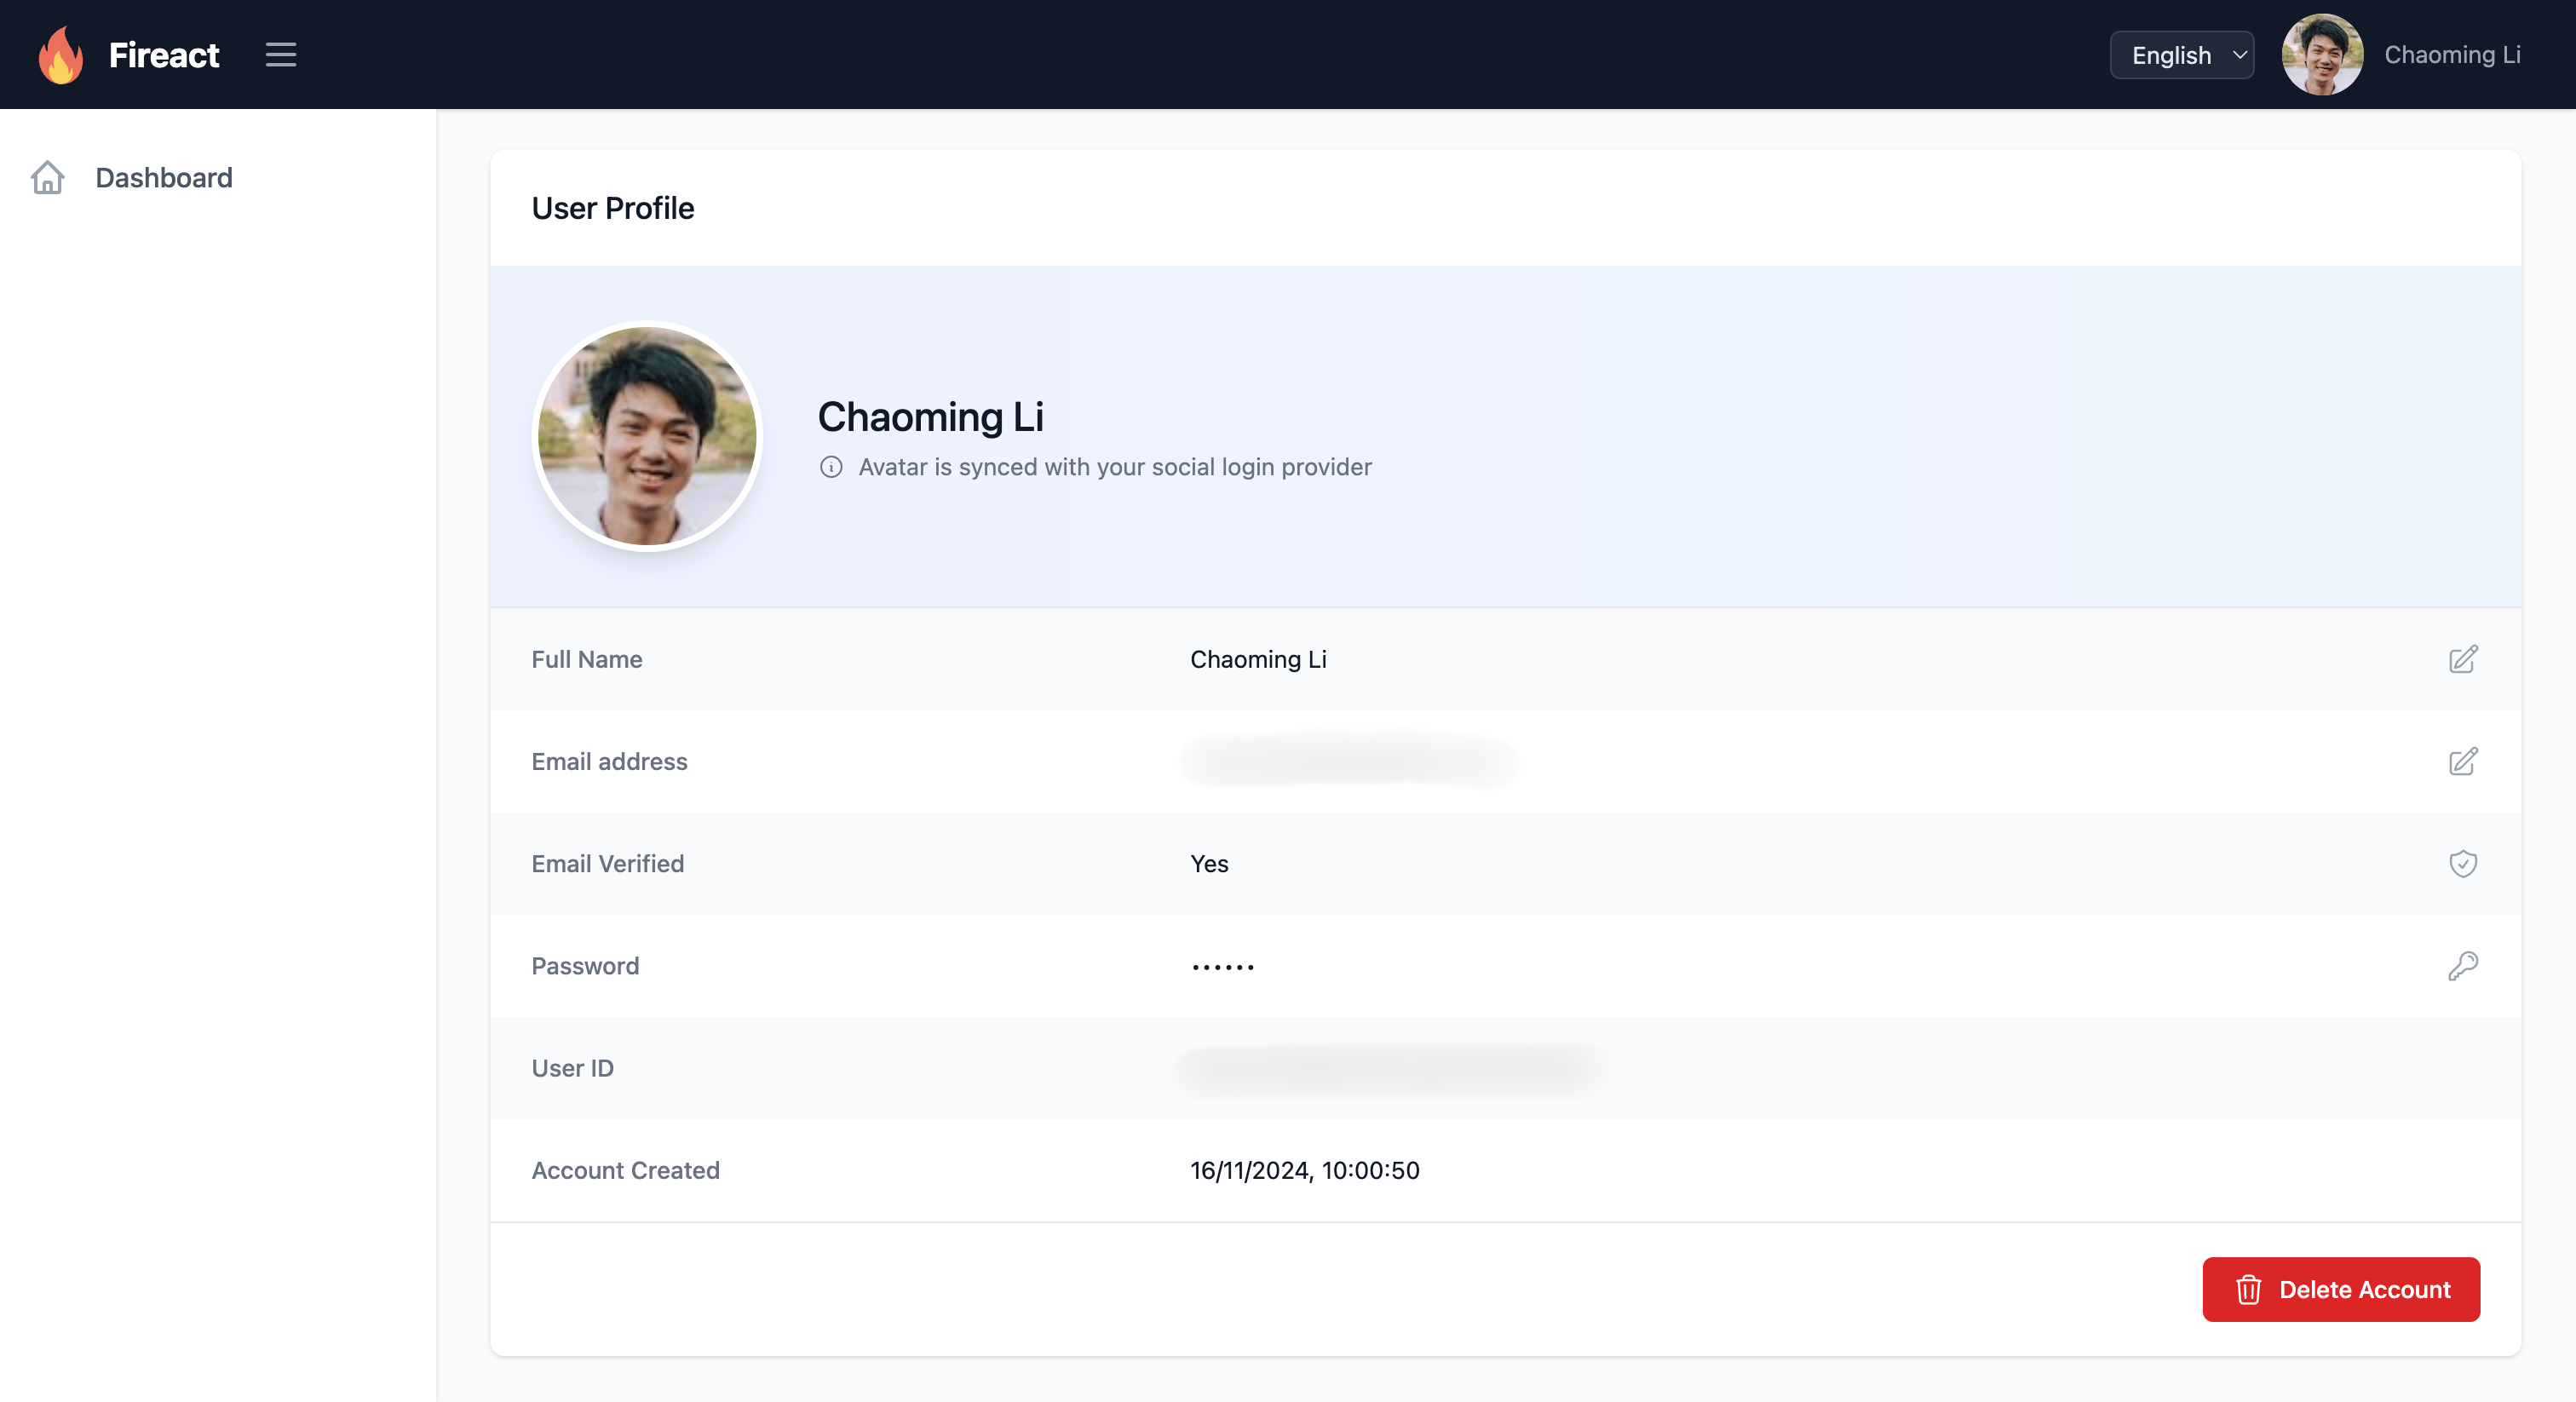
- Profile - User profile component
- EditName - Name editing form
- EditEmail - Email editing form
- ChangePassword - Password change form
- DeleteAccount - Account deletion interface
- Avatar - User avatar display
Navigation Components
- DesktopMenuItems - Desktop navigation menu
- MobileMenuItems - Mobile navigation menu
- Logo - Application logo
- LanguageSwitcher - Language selection component
Layout Components
- AuthenticatedLayout - Layout for authenticated pages
- PublicLayout - Layout for public pages
- Message - Message display component
- Dashboard - User dashboard
Context Providers
- AuthContext - Firebase authentication context
- ConfigProvider - Application configuration context
- LoadingContext - Loading state management
Utilities
- userUtils - User-related utility functions
License
MIT