@buycoins/sdk
v1.0.4
Published
Sdk for the buycoins GraphQL API
Downloads
12
Maintainers
Readme
Table of content
Basic Overview
The @buycoins/sdk project provides a simple, fully customisable and elegant way to integrate the Buycoins GraphQL API into your Node.js applications. This project strives to always be in sync with the latest API changes.
Features
- ⚡ 100% Fully typed queries, mutations and responses
- ⚡ 100% tests coverage
- ⚡ Fluent and performant GraphQL query builder
- ⚡ Promised based builder pattern and fluent API
- ⚡ Zero dependencies. Light-weight and highly performant.
Installation
The installation is in two steps: First: get your API keys, second: install the package into your project.
Get API Keys
Before getting started, you would need to request access to the Buycoins API. You may send an email to their support team, stating the application you would love to build. Shouldn't take more than an hour or two to get acces.
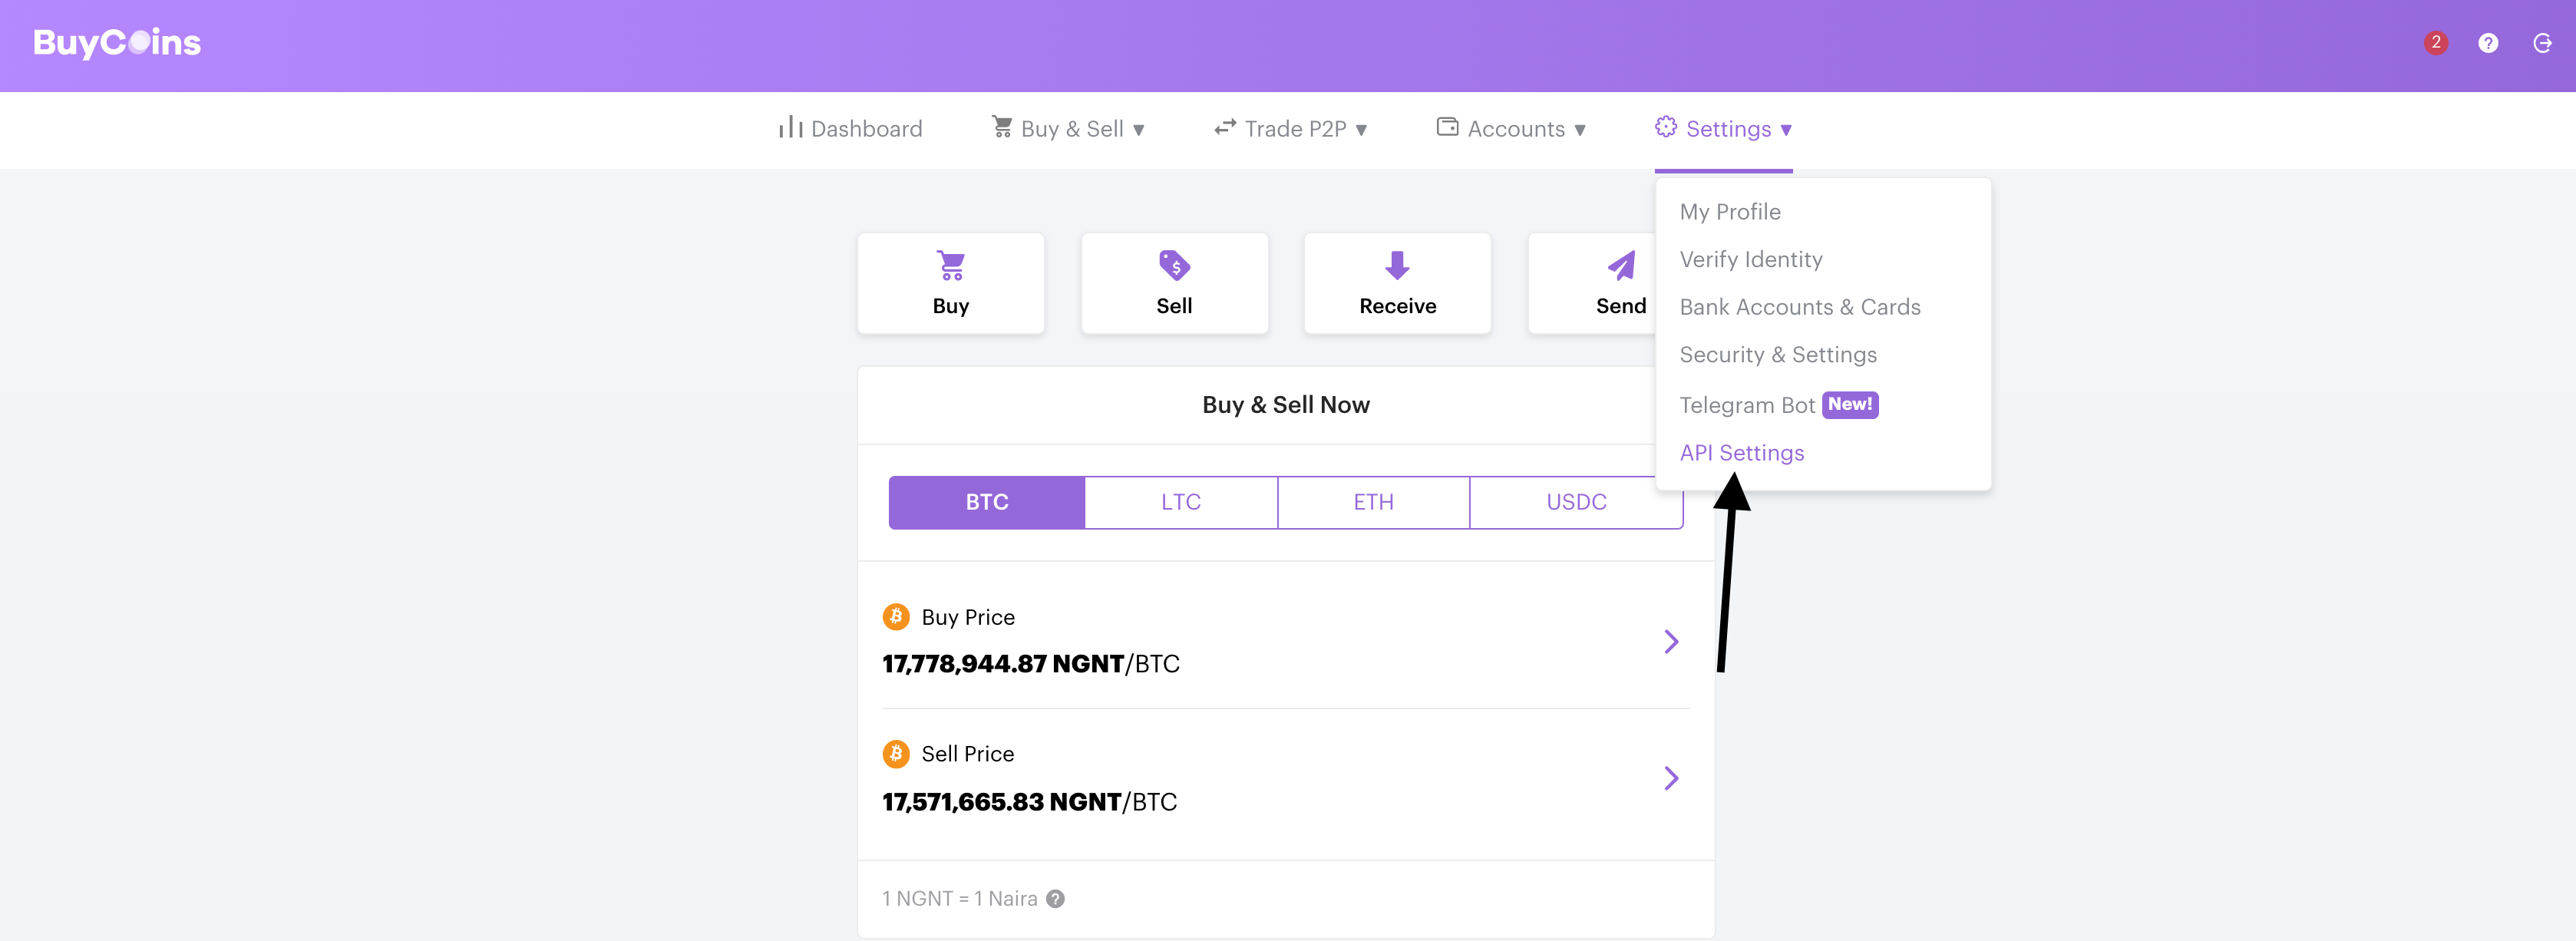
Once you do, visit your Buycoins account settings page to generate your API keys:
Install npm package
You may install the package using npm:
npm install --save @buycoins/sdkOr yarn:
yarn add @buycoins/sdkRequirements
At the moment, the SDK has been fully tested on Node.js v12.x and 14.x. Versions above v12.x should work fine too.
Quickstart
To quickly get started, let's make an API call to see the current prices of the cryptocurrencies supported by Buycoins.
First, require the buycoins function:
const { buycoins } = require('@buycoins/sdk')Next, call this function to get an API instance. You can pass in your public key and secret key as arguments into this function.
const { buycoins } = require('@buycoins/sdk')

const api = buycoins('YOWGe1KNuw', 'ed1wDGUuoVkID7rJ58vv0186z0vZ3TfbNXYiPsiC')
If you omit the public and secret key arguments, the sdk would default to using BUYCOINS_PUBLIC_KEY and BUYCOINS_SECRET_KEY environment variables.
On the api instance, the .prices() method would give you an instance of the Prices query. The .get() method on that query makes the API call and resolves with the data:
const { buycoins } = require('@buycoins/sdk')

const api = buycoins()

api.prices().get().then(({ data, errors }) => {
    console.log(data, errors)
})
Customising query fields
For all queries, all the supported GraphQL fields would be fetched. You may control the fields to be queried using the .fields() function and passing a query builder object. Here's an example of sending crypto and getting back a transfer request:
buycoins()
.send()
.litecoin()
.address('xxxx')
.amount('0.04')
.fields([
  'id',
  'fee',
  'status',
  {
    transaction: [
      'id',
      'confirmed',
      {
          address: ['id', 'cryptocurrency']
      }
  }]
)
.get()
Peer to Peer Trading
Prices
You may get the buy and sell prices of the supported currencies using the .prices() query. The .buy() and .sell() methods on this query can be used to get the buy prices and the sell prices respectively.
const { data, errors } = await buycoins().prices().sell().get()Price for a single currency
To get the price for a specific currency, use any of the supported currency methods on the query instance.
const { data, errors } = await buycoins().prices().sell().litecoin().get()Post limit order
To place a limit order, first you need to get a price. Next, call the .limitOrder() query. You may place an order with static or dynamic pricing using the .static() or .dynamic().
const { data } = await buycoins().limitOrder().litecoin().dynamic('0.03422').buy().post()Post market order
To place a market order, you may use the .marketOrder() query. You may use the .amount() method to set the amount:
const { data } = await buycoins().marketOrder().amount('0.009').sell()Get Orders
You can retrieve a list of orders you have placed by calling the .orders() query. You can also specify whether to fetch open or completed orders using the .open() and .completed() methods.
const { data } = await buycoins().orders().ethereum().sell().completed().get()You may want to specify the fields and variables for this query. Here'an example:
const { data } = await buycoins().orders().ethereum().sell().completed().fields([{
  orders: [
    {
      edges: [
        {
          node: ['id', 'cryptocurrency', 'staticPrice']
        }
      ]
    }
  ]
}]).variables({
  root: {
    orders: {
      after:'QnV5Y29pbnNQcmljZS1hMGNmMmQ4Yi1hY2Q0LTRjMGYtOGZkMC1lMjk4NWMxYmU3ZTU='
    }
  }
}).get()
Get Market book
The marketBook() query may be used to retrive the market book.
const { data } = await buycoins().marketBook().usdCoin().sell().get()Placing orders
Buy
To place a buy order, first you need to get a price. This is required when buying.
Next, call the .buy() query:
const { data: { getPrices: ethereumPrice } } = await buycoins().prices().ethereum().fields(['id']).get()

const { data } = await buycoins().buy().amount('0.0089').ethereum().price(ethereumPrice[0].id).post()
Sell
To place a sell order, first you need to get a price. This is required when selling.
Next, call the .sell() query:
const { data: { getPrices } } = await buycoins().prices().ethereum().get()

const { data } = await buycoins().sell().ethereum().amount('0.9384').price(getPrices[0].id).post()
Sending
Network fees
The .estimatedNetworkFee() query estimates the network fees.
const { data } = await buycoins().estimatedNetworkFee().litecoin().get()Send
The .send() query may be used to send cryptocurrency to an external address. You may set the external address using the .address() method.
const { data } = await buycoins().send().usdCoin().address('0xd39B6849d2e1dB20BAb50dd7A4F3e0882c744404').get()Account balances
The .balances() query may be used to get your portfolio balance for any currencies you hold:
const { data } = await buycoins().balances().usdCoin().get()Receiving
Create address
To receive cryptocurrency, you will first have to create an address on Buycoins using the .createAddress() mutation:
const { data } = await buycoins().createAddress().litecoin().post()Supported currency methods
These methods may be used to set or filter some queries or mutations by a specific currency.
.bitcoin().litecoin().usdTether().usdCoin().ethereum().nairaToken()
Contributing
We would love to have you contribute and make this project better. You can contribute by providing documentation, feedback, code changes or implementing new features and improvements. Please read the contributing guide to get started.


